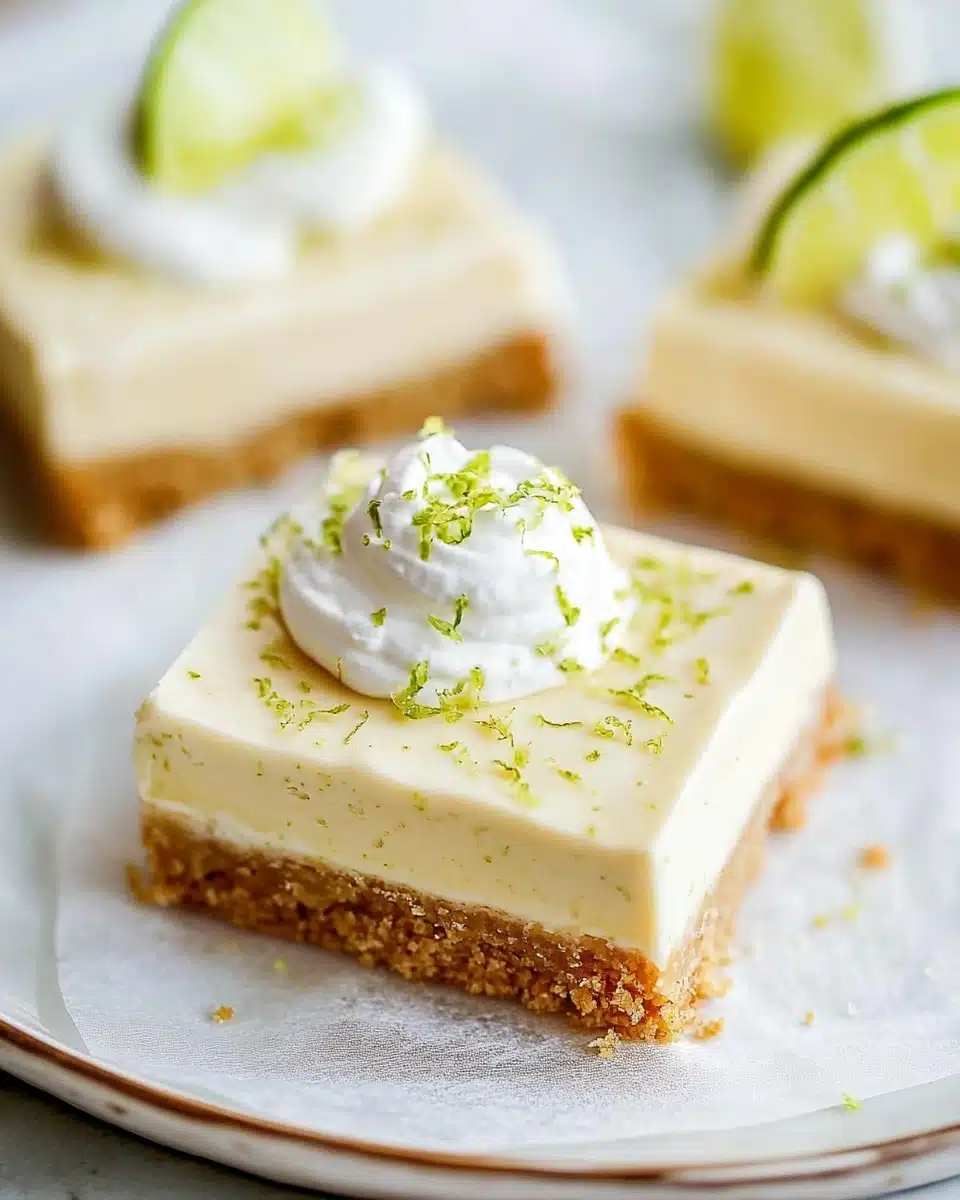
If you love classic Key Lime Pie but crave an easier, hand-held treat, you’ll fall head-over-heels for these Key Lime Pie Bars! Imagine all the citrusy zing and creamy sweetness you adore in a Florida favorite—just in portable, party-ready squares that will light up any dessert table.
Why You’ll Love This Recipe
- Classic Key Lime Flavor, No Fuss: All the creamy, tangy goodness of traditional Key Lime Pie—no pie plate, rolling pin, or fiddly technique required.
- Perfect for Sharing (or Keeping!): The bars slice up beautifully, making them ideal for parties, picnics, potlucks… or sneaking from the fridge just for you.
- Sweet, But Not Overwhelming: The graham cracker crust, vibrant citrus, and gentle creaminess strike a gorgeous balance for a dessert that feels indulgent but wonderfully refreshing.
- Make-Ahead Friendly: These Key Lime Pie Bars taste even better after a stint in the fridge, so you can prep in advance and relax when guests arrive.

Ingredients You’ll Need
The best part about Key Lime Pie Bars? You only need a handful of simple ingredients. Each component brings something essential—crispness, tang, sweetness, or creaminess—to deliver that perfect bite.
- Graham cracker crumbs: The humble hero for a buttery, crunchy base—classic, nostalgic, and golden-brown perfection.
- Granulated sugar: Adds just enough sweetness and helps the crust crisp up as it bakes.
- Butter (melted): The magic that binds your graham cracker crust and gives it that irresistible, rich flavor.
- Sweetened condensed milk: This dreamy, thick milk creates the creamy, luscious texture that’s essential for the filling.
- Cream cheese (softened): For extra richness and to ensure every bite is ultra-smooth—no curdles or clumps allowed!
- Key lime juice: The all-important tart zing—the soul of the dessert! Bottled works, but fresh is unbeatable.
- Lime zest: Packs a fragrant, citrusy punch that amplifies lime flavor and brings gorgeous speckles of green.
- Whipped cream (optional): A finishing flourish—pillowy, light, and dreamy. Homemade or store-bought, it turns each bar into a true treat.
Variations
One of the joys of these Key Lime Pie Bars is how cheerfully they embrace a little customization! Here are a few tasty tweaks you can try to make this recipe your own—whether you’re working around dietary needs or simply feeling creative in the kitchen.
- Make it Gluten-Free: Swap in gluten-free graham crackers for an allergy-friendly crust that’s just as delicious.
- Try Lemon or Meyer Lemon: Can’t find key limes? Meyer lemons impart a gently floral twist, while classic lemons also work beautifully in a pinch.
- Coconut Crust: Mix shredded coconut into your graham cracker crumbs for a deliciously tropical note.
- Dairy-Free Version: Use vegan cream cheese and sweetened condensed coconut milk to transform these bars into a dreamy dairy-free dessert.
How to Make Key Lime Pie Bars
Step 1: Build the Perfect Graham Cracker Crust
Start by buzzing your graham crackers into fine crumbs—either with a food processor or the old-school way, in a zip-top bag with a rolling pin. Combine the crumbs with sugar and melted butter, then press the mixture evenly into a parchment-lined 8-inch square pan. Bake at 350°F for 10 minutes to set the crust, and let it cool completely before you add your filling.
Step 2: Whip Up the Luscious Key Lime Filling
Using electric beaters, mix your softened cream cheese until perfectly smooth—no lumps wanted here. Add the sweetened condensed milk, key lime juice, and that fragrant lime zest, and whisk everything together until your filling is glossy and uniform. This is where that unmistakable citrus perfume starts to fill your kitchen!
Step 3: Bake & Chill to Creamy Dreaminess
Pour your filling over the cooled graham crust and smooth the top. Bake for just 10 minutes—enough to set the filling without over-baking. Once out of the oven, let the bars cool for about 30 minutes, then chill in the fridge for at least 3 hours. This cold nap is the key to clean slices and that perfect tart-to-sweet balance.
Step 4: Slice & Serve
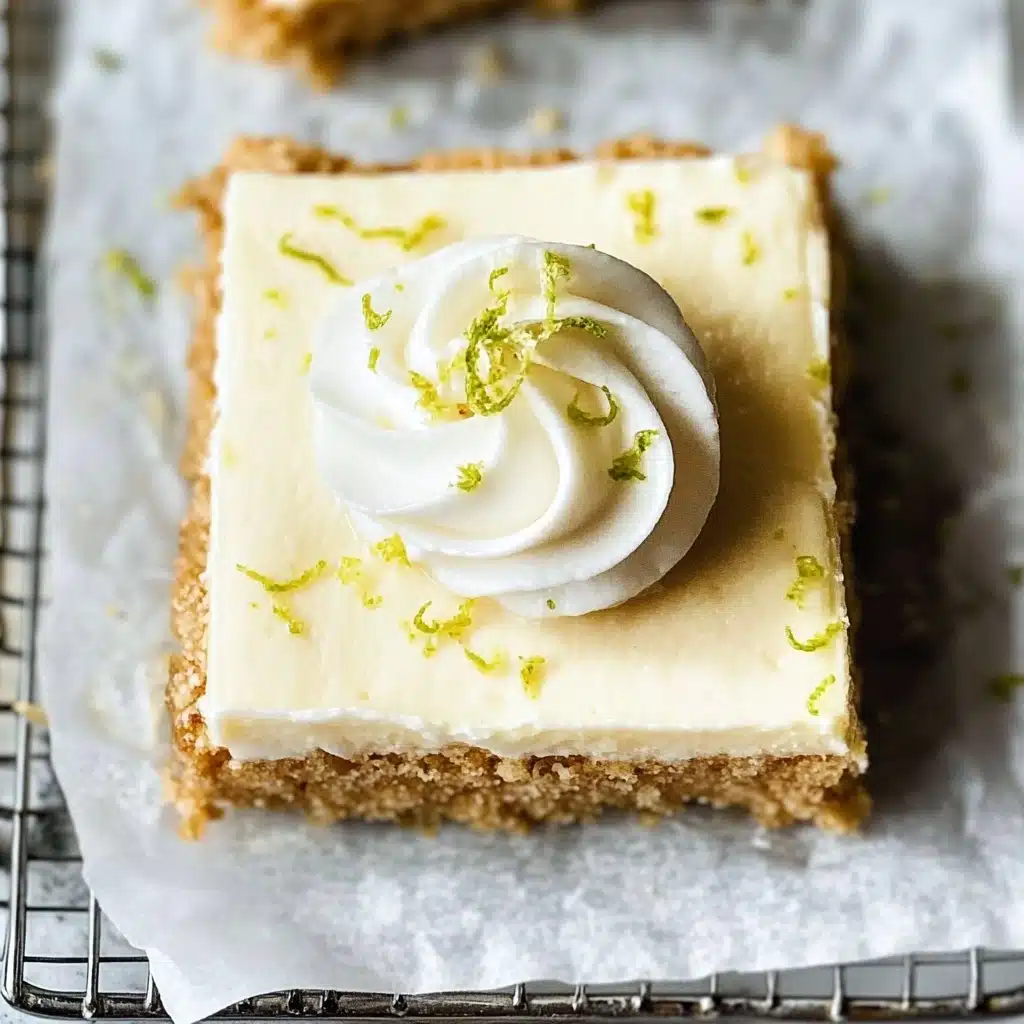
Once chilled and set, gently lift the bars from the pan using the parchment, then slice into squares. Top with a swoosh of fresh whipped cream (if you’re feeling extra) and serve to smiles all around—you just made Key Lime Pie Bars that will disappear in a flash!
Pro Tips for Making Key Lime Pie Bars
- Ultra-Smooth Filling: Bring your cream cheese to room temperature before mixing for the creamiest, lump-free texture.
- Let the Crust Cool Completely: Chill or fully cool your crust before pouring on the filling—this prevents sogginess and helps the bars hold their shape.
- The Longer the Chill, the Better the Bar: Refrigerate your Key Lime Pie Bars for at least 3 hours (but ideally overnight!) for neat slices and vibrant flavor.
- Use Fresh Lime Zest: Don’t skip the zest! It brings out incredible citrus aroma and ties everything together visually and flavor-wise.
How to Serve Key Lime Pie Bars
Garnishes
For a picture-perfect finish, crown your bars with billowy whipped cream, a scattering of extra lime zest, thin lime slices, or even a dusting of toasted coconut. These little touches not only make them irresistible—they also hint at the bold flavors inside!
Side Dishes
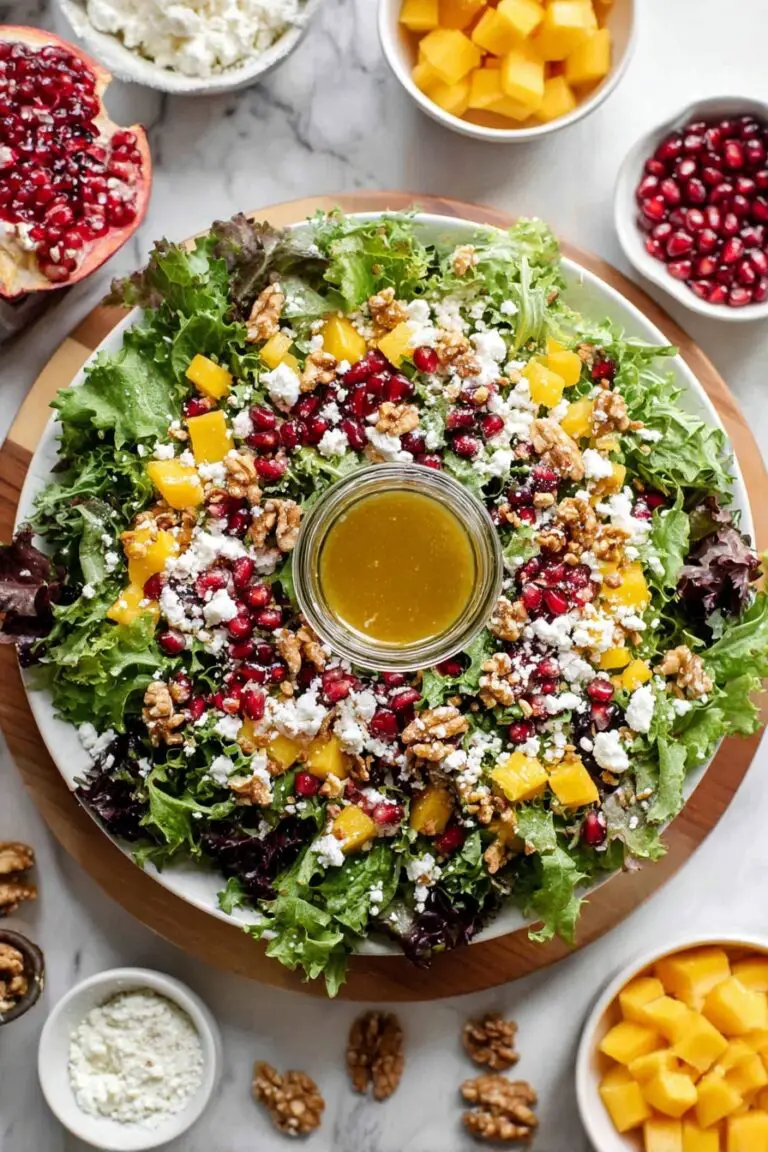
Although Key Lime Pie Bars shine all on their own, they pair beautifully with fresh berries, fruit salad, or a light, crisp sparkling wine. A small mug of coffee or a tropical iced tea also makes for a lovely, refreshing counterpoint.
Creative Ways to Present
Try slicing your bars into bite-sized squares for a dessert platter, layering them in mason jars with whipped cream for cute parfaits, or wrapping individual servings in wax paper for sunny, grab-and-go picnic treats. However you serve them, they’ll draw a crowd (and requests for seconds)!
Make Ahead and Storage
Storing Leftovers
These bars are at their best when stored in the fridge in an airtight container. They’ll keep their creamy texture and signature zing for up to 4 days, making them one of the easiest make-ahead desserts around.
Freezing
Want to stash some sunshine away for later? Key Lime Pie Bars freeze spectacularly! Wrap squares tightly in plastic wrap and foil, place in a freezer-safe container, and freeze for up to 2 months. Thaw in the fridge before serving for best texture.
Reheating
No reheating needed—these bars are meant to be served cool and creamy straight from the fridge! If they’ve been frozen, simply let them thaw slowly for that dreamy, fresh-from-the-bakery bite.
FAQs
-
Can I use regular lime juice instead of key lime?
Absolutely! While true key lime juice has a distinct tartness and floral character, regular Persian limes work wonderfully in this recipe and are much easier to find. Just use the same amount.
-
How do I prevent my graham cracker crust from crumbling?
Make sure to pack the crust mixture firmly and evenly in the pan, and don’t skip the pre-bake step—this gives you a sturdy, sliceable base that holds up to the creamy filling.
-
Can I double this recipe for a bigger crowd?
You bet! Double all the ingredients and use a 9×13-inch baking dish. Your Key Lime Pie Bars will be just as bright and delicious—just keep an eye on them as baking times might vary by a minute or two.
-
Do these bars travel well for picnics or parties?
They sure do! Chill them thoroughly, then transport in a rigid container with a tight-fitting lid. For extra flair, add whipped cream and garnishes once you arrive so everything stays fresh and pretty.
Final Thoughts
If you’re craving a slice of sunshine and something spectacularly easy, treat yourself—and your favorite people—to a batch of Key Lime Pie Bars. They’re zesty, creamy, and guaranteed to brighten even the cloudiest day. Can’t wait for you to try them and make every bite a mini-vacation!
Print
Key Lime Pie Bars Recipe
- Prep Time: 1 hour 15 minutes
- Cook Time: 15 minutes
- Total Time: 1 hour 30 minutes
- Yield: 12 bars 1x
- Category: Dessert
- Method: Baking
- Cuisine: American
- Diet: Vegetarian
Description
These Key Lime Pie Bars are a zesty and sweet dessert that is perfect for any occasion. A buttery graham cracker crust topped with a creamy and tangy key lime filling, these bars are a delightful treat!
Ingredients
Graham Cracker Crust:
- 1 1/2 cups graham cracker crumbs (about 12 full sheets, crushed)
- 1/3 cup granulated sugar
- 6 tablespoons butter, melted
Key Lime Filling:
- 2 14–ounce cans sweetened condensed milk
- 4 ounces cream cheese, softened
- 3/4 cup key lime juice*
- Zest of 2 regular limes or 4 key limes
- Fresh whipped cream, for topping, optional
Instructions
- Make Crust: Combine the graham cracker crumbs, sugar, and melted butter. Press into an 8” square baking pan. Bake at 350°F for 10 minutes. Allow to cool before adding filling.
- Filling: In a mixing bowl, beat cream cheese until smooth. Add sweetened condensed milk, lime juice, and lime zest. Mix until smooth.
- Bake: Pour the filling over the crust and bake for 10 minutes. Cool for 30 minutes, then refrigerate for at least 3 hours before serving.
- Serve: Top with fresh whipped cream if desired.
Notes
- You can use regular limes if key limes are not available.
- Adjust sweetness by adding more or less sugar to the crust.
Nutrition
- Serving Size: 1 bar
- Calories: 320
- Sugar: 28g
- Sodium: 220mg
- Fat: 15g
- Saturated Fat: 9g
- Unsaturated Fat: 5g
- Trans Fat: 0g
- Carbohydrates: 42g
- Fiber: 0g
- Protein: 6g
- Cholesterol: 45mg

