
Making your own marshmallows is surprisingly easy and incredibly rewarding. These homemade treats are far superior to store-bought ones, with a soft, pillowy texture and a burst of vanilla flavor. Perfect for hot chocolate, s’mores, or simply enjoying on their own.
Why You’ll Love This Recipe
- Superior Texture: Homemade marshmallows have a light, airy, and melt-in-your-mouth texture that’s unmatched by store-bought versions.
- Customizable Flavor: You can easily customize the flavor by adding different extracts, spices, or even food coloring.
- Fun and Impressive: Making your own marshmallows is a fun and impressive culinary feat that’s sure to wow your friends and family.
Ingredients
Here’s what you’ll need to make these delightful homemade marshmallows:
- Confectioners’ sugar: For dusting the pan and coating the marshmallows.
- Cornstarch: For dusting the pan and coating the marshmallows.
- Unflavored gelatin: Helps the marshmallows set.
- Cold water: Divided, for blooming the gelatin and making the sugar syrup.
- Light corn syrup: Adds sweetness and prevents crystallization.
- Granulated sugar: Provides sweetness.
- Salt: Balances the sweetness and enhances the flavors.
- Pure vanilla extract: Adds a classic marshmallow flavor.
Note: You’ll find the complete list of ingredients, along with their exact measurements, in the printable recipe card at the bottom of this post.
How to Make Homemade Marshmallows
Step 1: Prepare the Pan
Generously spray a 9×13 inch glass or ceramic baking pan with nonstick cooking spray. Sift together the confectioners’ sugar and cornstarch, and lightly dust the pan with some of the mixture. Set the remaining sugar/cornstarch mixture aside.
Step 2: Bloom the Gelatin
Place the gelatin and 1/2 cup of cold water in the bowl of a stand mixer fitted with a whisk attachment. Whisk on low speed for 1 minute to combine. Let it sit while you cook the sugar syrup.
Step 3: Cook the Sugar Syrup
In a 3-quart heavy-duty saucepan over medium heat, combine the remaining 1/2 cup of water, corn syrup, granulated sugar, and salt. Stir until the sugar dissolves. Attach a candy thermometer to the side of the pan. Brush down the sides of the pan with a water-moistened pastry brush to prevent sugar crystallization.
Step 4: Reach Soft Ball Stage
Without stirring, cook the sugar syrup until it reaches soft ball stage (235-240°F or 113-116°C on a candy thermometer). Remove from heat and let sit for 5 minutes.
Step 5: Whip the Marshmallow
With the mixer on low speed, slowly pour the hot syrup into the gelatin mixture. Gradually increase the speed to high and whip for 10-15 minutes, or until the mixture is white, thick, and shiny. Add the vanilla extract during the last minute of whipping.
Step 6: Set the Marshmallows
Pour the marshmallow mixture into the prepared pan and smooth the top. Let it sit, uncovered, at room temperature for at least 6 hours, or up to 48 hours.
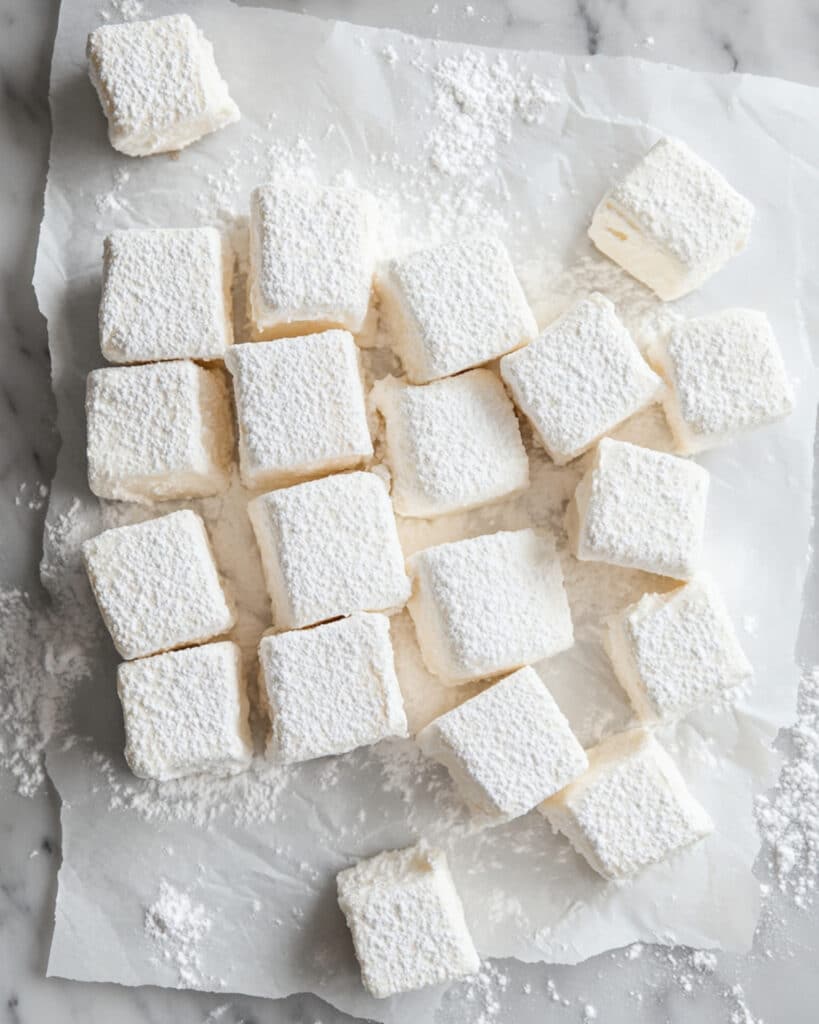
Step 7: Cut and Coat
Once firm, cover a surface with parchment paper and liberally sprinkle it with the remaining cornstarch/sugar mixture. Loosen the edges of the marshmallow from the pan and invert it onto the prepared surface. Peel the marshmallow away from the pan. Cut it into 1.5-inch squares, coating the knife with the cornstarch/sugar mixture as needed. Roll the edges of the marshmallows in the mixture to prevent stickiness.
Step 8: Store
Store leftover marshmallows in an airtight container at room temperature, with parchment paper between layers, for up to 2 weeks.
Pro Tips for Making the Recipe
- Use a candy thermometer: This ensures that the sugar syrup reaches the correct temperature.
- Don’t skip blooming the gelatin: Blooming the gelatin ensures that it dissolves properly and creates a smooth marshmallow texture.
- Whip the marshmallow long enough: Whipping the marshmallow for 10-15 minutes is crucial for creating a light and airy texture.
- Use a sharp knife: A sharp knife makes it easier to cut the marshmallows into clean squares.
- Coat the knife with cornstarch/sugar mixture: This prevents the marshmallows from sticking to the knife.
How to Serve Homemade Marshmallows
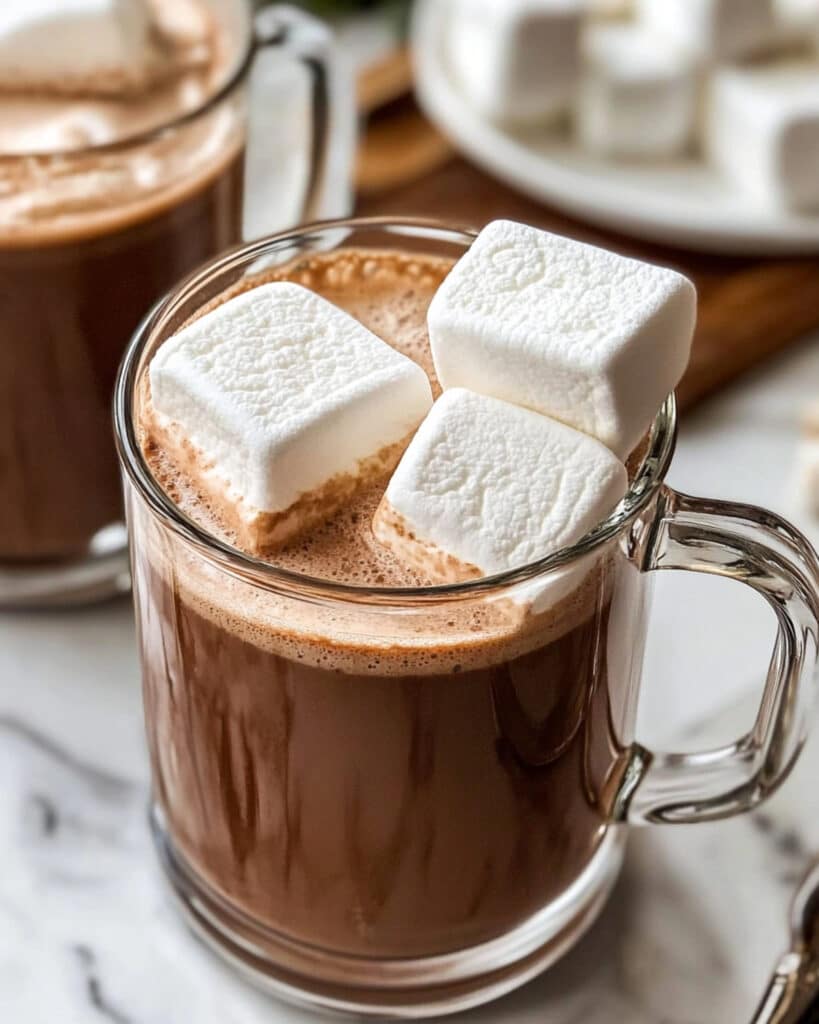
- In Hot Chocolate: Add a few homemade marshmallows to your hot chocolate for an extra special treat.
- In S’mores: Use homemade marshmallows to make the ultimate s’mores.
- As a Snack: Enjoy them on their own as a sweet and fluffy snack.
- In Rice Krispie Treats: Use homemade marshmallows to make extra delicious rice krispie treats.
Make Ahead and Storage
Make Ahead Instructions:
Marshmallows can be made up to 2 weeks in advance.
Storage Instructions:
Store leftover marshmallows in an airtight container at room temperature, with parchment paper between layers, for up to 2 weeks.
FAQs
Can I use a metal pan?
It’s recommended to use a glass or ceramic pan, as a metal pan can affect the taste of the marshmallows.
Can I use a different extract?
Yes, you can use other extracts such as peppermint, almond, or lemon.
Can I add food coloring?
Yes, you can add food coloring during the last minute of whipping.
Can I make flavored marshmallows?
Yes, you can add flavors such as cocoa powder, fruit purees, or spices during the whipping process.
There you have it! A delicious and easy-to-follow recipe for Homemade Marshmallows that’s perfect for any occasion. Enjoy!
Print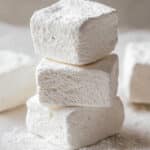
How to Make Homemade Marshmallows
- Prep Time: 35 minutes
- Cook Time: 15 minutes
- Total Time: 6 hours 50 minutes
- Yield: 60 marshmallows 1x
- Category: Dessert
- Method: Stovetop
- Cuisine: American
Description
These homemade marshmallows are soft, fluffy, and melt-in-your-mouth delicious. They’re a far cry from store-bought marshmallows and are perfect for hot chocolate, s’mores, or just snacking.
Ingredients
- 1/3 cup (40g) confectioners’ sugar
- 3 tablespoons (24g) cornstarch
- 3/4 ounce (21g) unflavored gelatin (3 standard 1/4-ounce packets)
- 1 cup (240ml) cold water, divided
- 1 cup (325g) light corn syrup
- 1 1/2 cups (300g) granulated sugar
- 1/4 teaspoon salt
- 1 tablespoon pure vanilla extract
Instructions
- Prepare Pan: Generously spray a 9×13 inch glass or ceramic baking pan with nonstick cooking spray. Sift confectioners’ sugar and cornstarch together and lightly dust the pan. Set the remaining sugar/cornstarch mixture aside.
- Soften Gelatin: In the bowl of a stand mixer fitted with a whisk attachment (or a large bowl if using a handheld mixer), combine gelatin and ½ cup cold water. Whisk on low speed for 1 minute. Let sit while you cook the syrup.
- Cook Syrup: In a 3-quart heavy-duty saucepan, combine the remaining ½ cup water, corn syrup, granulated sugar, and salt. Stir over medium heat until sugar dissolves. Attach a candy thermometer. Brush down the sides of the pan with a water-moistened pastry brush to prevent crystallization.
- Reach Soft Ball Stage: Cook the syrup without stirring until it reaches 235-240°F (113-116°C) on a candy thermometer (soft ball stage). Remove from heat and let sit for 5 minutes.
- Whip Marshmallow: Turn the mixer on low speed and slowly pour the hot syrup into the gelatin mixture. Gradually increase to high speed and whip for 10-15 minutes, or until thick, white, and shiny. During the last minute, add vanilla extract.
- Pour and Set: Pour the marshmallow mixture into the prepared pan and smooth the top. Let sit uncovered at room temperature for at least 6 hours, or up to 48 hours.
- Cut Marshmallows: Once firm, cover a surface with parchment paper and liberally sprinkle with the remaining cornstarch/sugar mixture. Loosen the marshmallow from the pan and invert it onto the prepared surface. Peel away the pan.
- Cut and Coat: Cut the marshmallow into 1.5-inch squares, coating the knife with cornstarch/sugar mixture as needed. Running the blade under hot water and wiping dry also helps. Roll the edges of the marshmallows in the cornstarch/sugar mixture.
- Store: Store in an airtight container at room temperature with parchment paper between layers for up to 2 weeks.
Notes
- Pan: A glass or ceramic pan is recommended.
- Candy Thermometer: A candy thermometer is essential for accurate temperature readings.
- Whipping: Whipping time may vary depending on the mixer.
- Cutting: Coating the knife with cornstarch/sugar mixture helps prevent sticking.
- Storage: Store in a cool, dry place.
Nutrition
- Serving Size: 1 marshmallow
- Calories: 500kcal
- Sugar: 10g
- Sodium: 10mg
- Fat: 0g
- Saturated Fat: 0g
- Unsaturated Fat: 0g
- Trans Fat: 0g
- Carbohydrates: 0g
- Fiber: 12g
- Protein: 0g
- Cholesterol: 1g


