
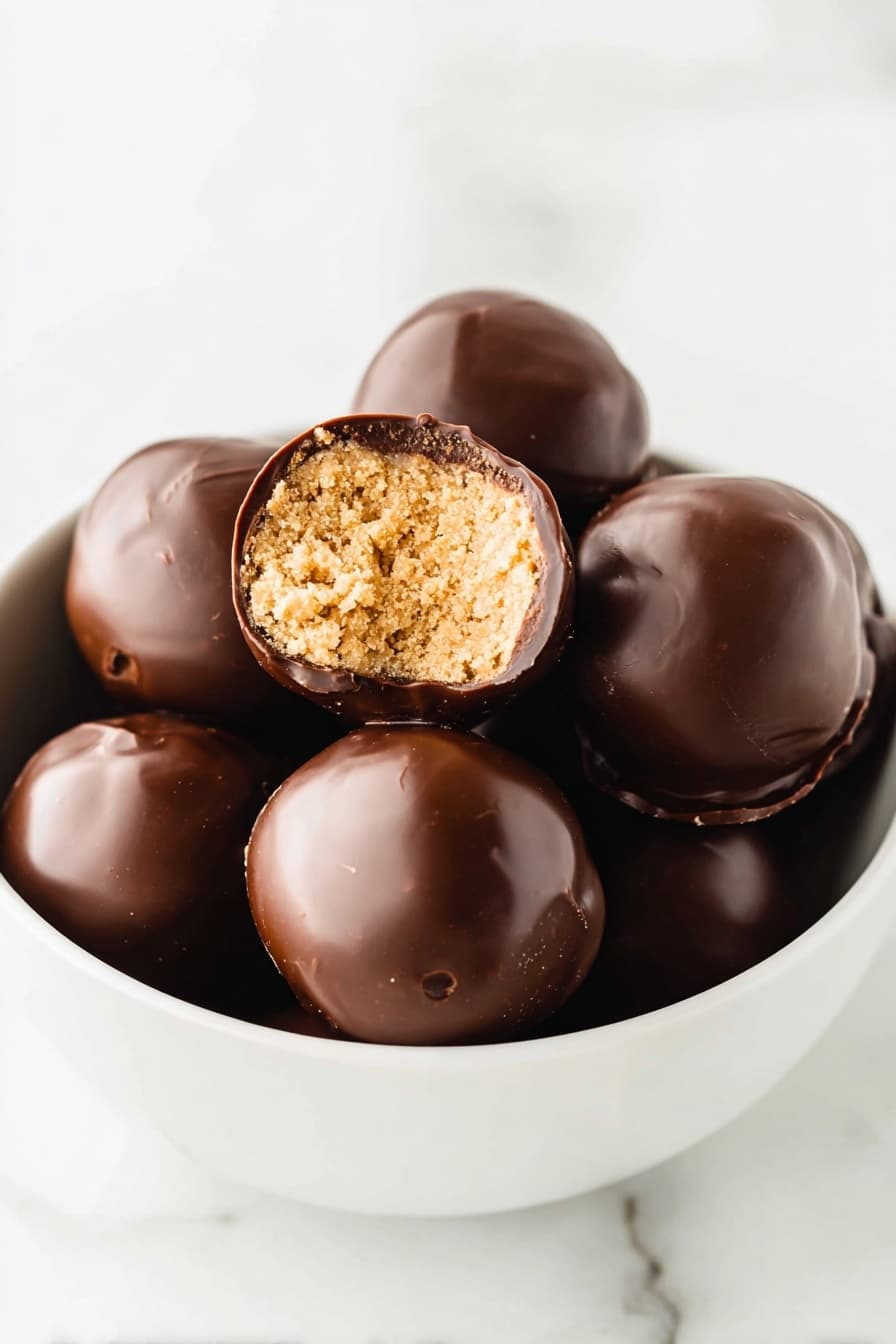
If you’re anything like me and love the delightful combo of chocolate and peanut butter, then you’re in for a real treat with this Chocolate Peanut Butter Balls Recipe. It’s one of those no-fuss, crowd-pleasing snacks that always disappears way too quickly at parties or as an after-dinner indulgence. Plus, it’s super easy to make – which means you can whip up these little bites of goodness with minimal effort but maximum flavor. Stick around, and I’ll share all my best tips so you nail these every single time.
Why You’ll Love This Recipe
- Super Simple & Quick: You’ll have these peanut butter balls ready in about 20 minutes from start to finish – perfect for when you’re short on time.
- Perfect Balance of Flavors: The creamy peanut butter pairs beautifully with smooth chocolate, creating an irresistible sweet and salty combo.
- Customizable & Fun: You can easily switch up the toppings or nut butter to suit your cravings or dietary needs.
- Great for Any Occasion: Whether it’s a holiday party, a quick snack, or a homemade gift, these balls always impress.
Ingredients You’ll Need
Every ingredient here works together to create a luscious texture and decadent flavor. I always recommend using a good-quality peanut butter because it truly shines in this recipe. Also, opting for a smooth chocolate melt ensures that the coating is silky and glossy – trust me, the difference is noticeable!
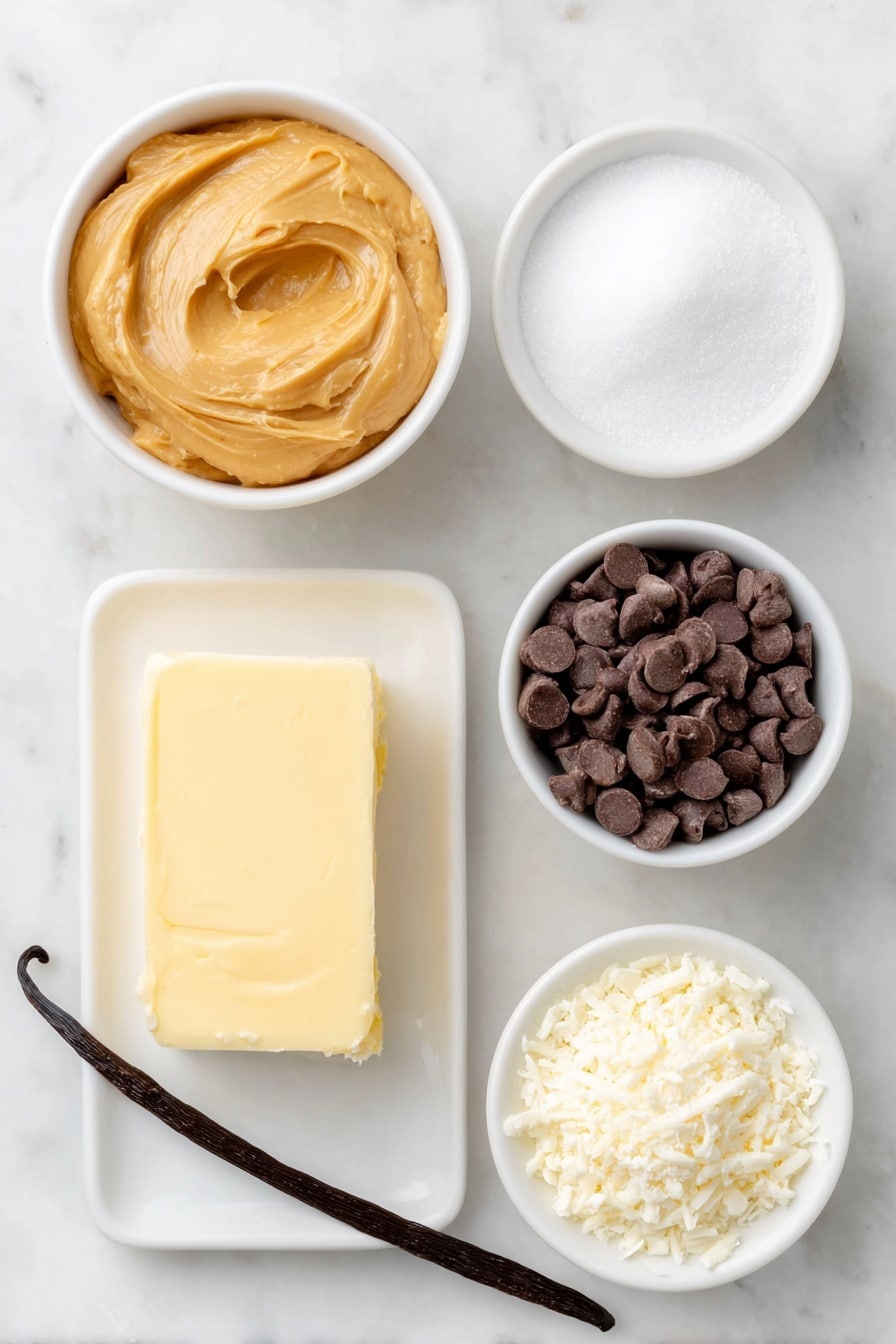
- Peanut butter: Chunky or creamy both work; chunky gives a bit more texture, which I personally love.
- Butter: Softened butter helps bind the peanut butter and powdered sugar, adding richness.
- Powdered sugar: This sweetens and firms up the filling, so don’t skip on this.
- Vanilla extract: Just a splash adds a lovely depth of flavor.
- Chocolate chips: Use semi-sweet or milk chocolate chips for that perfect coating.
- Paraffin wax: This is optional but helps the chocolate harden with a nice sheen – if you prefer, swap for candy melts instead.
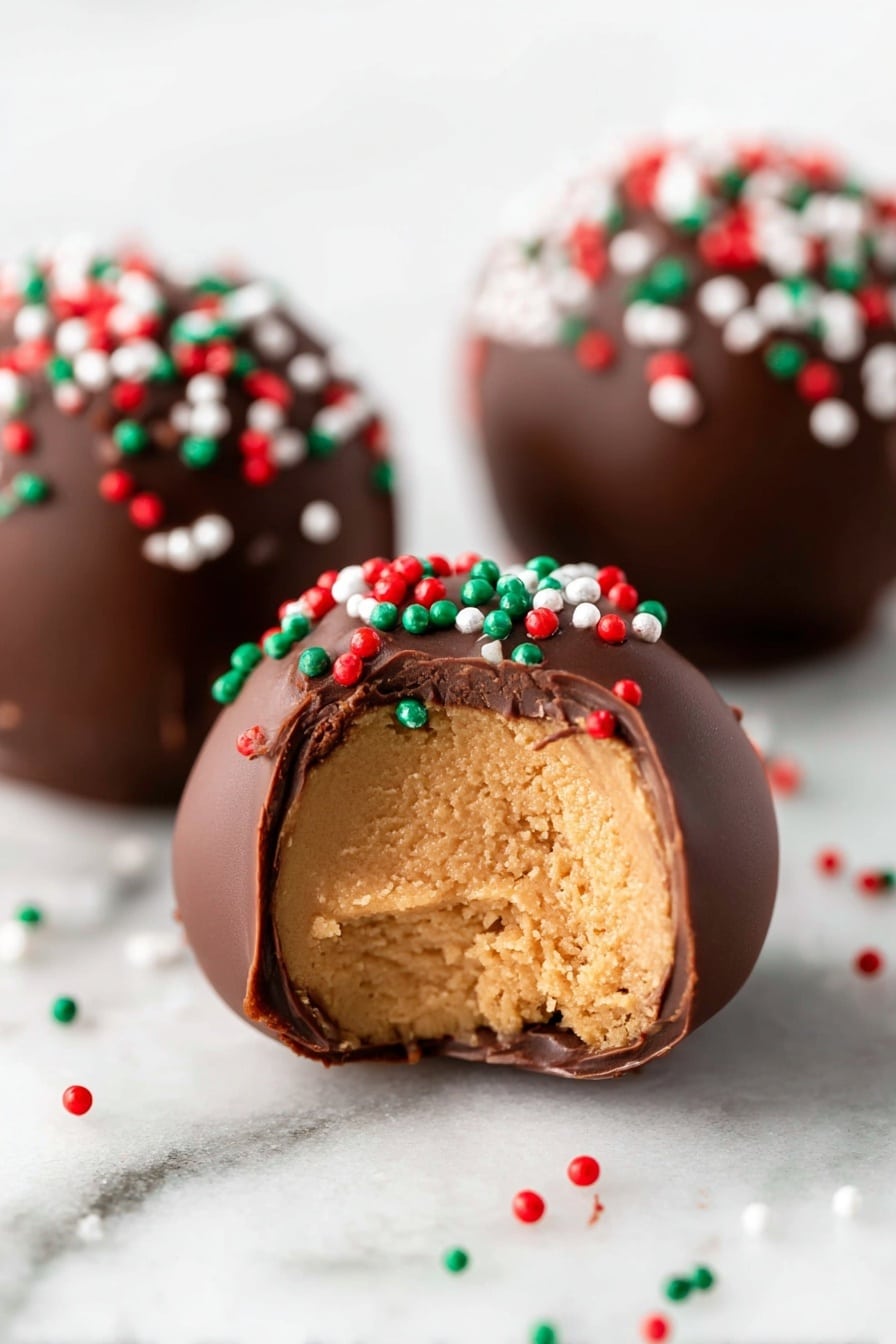
- Sprinkles (optional): Adds a festive touch and makes them extra fun for gift-giving or parties.
Variations
I love how versatile this Chocolate Peanut Butter Balls Recipe is—you can easily tweak it to suit your preferences or what you’ve got in the pantry. Over time, I’ve played around with different nut butters and coatings, and each version brings something fresh to the table.
- Nut Butter Swap: I once swapped peanut butter for almond butter, and the result was deliciously nutty and a little lighter.
- Dairy-Free Version: Use dairy-free butter and vegan chocolate chips to make these suitable for dairy allergies—still just as tasty!
- Add a Twist: Try sprinkling sea salt or crushed pretzels on top for a salty crunch that contrasts beautifully with the sweet chocolate.
- Holiday Flair: Swap out regular sprinkles for crushed peppermint or cinnamon sugar during the holidays for that festive spirit.
How to Make Chocolate Peanut Butter Balls Recipe
Step 1: Mix the Peanut Butter Filling
Start by combining your peanut butter, softened butter, powdered sugar, and vanilla extract in a large bowl. I find using a wooden spoon or an electric mixer helps get smooth, well-blended dough. You want the mixture to be firm enough that it holds together but still soft enough to shape easily—if it feels too sticky, you can pop it in the fridge for 10 minutes.
Step 2: Shape into Bite-Sized Balls
Now for the fun part—roll the mixture into roughly 25 small balls, about the size of a walnut. I like to keep a little bowl of warm water nearby to dip my fingers in; this stops the peanut butter from sticking. Placing the balls on a wax or parchment-lined tray makes it easy to handle them in the next steps.
Step 3: Melt the Chocolate and Wax
Using a double boiler, bring water to a rolling boil then reduce to a simmer and add the chocolate chips along with the grated paraffin wax (if you’re using it). Stir gently until everything is melted into a smooth, shiny coating. If you choose to use candy melts instead, just follow the package instructions and skip the wax—that simplification works great too!
Step 4: Dip and Decorate
Use a spoon to fully dip each peanut butter ball into the melted chocolate, making sure it’s nicely coated. Transfer back to your lined tray. Before the chocolate hardens, sprinkle with festive sprinkles or drizzle with melted white chocolate for a pretty finish. I love this step because it’s where your creativity shines!
Step 5: Chill to Set
Pop the tray into the freezer for about 30 minutes, or until the chocolate has hardened completely. This quick chill helps the chocolate shell snap just right when you bite into it, revealing the creamy peanut butter center.
Pro Tips for Making Chocolate Peanut Butter Balls Recipe
- Avoid Sticky Hands: Keep a small bowl of warm water nearby to wet your fingers before rolling the balls; it makes shaping so much easier.
- Perfect Chocolate Coating: Stir gently when melting chocolate to prevent bubbles and ensure a glossy finish.
- Use a Cooling Rack: After dipping, use a fork or cooling rack to let excess chocolate drip off for neater balls.
- Chill Thoroughly: Don’t skip the freezer step – it helps chocolate set perfectly and keeps your peanut butter center firm.
How to Serve Chocolate Peanut Butter Balls Recipe
Garnishes
I usually keep it simple with festive sprinkles or a quick white chocolate drizzle for a bit of contrast. But sometimes, I’ll toss on crushed nuts or even a tiny pinch of flaky sea salt – it really amps up the flavor and makes each bite a little extra special.
Side Dishes
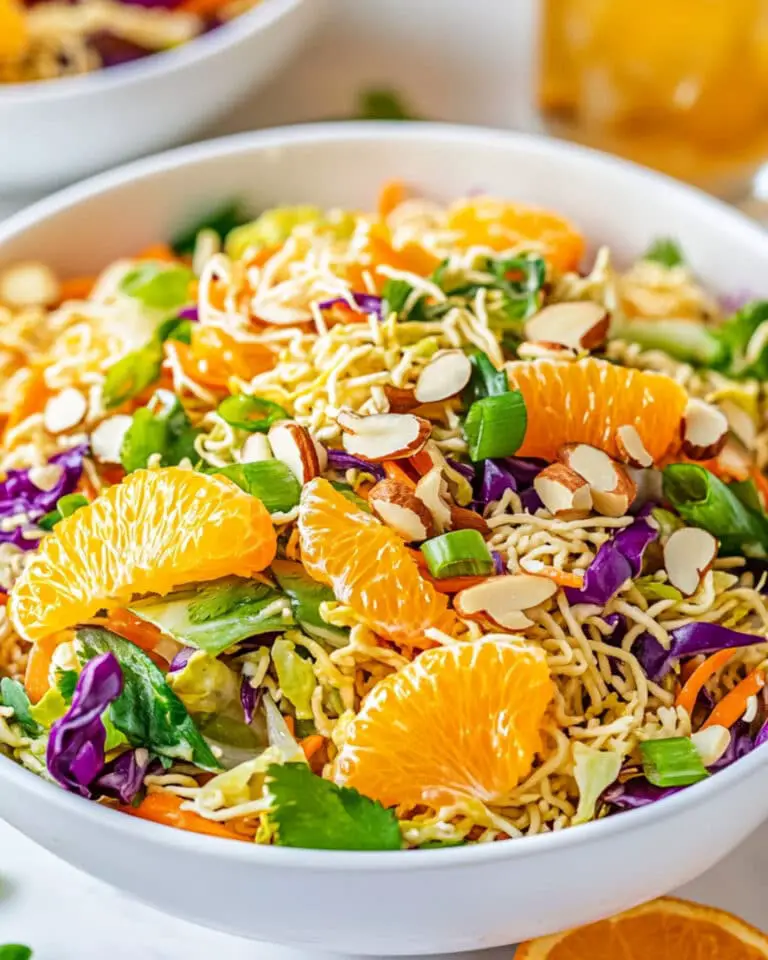
These peanut butter balls are perfect on their own, but I’ve enjoyed serving them alongside a fresh fruit platter or a hot cup of coffee or tea – the contrasting temperatures and flavors make for an oh-so-satisfying snack break.
Creative Ways to Present
For holiday parties or gift-giving, I like to arrange the chocolate peanut butter balls in decorative tins or small cupcake liners, then wrap them up with a festive ribbon. They make impressive edible gifts and always show off your kitchen skills beautifully.
Make Ahead and Storage
Storing Leftovers
I store leftover peanut butter balls in an airtight container in the fridge. They keep really well for up to two weeks, and honestly, they rarely last that long in my house! Just keep them chilled so the chocolate stays firm and the centers stay creamy.
Freezing
If you want to make a big batch ahead, freezing works like a charm. I place them in a freezer-safe container with parchment paper between layers to keep them from sticking. They’re good for up to three months, which is perfect for planning ahead for holiday treats or unexpected guests.
Reheating
When you’re ready to enjoy frozen peanut butter balls, just defrost them in the fridge overnight. No reheating needed—just let them come back to that perfect chilled texture. If you need them sooner, leave them out on your counter for 30 minutes to soften up just right.
FAQs
-
Can I make the Chocolate Peanut Butter Balls Recipe without paraffin wax?
Absolutely! The paraffin wax helps the chocolate harden with a nice shine and firmness, but you can simply use candy melts or high-quality chocolate chips without wax for a great result. Just follow the melting instructions on the candy melts package and skip the wax altogether.
-
Can I use natural peanut butter for this recipe?
Natural peanut butter can work, but it often has more oil, which might affect the texture and firmness of the balls. If you use natural, you might want to chill the mixture a bit longer before shaping or add a bit more powdered sugar to get the right consistency.
-
How do I prevent the peanut butter balls from melting too quickly?
Keep them refrigerated or frozen until ready to serve. Serving them chilled ensures the chocolate coating stays firm and the center holds up nicely. If you leave them out too long at room temperature, they might get a bit soft.
-
Can I make these vegan or allergy-friendly?
Yes! Use dairy-free vegan butter and vegan chocolate chips. For nut allergies, try sunflower seed butter or soy nut butter as a replacement, though the flavor and texture will be slightly different.
Final Thoughts
This Chocolate Peanut Butter Balls Recipe has become a go-to in my kitchen because it’s quick, foolproof, and always a hit with everyone who tries it. I love how easy it is to customize and how the rich, creamy centers perfectly complement the smooth chocolate shell. Whether you’re new to making no-bake treats or a seasoned pro looking for a guaranteed crowd-pleaser, you’ll enjoy the simplicity and deliciousness of this recipe. So go ahead, make a batch, share with your favorite people, and watch how fast they disappear – you’ll be asked for the recipe before you know it!
Print
Chocolate Peanut Butter Balls Recipe
- Prep Time: 20 minutes
- Cook Time: 10 minutes
- Total Time: 30 minutes
- Yield: 25 balls 1x
- Category: Dessert
- Method: Stovetop
- Cuisine: American
Description
Delicious and easy-to-make Chocolate Peanut Butter Balls that combine creamy peanut butter with a rich chocolate coating. This no-bake treat is perfect for holidays or anytime you crave a sweet, nutty snack.
Ingredients
Peanut Butter Mixture
- 1½ cups chunky or creamy peanut butter
- ½ cup butter, softened
- 2 cups powdered sugar
- 1 teaspoon vanilla extract
Chocolate Coating
- 12 oz bag of chocolate chips
- 2 tablespoons paraffin wax, grated (optional, omit if using candy melts)
Optional
- Sprinkles for decoration
Instructions
- Prepare the peanut butter mixture: In a large bowl, combine the peanut butter, softened butter, powdered sugar, and vanilla extract. Mix thoroughly until the ingredients are fully incorporated and form a dough-like consistency suitable for shaping.
- Form the balls: Shape the peanut butter mixture into 25 evenly sized balls. Place them on a flat surface or tray in preparation for dipping.
- Melt the chocolate coating: Using a double boiler method, bring a pot of water to a rolling boil and place a heatproof bowl over it. Add the chocolate chips and grated paraffin wax (if using) to the bowl. Stir continuously until the chocolate and wax are completely melted and smooth. If substituting with candy melts, omit the paraffin wax and follow the package instructions for melting.
- Dip the peanut butter balls: Using a spoon, carefully dip each peanut butter ball into the melted chocolate until fully coated. Allow any excess chocolate to drip off, then place the coated balls onto a rimmed sheet pan lined with wax or parchment paper.
- Add decorations and chill: If desired, sprinkle the chocolate-covered balls with holiday-themed sprinkles or drizzle with melted white chocolate for decoration. Place the tray in the freezer and let the balls harden for about 30 minutes.
Notes
- Storage: Store peanut butter balls in an airtight container in the refrigerator for up to 2 weeks.
- Freezing: Freeze in a freezer-safe container for up to 3 months to maintain freshness.
- Wax Alternative: Paraffin wax helps harden the chocolate coating, but if using candy melts, you can omit this ingredient and follow melting instructions on the package.
Nutrition
- Serving Size: 1 ball
- Calories: 150
- Sugar: 14g
- Sodium: 80mg
- Fat: 10g
- Saturated Fat: 4g
- Unsaturated Fat: 6g
- Trans Fat: 0g
- Carbohydrates: 14g
- Fiber: 1g
- Protein: 4g
- Cholesterol: 15mg


