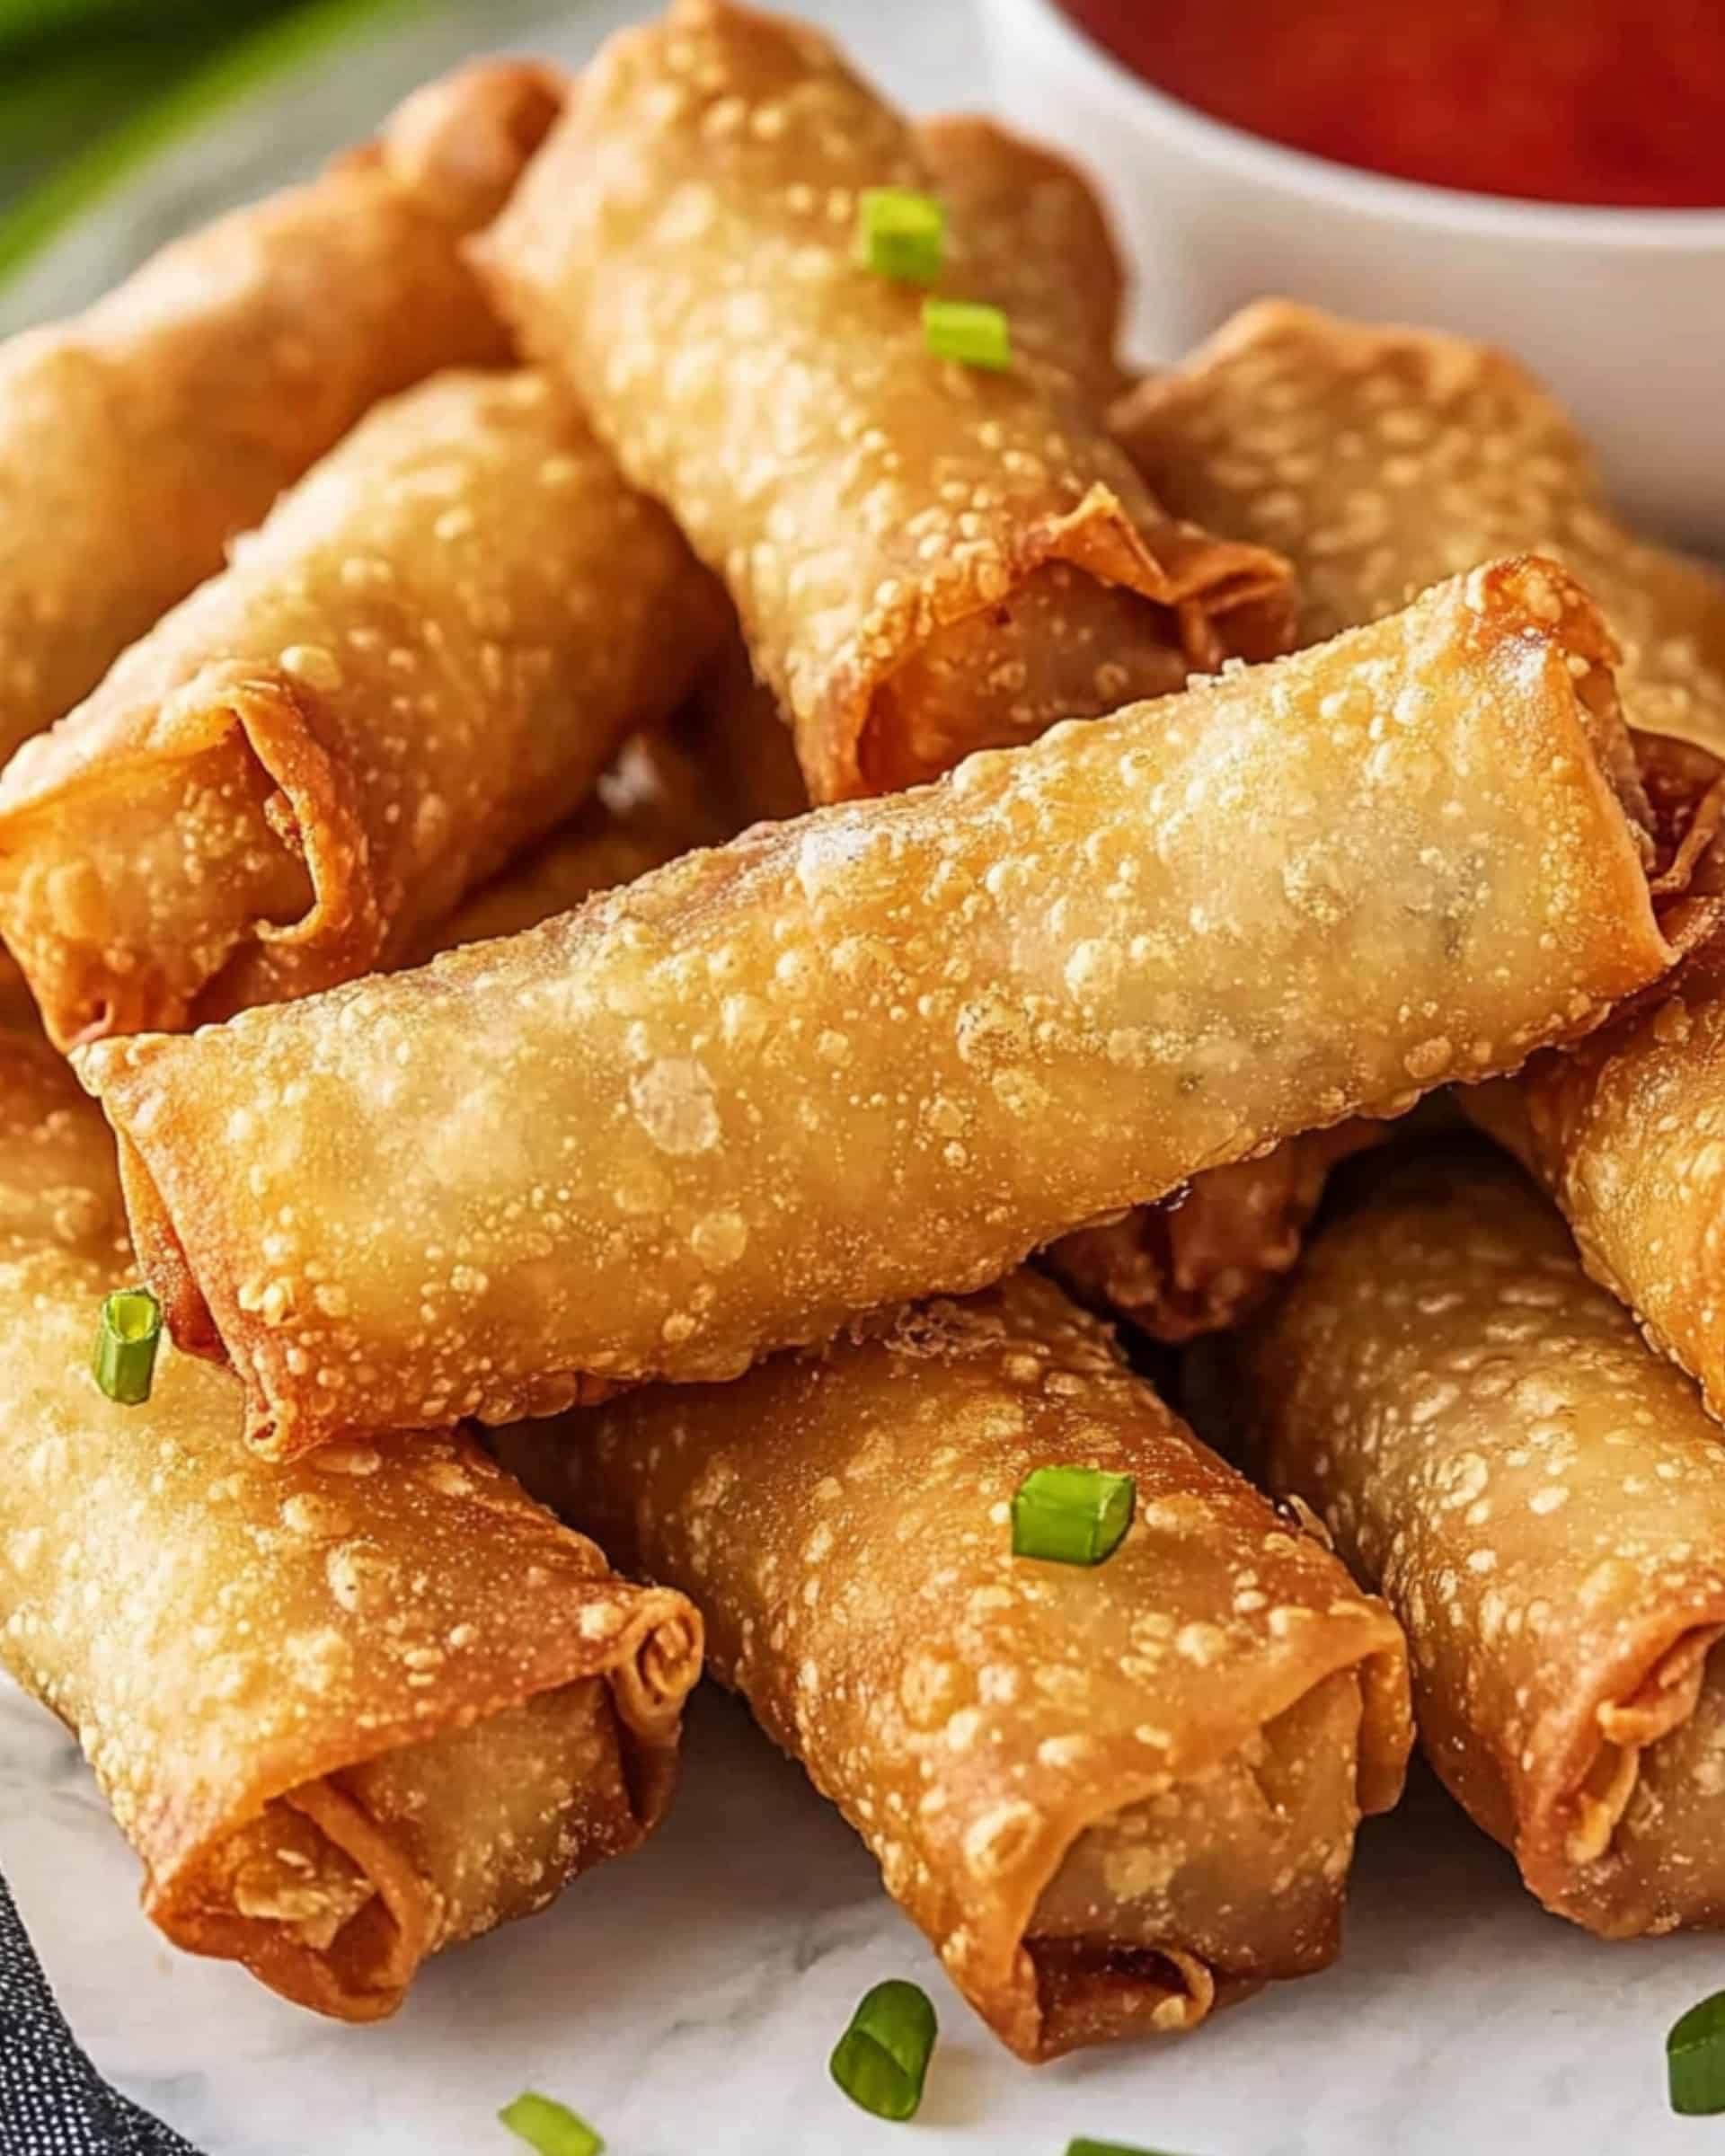
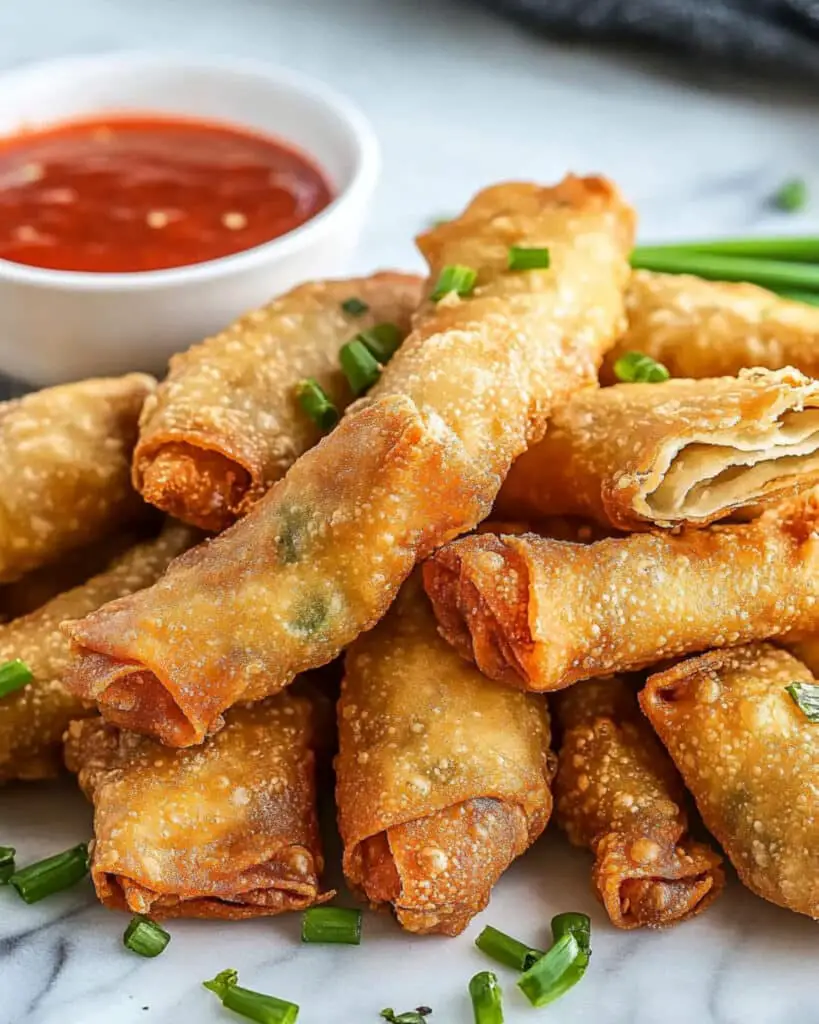
This homemade Crispy Spring Rolls recipe delivers the perfect balance of crispy exterior and flavorful filling that will transport your taste buds straight to your favorite Asian restaurant. In just 35 minutes, you’ll have golden-brown, crunchy spring rolls that are guaranteed to disappear quickly from your table. They’re easier to make than you might think and far superior to anything from the freezer section!
Why You’ll Love This Recipe
- Restaurant-Quality at Home: Achieve that perfect crispiness and authentic flavor right in your own kitchen.
- Versatile Filling: Easily customize with your favorite protein and vegetables.
- Make-Ahead Friendly: Prepare the filling in advance for quick assembly when you’re ready to cook.
- Crowd-Pleaser: These spring rolls disappear fast at parties, family gatherings, and weeknight dinners alike.
- Satisfying Crunch: That distinctive crackly wrapper paired with the savory filling creates the perfect texture contrast.
Ingredients You’ll Need
For the Filling:
- Ground chicken or pork: Provides a hearty, protein-rich base. Ground chicken offers a lighter flavor, while pork brings a bit more richness.
- Sesame oil: Adds that distinctive nutty Asian flavor that transforms the filling.
- Minced garlic: Brings essential aromatic depth to the filling.
- Grated ginger: Adds a warm, spicy kick that brightens the entire dish.
- Oyster sauce: Delivers umami richness and saltiness without overwhelming the other flavors.
- Shredded green cabbage: Creates bulk and texture while absorbing all the wonderful flavors around it.
- Shredded carrots: Adds natural sweetness, color, and nutritional value.
- Sliced green onions: Provides a mild oniony flavor and fresh finish to the filling.
For Wrapping and Frying:
- Spring roll wrappers: Look for these thin, paper-like sheets in the refrigerated section of Asian grocery stores or well-stocked supermarkets.
- Beaten egg: Acts as the perfect natural glue to seal your wrappers.
- Vegetable oil: Choose a neutral oil with a high smoke point for the crispiest results.
Note: You’ll find the complete list of ingredients, along with their exact measurements, in the printable recipe card at the bottom of this post.
Variations
Protein Options
Try substituting the ground meat with finely chopped shrimp, crumbled tofu for a vegetarian version, or even thinly sliced mushrooms for an umami-packed vegetarian alternative.
Veggie Variations
Add bean sprouts for extra crunch, finely chopped water chestnuts, thinly sliced bell peppers, or shredded jicama for a refreshing twist.
Flavor Boosters
Consider adding a splash of fish sauce, a drizzle of sriracha, or some chopped fresh herbs like cilantro or Thai basil to elevate the filling’s flavor profile.
Baked Option
For a lighter version, brush the assembled rolls with oil and bake at 425°F for about 15-20 minutes, turning halfway through, until golden and crispy.
How to Make Perfectly Crispy Spring Rolls
Step 1: Prepare the Filling
Heat sesame oil in a large skillet over medium-high heat. Add your ground meat, breaking it up with a wooden spoon as it cooks for 4-5 minutes. Add the minced garlic, grated ginger, and oyster sauce to the skillet. Continue cooking for another 3-4 minutes until the meat is completely cooked through.
Step 2: Add Vegetables
Add the shredded cabbage, carrots, and green onions to the meat mixture. Sauté everything together until the vegetables soften slightly but still maintain some firmness, about 2-3 minutes. Be careful not to overcook – you want the vegetables to retain some texture and avoid a soggy filling.
Step 3: Cool the Filling
Transfer the cooked filling to a container and place it in the refrigerator to cool completely. This crucial step prevents the wrappers from becoming soggy during assembly and helps the rolls hold their shape.
Step 4: Heat Oil
In a wok or deep skillet, heat about 3 inches of vegetable oil to 375°F. Using a cooking thermometer helps ensure the perfect frying temperature for crispy, not greasy, spring rolls.
Step 5: Assemble the Spring Rolls
Place a spring roll wrapper on a clean, flat surface with one corner pointing toward you (like a diamond). Spoon about 2 tablespoons of filling in a line across the center of the wrapper, closer to the bottom corner. Be careful not to overfill, as this can cause the wrappers to tear.
Step 6: Wrap and Seal
Dab the beaten egg around the edges of the wrapper. Fold the bottom corner up and over the filling, then fold in the left and right corners. Roll tightly away from you until you reach the top corner, sealing it with more egg wash if needed. The roll should be tight and compact, with no air pockets.
Step 7: Fry to Perfection
Carefully lower a few spring rolls at a time into the hot oil, being careful not to overcrowd the pan. Fry for 2-3 minutes, turning occasionally, until they’re golden brown and crispy all over. Remove with a slotted spoon and place on paper towels to drain excess oil.
Pro Tips for Making the Recipe
- Temperature Matters: Ensure your oil stays at 375°F for the crispiest results. Too hot, and the wrappers will burn before the inside heats through; too cool, and they’ll absorb too much oil.
- Tight Rolling: The key to a perfect spring roll is rolling it tightly without tearing the wrapper. Practice makes perfect!
- Dry Filling: Make sure your filling isn’t watery or it will make your wrappers soggy. Drain any excess liquid before cooling the filling.
- Work in Batches: Keep your spring roll wrappers covered with a slightly damp cloth while you work to prevent them from drying out.
- Double Wrapper Option: For extra-crispy spring rolls that won’t break during frying, consider using two wrappers per roll.
How to Serve
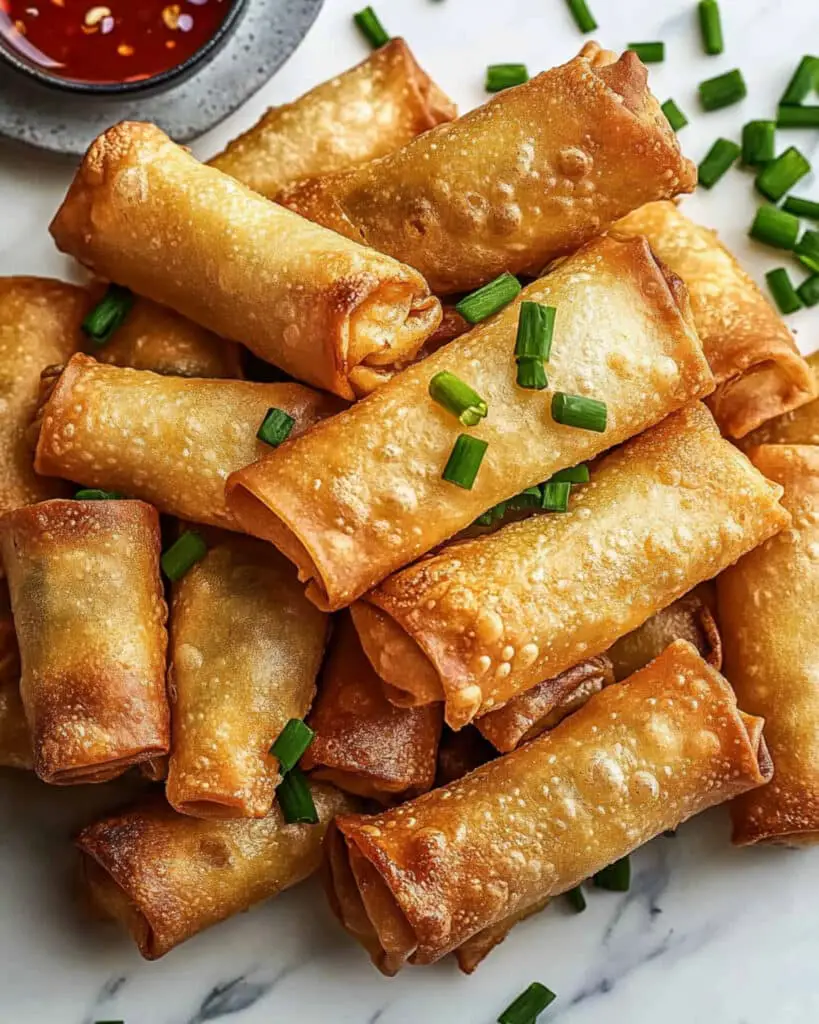
Dipping Sauces
These spring rolls pair beautifully with sweet chili sauce, but also try them with duck sauce, hoisin sauce, or a simple mixture of rice vinegar, soy sauce, and a touch of sugar.
Complete the Meal
Serve alongside steamed rice, a quick stir-fry, or as part of a larger Asian-inspired spread with dumplings, noodles, and stir-fried vegetables.
Garnish Ideas
Sprinkle with sesame seeds, sliced green onions, or chopped cilantro for a fresh, appealing presentation.
Make Ahead and Storage
Storing Leftovers
Cool completely, then store in an airtight container in the refrigerator for up to 3 days. For best results, separate layers with parchment paper to prevent sticking.
Freezing
You can freeze uncooked spring rolls by placing them in a single layer on a baking sheet until solid, then transferring to a freezer bag. They’ll keep for up to 3 months. No need to thaw before frying—just add an extra minute to the cooking time.
Reheating
For maximum crispiness, reheat cooked spring rolls in a 350°F oven for 8-10 minutes, or in an air fryer at 375°F for 3-4 minutes. Microwaving will make them soggy, so avoid that method if possible.
FAQs
-
Can I make these spring rolls ahead of time?
Absolutely! You can prepare the filling up to 2 days in advance and keep it refrigerated. For maximum freshness, I recommend assembling the rolls just before frying. If needed, you can assemble a few hours ahead and keep them covered with a slightly damp towel in the refrigerator to prevent drying out.
-
Why are my spring rolls breaking open during frying?
This typically happens when the rolls are either overfilled or not sealed properly. Try using less filling, making sure to roll them tightly, and sealing the edges well with egg wash. Another common cause is oil that’s too hot, which can cause the wrappers to break apart quickly. Maintain that 375°F temperature for best results.
-
Can I bake these instead of frying them?
Yes! For a healthier version, brush the assembled rolls with oil and bake at 425°F for about 15-20 minutes, turning halfway through, until golden brown and crispy. The texture won’t be exactly the same as fried, but they’ll still be delicious.
-
What’s the difference between spring rolls and egg rolls?
Great question! Spring rolls typically use thinner wrappers made from just flour and water, resulting in a lighter, crispier texture. Egg rolls use thicker wrappers containing egg, which creates a more substantial, bubbly exterior when fried. The fillings often differ too, with egg rolls frequently containing more cabbage and sometimes bean sprouts.
Final Thoughts
These Perfectly Crispy Spring Rolls bring restaurant-quality appetizers right to your kitchen table with surprisingly little effort. The combination of savory filling and that signature crispy wrapper creates an irresistible bite every time. Whether you’re serving them for a family dinner, bringing them to a potluck, or enjoying them as part of a homemade Asian feast, these spring rolls are guaranteed to impress. Don’t be surprised when everyone asks for the recipe!
Print
Perfectly Crispy Spring Rolls Recipe
- Prep Time: 20 minutes
- Cook Time: 15 minutes
- Total Time: 35 minutes
- Yield: 17 spring rolls 1x
- Category: Appetizers
- Method: Frying
- Cuisine: Asian
- Diet: Halal
Description
Perfectly crispy spring rolls filled with a flavorsome mix of ground meat, vegetables, and seasonings wrapped in thin pastry and fried to golden perfection. Ideal as an appetizer or snack.
Ingredients
Filling
- 1 pound ground chicken or ground pork
- 1 tablespoon sesame oil
- 1 tablespoon minced garlic
- 1 tablespoon grated ginger, minced
- 1 tablespoon oyster sauce
- 2 cups shredded green cabbage
- 1/2 cup carrots, shredded
- 1/4 cup green onions, sliced
Wrapping and Frying
- 15 spring roll wrappers
- 1 large egg, beaten
- Vegetable oil for frying
Instructions
- Cook the Filling: Heat sesame oil in a large skillet over medium-high heat. Add in ground meat and break it up into smaller pieces. Cook for 4-5 minutes. Add the garlic, oyster sauce, and minced ginger to the skillet, and continue cooking for 3-4 more minutes until the meat is thoroughly cooked.
- Add the Vegetables: Stir in shredded cabbage and carrots. Cook alongside the meat until the vegetables soften slightly, but ensure they remain a bit firm, about 2-3 minutes. The filling should not be soggy. Once cooked, transfer the mixture into a container and allow it to cool in the fridge.
- Heat the Oil: Heat 3 inches of vegetable oil in a wok or deep skillet to 375 degrees Fahrenheit.
- Assemble the Spring Rolls: Lay a spring roll wrapper flat on a surface. Add about 2 tablespoons of the filling lengthwise to the center of the wrapper, being careful not to overfill it. Use your finger or a small brush to apply beaten egg around the edges of the wrapper. Fold the bottom edge of the wrapper up and over the filling, tuck the two sides over, and roll the wrapper tightly. Ensure the roll is sealed securely. Repeat the wrapping process with the remaining ingredients.
- Fry the Spring Rolls: Carefully place the wrapped spring rolls into the hot oil in small batches. Fry for 2-3 minutes until they turn a golden brown color. Remove the fried spring rolls and place them on a plate or a cooking sheet lined with paper towels to remove any excess oil.
- Serve and Enjoy: Serve the hot spring rolls with sweet chili sauce for dipping and enjoy the crisp and flavorful appetizer.
Notes
- Ensure the filling is not soggy to prevent the spring rolls from becoming too wet during frying.
- Do not overfill the wrappers to avoid difficulties when rolling.
- Maintain the oil temperature at 375 degrees Fahrenheit for optimal frying results.
- Use sweet chili sauce or your preferred dipping sauce for added flavor.
Nutrition
- Serving Size: 1 spring roll
- Calories: 150
- Sugar: 1g
- Sodium: 200mg
- Fat: 5g
- Saturated Fat: 1g
- Unsaturated Fat: 4g
- Trans Fat: 0g
- Carbohydrates: 14g
- Fiber: 2g
- Protein: 8g
- Cholesterol: 25mg

