
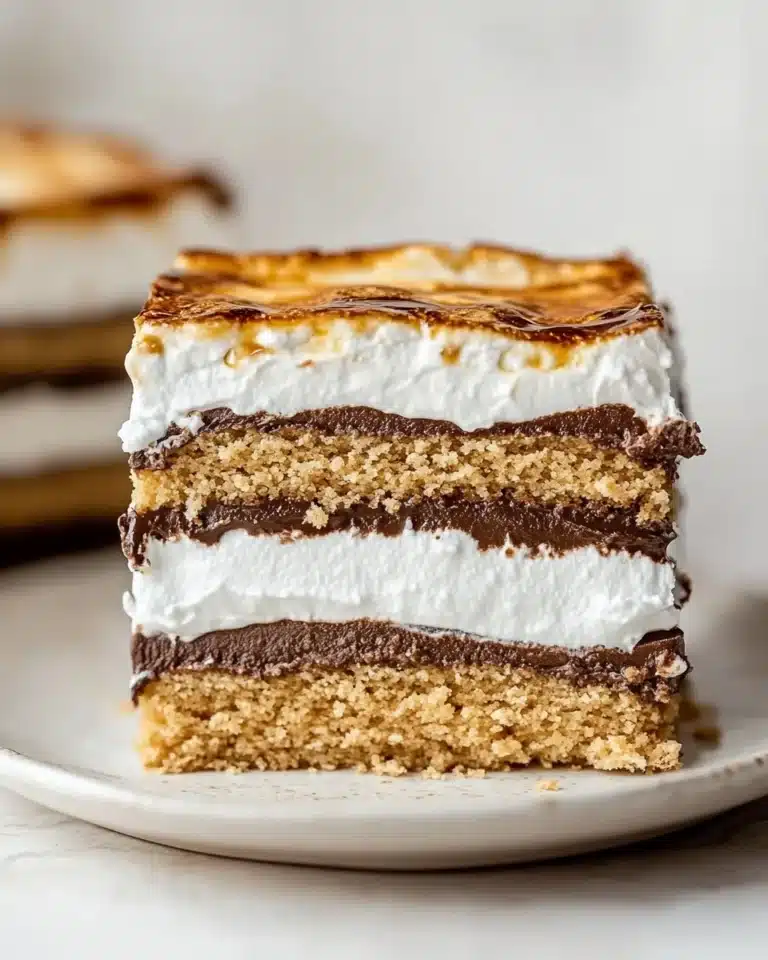
If you’re looking for a dessert that’s both charming and downright delicious, you’re going to adore this Heart Shaped Cocoa Cake with Cream Cheese Frosting Recipe. I absolutely love how this cake pops with rich cocoa flavors enveloped in the smoothest cream cheese frosting you can imagine. When I first tried making it for a loved one’s birthday, the heart shape added such a sweet personal touch that made the celebration even more memorable. Stick around and I’ll walk you through everything to make it just right in your kitchen!
Why You’ll Love This Recipe
- Perfectly Moist and Rich: The combination of buttermilk and vegetable oil gives this cocoa cake an unbeatable moistness that keeps it fresh for days.
- Cream Cheese Frosting Magic: This frosting is silky and tangy, balancing the sweet cocoa flavor beautifully without being overpowering.
- Unique Heart Shape: Creating the heart shape from two simple cakes makes this recipe visually impressive but totally doable.
- Versatile and Fun: Whether you’re celebrating Valentine’s, anniversaries, or just want a special treat, this cake fits the bill perfectly.

Ingredients You’ll Need
This recipe calls for classic pantry staples that blend to create deep cocoa flavor and a luscious frosting. Using room temperature ingredients here is key to a smooth, even batter and frosting, so don’t skip that step!
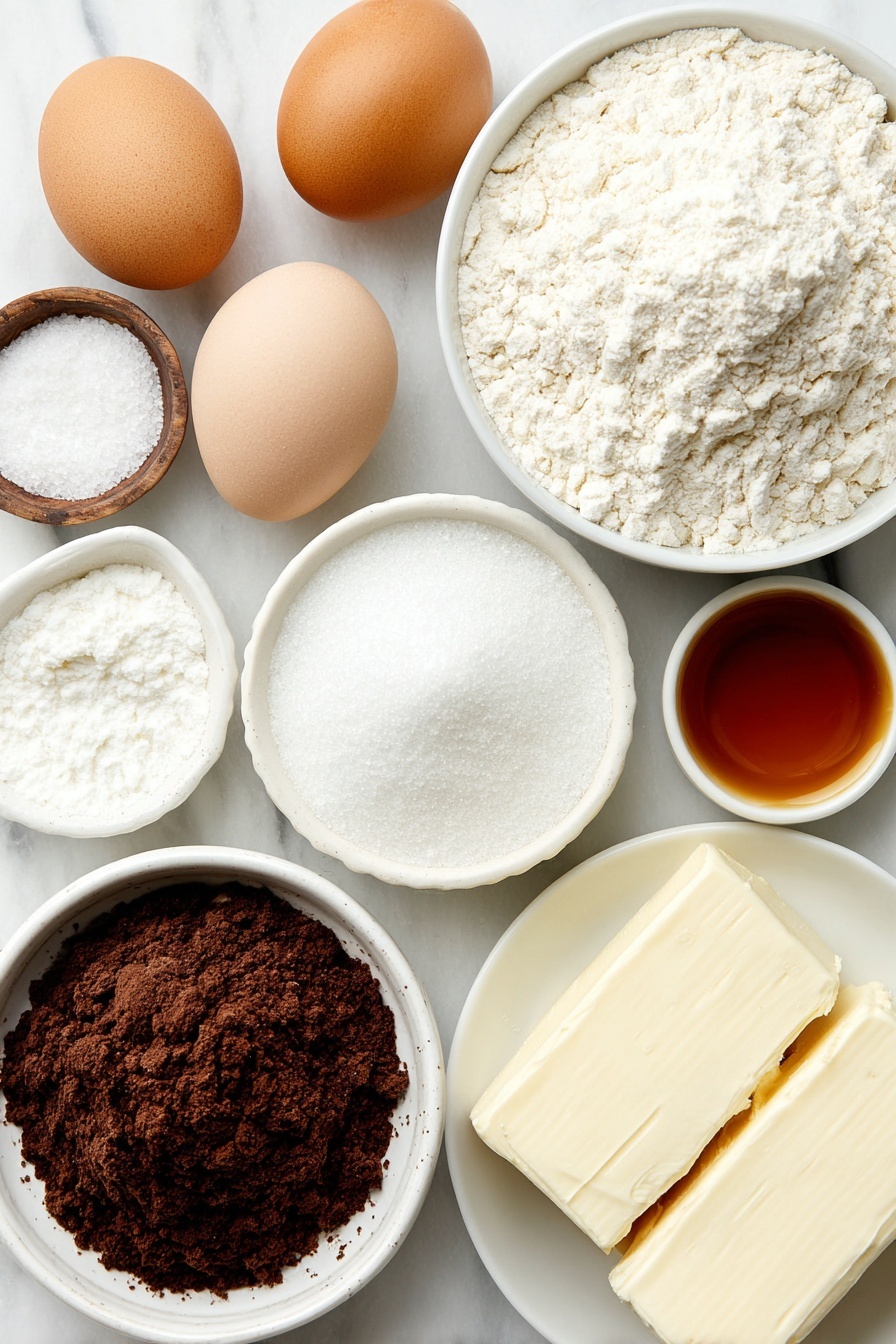
- All-purpose flour: Look for a fresh batch with a good protein content; this gives you just the right crumb.
- Cocoa powder: I prefer natural unsweetened cocoa for the intense chocolate kick.
- Baking soda and baking powder: Both together help the cake rise perfectly and stay tender.
- Granulated sugar: Sweetens the cake just enough, creating balance without cloying.
- Salt: Enhances the chocolate flavor—don’t overlook it, even in sweet recipes.
- Buttermilk: This tangy ingredient tenderizes and moistens the cake beautifully.
- Vegetable oil: Keeps the cake ultra-moist and soft.
- Eggs: Provide structure and richness—use large eggs at room temperature for best results.
- White vinegar: Reacts with baking soda to boost rise and tenderness.
- Vanilla extract: Adds a warm, fragrant note that complements cocoa.
- Liquid red food coloring: This gives the cake that subtle red hue, making the heart shape extra special—feel free to adjust or omit if you prefer a classic chocolate look.
- Cream cheese: Room temperature cream cheese keeps the frosting smooth and creamy.
- Unsalted butter: Soften to room temp for silky frosting texture.
- Powdered sugar: Sweetens the frosting and helps it pipe nicely.
Variations
I love how versatile this Heart Shaped Cocoa Cake with Cream Cheese Frosting Recipe can be. I’ve played around with a few tweaks over the years to suit different tastes or occasions, and honestly, it always turns out fantastic.
- Spiced Chocolate: Adding a pinch of cinnamon or cayenne pepper gives the cake a cozy warmth I’m obsessed with during the colder months.
- Vegan Alternative: I swapped the eggs and buttermilk for applesauce and plant-based milk with a splash of lemon juice—surprisingly moist and tasty!
- Fruit-Infused Frosting: Stir in a spoonful of raspberry puree or orange zest into the frosting for a fresh twist that brightens the rich cocoa flavor.
- Chocolate Chips: Toss in dark or white chocolate chips to the batter if you want extra melty pockets of sweetness in every bite.
How to Make Heart Shaped Cocoa Cake with Cream Cheese Frosting Recipe
Step 1: Prep Your Pans and Preheat Your Oven
Start by preheating your oven to 350°F (175°C). Spray an 8-inch round pan and an 8-inch square pan with a good non-stick pan spray, then line them with parchment paper. I always spray the parchment too—it helps the cakes pop out easily once baked without ruining the perfect edges you’ll need for your heart shape.
Step 2: Mix Your Dry Ingredients
In a medium bowl, sift together the all-purpose flour, cocoa powder, baking soda, and baking powder. Add the granulated sugar and salt to the bowl, then whisk everything together until well combined. This sifting and whisking step is my little secret to avoid lumps and get a light, velvety texture in the cake.
Step 3: Whisk Together the Wet Ingredients
Grab a large bowl and whisk together the buttermilk, vegetable oil, eggs, white vinegar, vanilla extract, and that gorgeous liquid red food coloring. The red tint is subtle but makes a beautiful visual impact, especially combined with the deep cocoa notes. Make sure your eggs and buttermilk are at room temperature; it helps everything blend smoothly.
Step 4: Combine Wet and Dry, Then Divide and Bake
Pour the dry ingredients into the wet and whisk until the batter is smooth and lump-free—but don’t overmix, or you’ll lose that tender crumb. Divide the batter evenly between your prepared pans. Bake for about 30-35 minutes, or until a toothpick inserted in the center comes out clean. Don’t rush opening the oven door—patience here helps the cake rise perfectly without collapsing.
Step 5: Cool Your Cakes
Let the cakes rest in their pans for 10-15 minutes before transferring them to a wire rack to cool completely. I learned this the hard way—trying to frost warm cake can turn your frosting runny. So cooling is a must for that perfect finish!
Step 6: Make the Cream Cheese Frosting
While your cake cools, it’s time to whip up that dreamy cream cheese frosting. Beat the butter and cream cheese together until smooth and creamy—this usually takes a few minutes by hand or with a stand mixer. Add vanilla extract, then slowly beat in powdered sugar until fluffy and spreadable. Don’t rush adding the sugar; adding it bit by bit helps you control the frosting’s sweetness and texture.
Step 7: Assemble Your Heart
Once the cakes are completely cold, cut the round cake in half to create two equal half circles. Take the square cake and place it on your serving plate, then position the half circles on two adjacent sides of the square—forming a perfect heart shape. This is where your imagination shines, and trust me, it’s easier than it looks!
Step 8: Crumb Coat and Frost
Apply a thin layer of frosting over the entire cake to trap any crumbs — this crumb coat keeps your final frosting layer smooth and beautiful. Chill the cake for about 30 minutes to set the crumb coat, then frost generously with the remaining cream cheese frosting. Add your favorite sprinkles, edible glitter, or fresh berries for decoration.
Pro Tips for Making Heart Shaped Cocoa Cake with Cream Cheese Frosting Recipe
- Room Temperature Ingredients: I can’t stress this enough—eggs, butter, and cream cheese should be at room temp to ensure perfect texture and easy mixing.
- Don’t Overmix Your Batter: I learned from past batches that overmixing makes the cake dense—whisk just until smooth for the lightest crumb.
- Chill Between Frosting Steps: Applying the crumb coat and chilling it solidifies your canvas for a flawless final frosting layer.
- Use a Serrated Knife for Shaping: When cutting your round cake in half, a serrated knife ensures clean edges without squishing the cake.
How to Serve Heart Shaped Cocoa Cake with Cream Cheese Frosting Recipe

Garnishes
I love to keep the garnishes simple yet visually striking—think fresh raspberries, chocolate shavings, or a sprinkle of edible rose petals. Sometimes, I dust a tiny bit of cocoa powder over the top for an elegant finish that highlights the cake’s deep chocolate flavor.
Side Dishes
Pair this heart-shaped cocoa cake with a scoop of vanilla bean ice cream or a dollop of whipped cream for an indulgent experience. For a lighter option, a fresh berry salad or a bright citrus compote balances the richness wonderfully.
Creative Ways to Present
For special occasions, I’ve placed this cake on a rustic wooden board surrounded by themed decorations—heart-shaped chocolates, sugar dusted strawberries, or even lit candles around the edges. Another favorite is adding a glaze drizzle over the frosting to give a stunning shine that captures the light beautifully.
Make Ahead and Storage
Storing Leftovers
I store leftover frosted cake in an airtight container in the fridge. The cream cheese frosting keeps it moist, and it usually stays perfect for up to 4 days. Just make sure to bring it to room temperature before serving to get that luscious, creamy texture back.
Freezing
I’ve had great success freezing the unfrosted cakes wrapped tightly in plastic wrap and then foil. When you’re ready, thaw overnight in the fridge, then frost as usual. Freezing the assembled cake is trickier because cream cheese frosting can lose a bit of texture, but it’s doable if you wrap really well.
Reheating
If you want to warm a slice, I recommend microwaving it for just 10-15 seconds on low power to soften it slightly without melting the frosting. This brings out the cake’s richness and gives it that fresh-baked feel.
FAQs
-
Can I use regular milk instead of buttermilk in this recipe?
Yes, you can substitute milk plus 1 tablespoon of lemon juice or white vinegar to mimic buttermilk’s acidity. Let the mixture sit for 5 minutes before using to ensure the right texture and tang.
-
How do I get the red color without food coloring?
If you prefer to avoid food coloring, you can omit it or try using natural beet juice as a substitute. Keep in mind natural alternatives may slightly alter the flavor and color intensity.
-
What if my cream cheese frosting is too runny?
This usually happens if the cream cheese or butter is too warm. Chill your frosting in the fridge for a bit, then re-whip before applying. Also, adding a little more powdered sugar can help stiffen it up.
-
Can I make this cake gluten-free?
Absolutely! Use a gluten-free flour blend that’s designed for baking. The texture might be slightly different but still delicious, especially if you add a teaspoon of xanthan gum for stability.
-
How long can I keep this cake before serving?
This cake is best served within 2 days for maximum freshness, but stored properly in the fridge it can last up to 4 days. Allow it to come to room temperature before eating for the best experience.
Final Thoughts
I can’t recommend this Heart Shaped Cocoa Cake with Cream Cheese Frosting Recipe enough when you want to impress without the fuss. It’s one of those recipes that’s deceptively simple but feels so special—perfect for sharing with people you love or just treating yourself to something extraordinary. Give it a try, and I promise you’ll be coming back to make this sweet heart time and again!
Print
Heart Shaped Cocoa Cake with Cream Cheese Frosting Recipe
- Prep Time: 40 minutes
- Cook Time: 35 minutes
- Total Time: 1 hour 45 minutes
- Yield: 12 servings 1x
- Category: Dessert
- Method: Baking
- Cuisine: American
Description
This delightful Heart Shaped Cake recipe combines a moist, tender chocolate cake with creamy, smooth cream cheese frosting, perfect for special occasions like Valentine’s Day or anniversaries. The red food coloring and simple assembly into a heart shape make it visually stunning and festive, while the rich frosting balances the slightly tangy cocoa flavor beautifully.
Ingredients
Cake Ingredients
- 2 ½ Cups all-purpose flour
- ¼ cup cocoa powder
- 1 ½ teaspoons baking soda
- 1 teaspoon baking powder
- 1 ½ cups granulated sugar
- ½ teaspoon salt
- 1 ½ cups buttermilk, room temperature
- 1 cup vegetable oil
- 2 large eggs, room temperature
- 1 teaspoon white vinegar
- 2 teaspoons vanilla extract
- 2 tablespoons liquid red food coloring
Frosting Ingredients
- 1 pound cream cheese, room temperature
- 8 ounces unsalted butter, room temperature
- 1 teaspoon vanilla extract
- 1 ½ cups powdered sugar
Instructions
- Prepare Pans: Preheat the oven to 350°F. Spray one 8-inch round pan and one 8-inch square pan with pan spray and line each with parchment paper. Spray the parchment and set aside.
- Mix Dry Ingredients: In a medium bowl, sift together the flour, cocoa powder, baking soda, and baking powder. Add the sugar and salt, whisk together, and set aside.
- Combine Wet Ingredients: In a large bowl, whisk together the buttermilk, vegetable oil, eggs, white vinegar, vanilla extract, and red food coloring until smooth.
- Make Batter: Gradually add the dry flour mixture to the wet ingredients, whisking until smooth and fully combined without overmixing.
- Bake: Evenly divide the batter between the prepared pans. Bake for 30-35 minutes, or until a toothpick inserted into the center comes out clean or the cakes spring back when gently pressed.
- Cool Cakes: Allow cakes to cool in the pans for 10-15 minutes, then remove from pans and transfer to a cooling rack to cool completely.
- Make Frosting: In a large mixing bowl or stand mixer, beat the cream cheese and unsalted butter together until creamy and smooth.
- Add Flavor: Mix in vanilla extract, scraping the bowl sides as needed for even consistency.
- Finish Frosting: Gradually add powdered sugar while mixing on low speed until incorporated, then increase speed and beat until fluffy.
- Assemble Cake: Once cooled, cut the round cake in half to form two half circles. Place the square cake on your serving plate and position the two half circles on adjacent sides to create a heart shape.
- Apply Crumb Coat: Spread a thin layer of frosting over the entire assembled cake to trap loose crumbs, smooth it out, then chill briefly if desired.
- Final Frosting Layer: Spread the remaining frosting evenly over the cake. Decorate with sprinkles or other desired decorations.
- Chill Before Serving: Refrigerate the decorated cake for at least 30 minutes to allow the frosting to set before slicing and serving.
Notes
- Ensure the buttermilk and eggs are at room temperature to avoid curdling and ensure even mixing.
- Red food coloring is key to achieving the classic red velvet look; adjust quantity if you prefer a deeper or lighter color.
- For best results, use fresh baking powder and baking soda to ensure proper rising.
- A crumb coat is essential for a smooth final frosting finish and prevents crumbs from mixing into the outer frosting layer.
- This cake can be stored in the refrigerator for up to 3 days covered tightly.
Nutrition
- Serving Size: 1 slice (1/12 of cake)
- Calories: 410
- Sugar: 35g
- Sodium: 320mg
- Fat: 24g
- Saturated Fat: 10g
- Unsaturated Fat: 12g
- Trans Fat: 0g
- Carbohydrates: 45g
- Fiber: 2g
- Protein: 4g
- Cholesterol: 55mg


