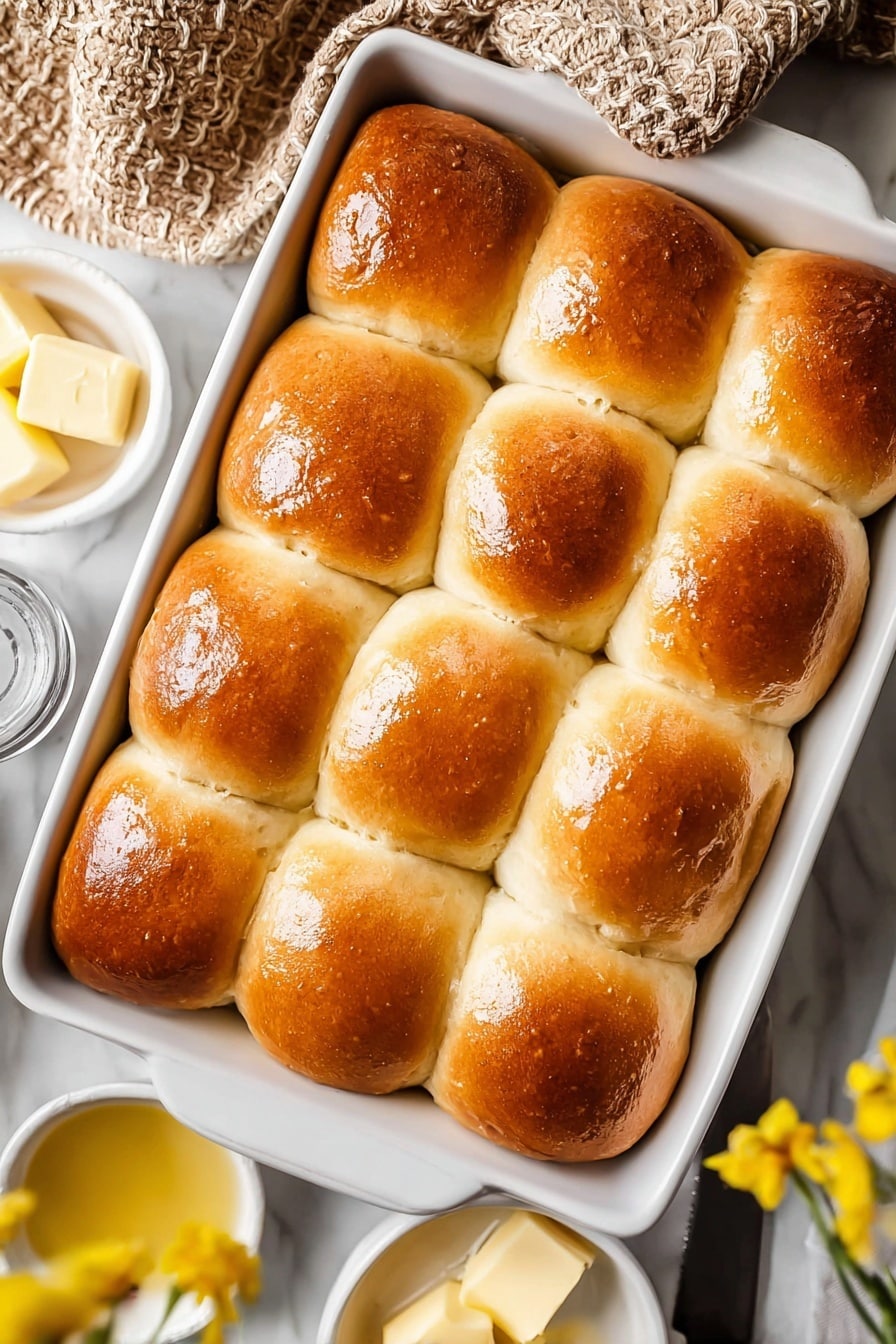
If you’re craving something irresistibly soft, buttery, and downright comforting, you’ve got to try this Soft Homemade Yeast Rolls Recipe. I absolutely love how these rolls turn out fluffy with just the right touch of sweetness and a golden crust that makes every bite a little celebration. Whether it’s for a holiday dinner, a weekend brunch, or just because, I know you’ll find this recipe super satisfying—and surprisingly easy to pull off!
Why You’ll Love This Recipe
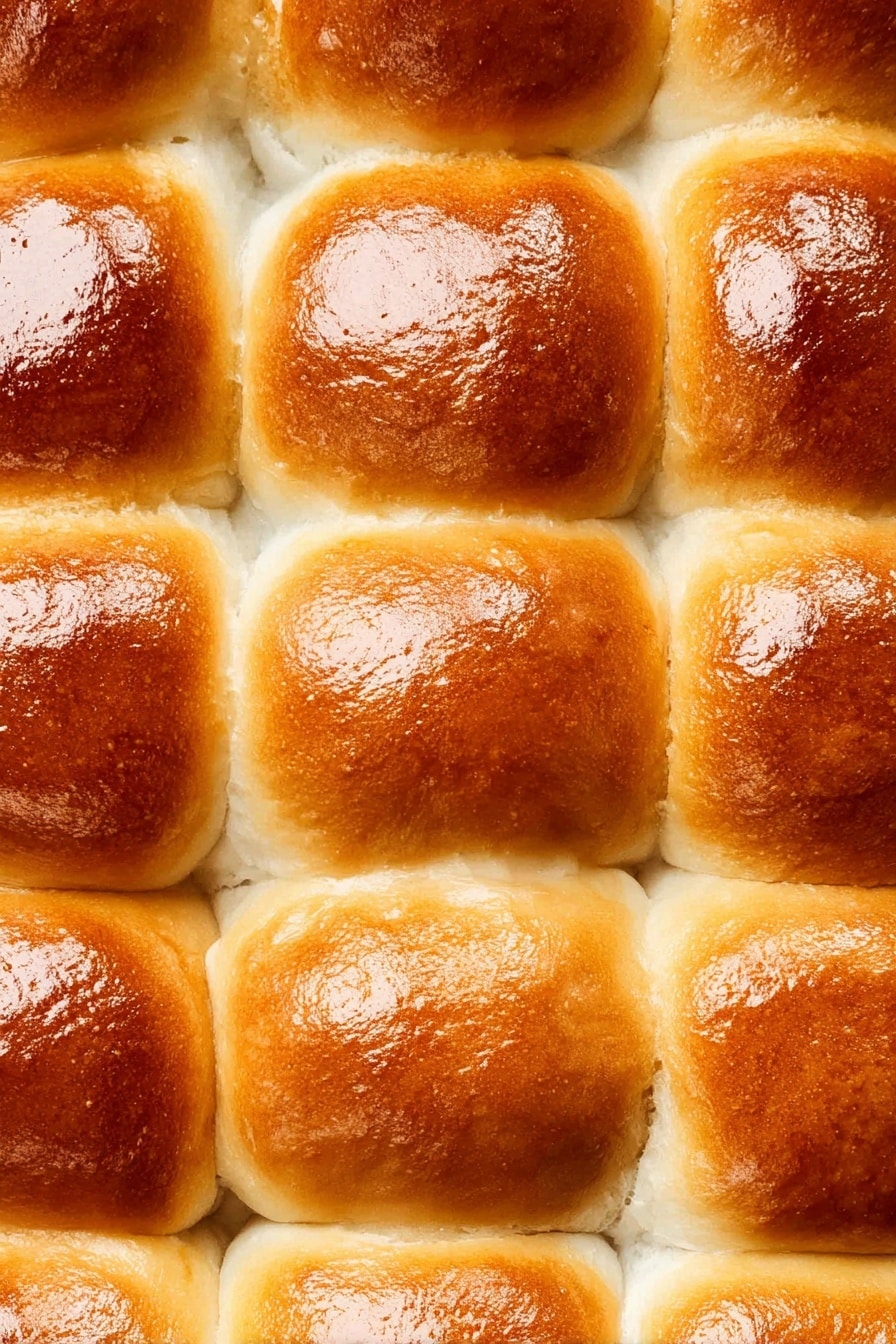
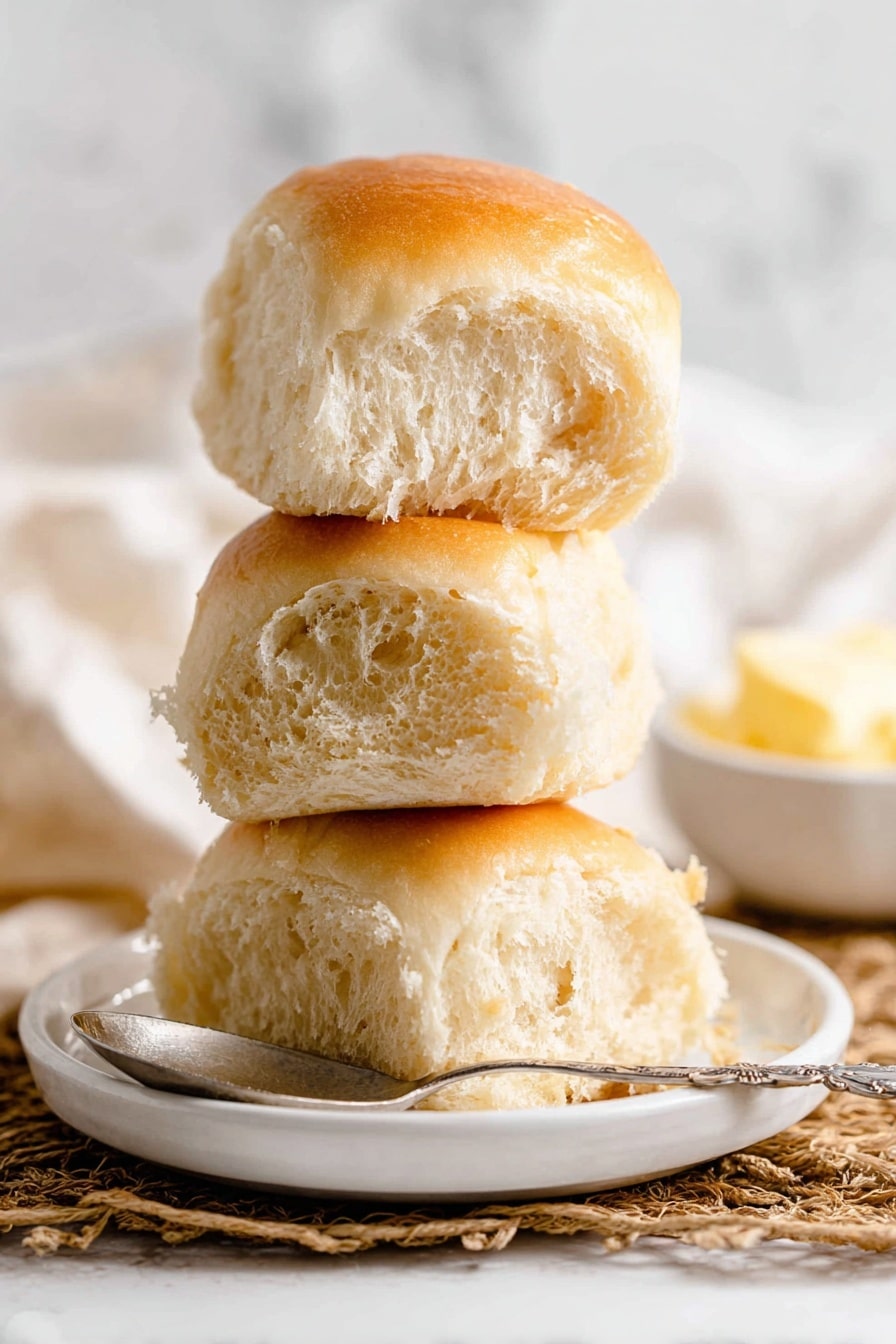
- Unbelievably Soft Texture: Achieving that light, pillowy texture is what makes this yeast roll recipe a true winner every time.
- Simple Ingredients: With just classic pantry staples and no fancy add-ins, you can make these any day you want.
- Perfect for Beginners: I used to feel intimidated by yeast—but this recipe walks you through it step-by-step.
- Versatile & Delicious: These rolls are amazing plain, but equally fantastic brushed with butter or used for sandwiches.
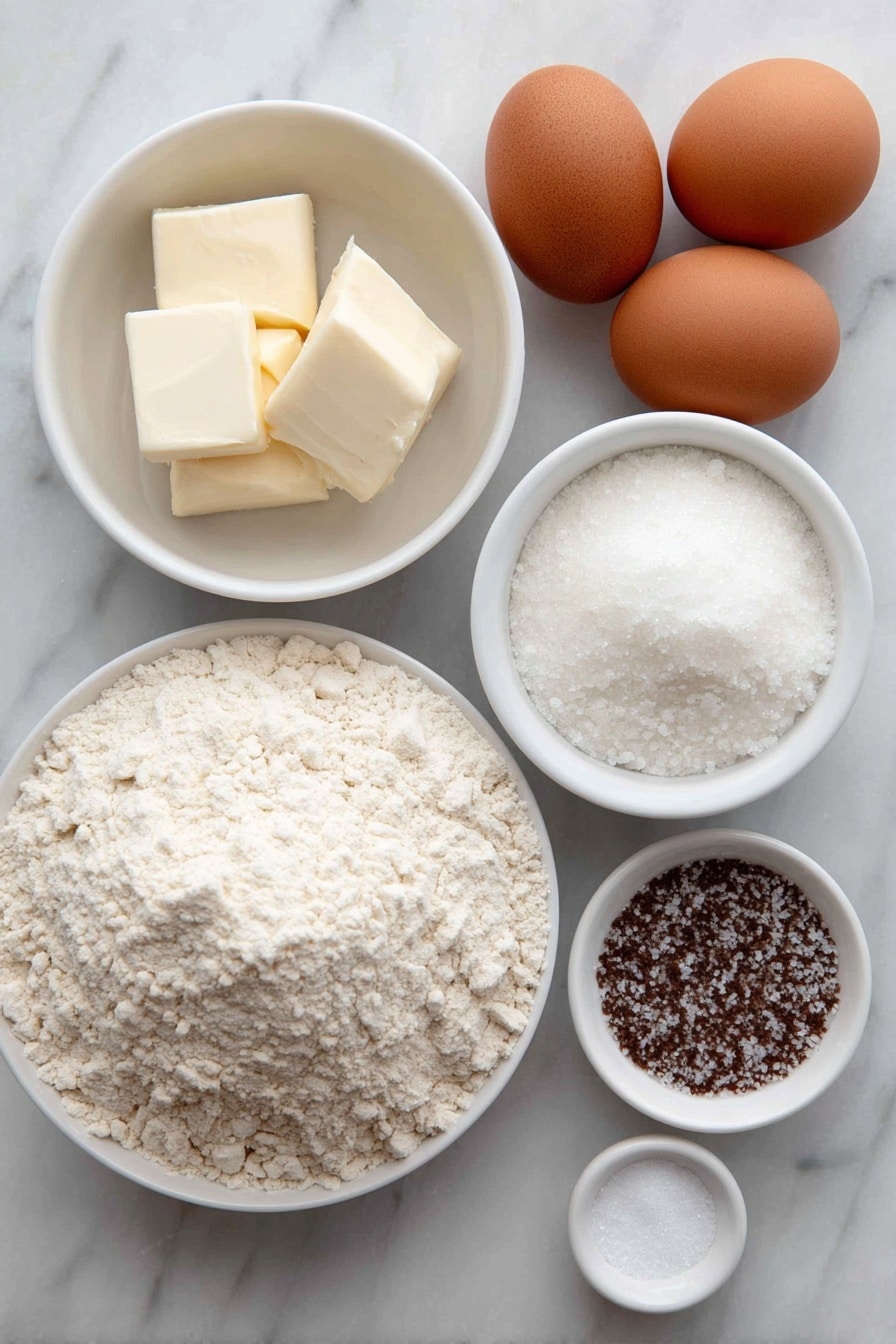
Ingredients You’ll Need
I’ve found that the magic of these soft homemade yeast rolls comes from the balance of simple but quality ingredients, especially the butter and eggs, which keep them tender and flavorful. Here’s a little scoop on each to help you shop wisely.
- lukewarm water: The key here is warmth—too hot can kill your yeast, too cold slows the rise, so aim for about body temperature.
- unsalted butter: Room temperature butter blends smoothly into the dough and keeps the rolls rich without over-salting.
- active dry yeast: Make sure it’s fresh and alive—you’ll see it foam up quickly if the water’s right.
- sugar: Just a touch to feed the yeast and add a gentle sweetness to the rolls.
- eggs: Eggs add richness and help create a tender crumb.
- all-purpose flour: This flour is versatile for soft bread rolls but be sure to measure it correctly for best results.
- salt: Brings out flavor without overpowering the gentle taste of these rolls.
Variations
I love that this Soft Homemade Yeast Rolls Recipe lends itself beautifully to tweaks. Depending on what you have on hand or your taste preferences, you can make it your own quite easily.
- Whole Wheat Twist: I swapped half the all-purpose with whole wheat flour once, and though the texture was a bit heartier, it gave a lovely nutty flavor my family appreciated.
- Garlic Herb Rolls: Adding minced garlic and fresh herbs like rosemary right into the dough makes these rolls perfect for dinner parties.
- Dairy-Free Version: Use a plant-based butter substitute and a flax egg or just skip eggs altogether for a vegan-friendly take.
- Sweet Rolls: Toss in a bit more sugar and glaze them with honey or maple syrup after baking for a sweet treat.
How to Make Soft Homemade Yeast Rolls Recipe
Step 1: Mix and Proof Your Yeast
Start by stirring together your lukewarm water, room-temperature butter, active dry yeast, sugar, and eggs in a large mixing bowl or the bowl of your stand mixer. Mixing these first lets the yeast wake up and start bubbling—wait about 5 minutes until you see a foamy surface, which means you’re good to go. This step is crucial, and you’ll want to be patient here because rushing it can mean dense rolls.
Step 2: Add Flour and Knead the Dough
Next, sprinkle in the flour and salt. At first, it looks shaggy and a bit messy—don’t worry, that’s normal. Scrape down the sides so everything is incorporated and start kneading. I either do this by hand for about 8 to 10 minutes or pop the dough hook on my mixer for 5 minutes. You’re aiming for a soft, smooth dough ball that isn’t sticky. If it sticks too much, add a bit more flour—just a tablespoon at a time so you don’t dry it out.
Step 3: First Rise
Cover your bowl with a clean kitchen towel or plastic wrap and set it in a warm spot to rise until it doubles, usually about an hour. I like to lightly oil the dough’s surface to keep it from drying out—this little trick ensures a beautiful, soft crust after baking.
Step 4: Shape the Rolls
After that glorious rise, turn the dough out onto a lightly floured surface and roll it into a log. Using a bench scraper or sharp knife, cut it into 15 equal pieces. It’s important to cover your dough pieces with a damp cloth or plastic wrap while you shape each one into smooth balls—this prevents dry edges.
To shape each roll, flatten the piece slightly with your palm, then fold the edges toward the center and press to seal. Flip it over and cup it in your hand, making circular motions until you get a smooth, tight ball. If you do this step quickly (under 30 seconds each), you’ll save time and get consistent results.
Place the rolls in a greased 9×13-inch pan in a neat 5×3 grid and cover loosely again. Let them rise for another 30 minutes—they should puff to almost double size again.
Step 5: Bake to Golden Perfection
Preheat your oven to 400°F (200°C). Bake the rolls for 15 to 18 minutes, keeping an eye on that golden crust—too dark means overbaked, and too pale means undercooked. Once out, brushing some melted butter on top is my personal favorite touch to lock in softness and add a lovely shine.
Let the rolls cool on a wire rack for about 15 minutes before digging in. Fresh, warm rolls are the best, trust me!
Pro Tips for Making Soft Homemade Yeast Rolls Recipe
- Water Temperature Matters: Use a thermometer or go by feel—warm, not hot water wakes up yeast without killing it.
- Don’t Over-Flour: Adding too much flour during kneading dries out rolls, so add extra flour sparingly.
- Shape with Confidence: The circular motion to make smooth balls really helps rolls bake evenly and look professional.
- Watch Your Rise Times: Rushing rises or skipping them can lead to dense rolls, so give your dough the time it needs to fluff up.
How to Serve Soft Homemade Yeast Rolls Recipe
Garnishes
I’m a big fan of brushing my rolls with melted butter right after baking, sometimes with a sprinkle of flaky sea salt or a dusting of garlic powder if I’m feeling fancy. You can also add fresh herbs like chopped parsley or chives for a pop of color and flavor.
Side Dishes
These rolls pair beautifully with hearty soups like tomato basil or creamy chicken chowder. They’re also fantastic alongside a roast dinner or served with a spread of homemade jams and butters for brunch.
Creative Ways to Present
I’ve gathered these rolls into a round baking dish and baked them closely nestled together for a pull-apart bread effect that guests love. You could even stuff the dough balls with cheese or herbs before baking for a surprising twist!
Make Ahead and Storage
Storing Leftovers
After they’ve cooled completely, I pop leftover rolls in an airtight container on the counter. They stay soft and fresh for about 3 to 4 days—perfect for quick snacks or sandwiches throughout the week.
Freezing
To freeze, I put the cooled rolls into a freezer-safe bag or container. They keep beautifully for up to 6 months! When I want to enjoy them again, I thaw them overnight in the fridge and then warm them up like fresh-baked.
Reheating
Reheating is easy—just pop the rolls in a 350°F oven for 5 to 10 minutes or microwave them for 15–30 seconds to get them soft and warm again. I find the oven method gives a nicer crust, but the microwave is perfect for a quick fix.
FAQs
-
Can I use instant yeast instead of active dry yeast?
Absolutely! If you swap for instant yeast, you can mix it directly with the flour instead of proofing it in water first. Just reduce the water slightly since instant yeast absorbs a little more moisture.
-
What if my rolls turn out dense?
Dense rolls often come from under-proofing the dough or using water that’s too hot and killing the yeast. Make sure your dough doubles in size during both rises, and keep an eye on water temperature when activating your yeast.
-
Can I make this dough in advance?
Yes! You can prepare the dough, let it rise once, then cover and refrigerate it overnight. When you’re ready, shape and bake the rolls as usual—the slow rise actually enhances flavor.
-
How do I prevent the rolls from drying out?
Covering your dough properly during the rises and storing baked rolls in an airtight container keeps them moist. Brushing with butter after baking also helps maintain softness.
-
Can I freeze the dough before baking?
Yes! After the first rise, shape the rolls and place them on a baking sheet to freeze individually. Once frozen, transfer them to a bag. When ready, thaw, let rise again, then bake as instructed.
Final Thoughts
Honestly, this Soft Homemade Yeast Rolls Recipe is one of my all-time favorites because it never fails to bring a smile to the table. I remember making these for a family gathering, and the rolls disappeared so fast, even the picky eaters begged for more! I can’t recommend them enough for anyone looking for a warm, comforting bread that’s easy enough for even novice bakers to master. So go ahead, make a batch, and enjoy that fresh-from-the-oven feeling—you’re going to love how effortlessly delicious these rolls turn out.
Print
Soft Homemade Yeast Rolls Recipe
- Prep Time: 15 minutes
- Cook Time: 18 minutes
- Total Time: 1 hour 45 minutes
- Yield: 15 rolls 1x
- Category: Bread
- Method: Baking
- Cuisine: American
Description
These soft and fluffy yeast rolls are perfect for any meal, featuring a tender crumb and a golden-brown crust. Made with simple ingredients and a straightforward mixing and kneading process, they’re ideal for a beginner baker looking to master classic homemade bread rolls.
Ingredients
Dough Ingredients
- 1 cup lukewarm water
- ½ cup unsalted butter, at room temperature
- 2 tablespoons active dry yeast
- 3 tablespoons sugar
- 2 eggs
- 3 ½ cups all-purpose flour
- ½ teaspoon salt
Instructions
- Prepare the dough: In a mixing bowl or the bowl of a stand mixer, combine warm water, butter, yeast, sugar, and eggs. Stir well until the mixture is smooth and then let it rest for about 5 minutes until it becomes foamy, indicating the yeast is active.
- Add flour and salt: Add the all-purpose flour and salt to the wet ingredients. Mix thoroughly until a shaggy dough forms, making sure to scrape down the sides of the bowl so no dry flour remains visible.
- Knead the dough: Knead the dough by hand for 8 to 10 minutes until it becomes smooth and soft. Alternatively, use a stand mixer fitted with a dough hook to knead for about 5 minutes until you achieve a smooth dough ball.
- Let the dough rise: Cover the bowl with a clean towel or plastic wrap and allow the dough to rise in a warm spot until it doubles in size, approximately 1 hour. Lightly oiling the dough ball can help prevent sticking.
- Shape the rolls: After the dough has risen, roll it into a log shape and use a bench scraper to divide it into 15 equal pieces. Cover these pieces with a damp cloth or plastic wrap to keep them from drying out.
- Form smooth dough balls: Take each piece and shape it into a smooth ball by flattening it slightly with the palm, folding all edges to the center, then turning it over and cupping it in your palm while making circular motions to tighten the ball. Each roll should take less than 30 seconds to shape.
- Arrange and proof the rolls: Place the shaped dough balls evenly in a 9×13-inch casserole pan, arranging them in 5 rows and 3 columns. Cover loosely with plastic wrap and let them rise until almost doubled—about 30 minutes.
- Preheat and bake: Preheat your oven to 400°F (200°C). Bake the rolls for 15 to 18 minutes until they develop a golden-brown color on top.
- Finish and cool: Optionally, brush the tops of the hot rolls with melted butter for extra flavor and softness. Then transfer them to a wire rack and let cool for about 15 minutes before serving.
Notes
- Storage: Once cooled, store leftover rolls in an airtight container at room temperature for 3 to 4 days.
- Reheating: Warm rolls taste best; reheat by placing them in a 350°F oven for a few minutes or microwaving for 15 to 30 seconds.
- Freezing: Freeze room-temperature rolls in a freezer-safe bag or container for 3 to 6 months. Thaw in the fridge and reheat before serving.
Nutrition
- Serving Size: 1 roll
- Calories: 150
- Sugar: 3.5g
- Sodium: 180mg
- Fat: 5g
- Saturated Fat: 3g
- Unsaturated Fat: 2g
- Trans Fat: 0g
- Carbohydrates: 22g
- Fiber: 1g
- Protein: 4g
- Cholesterol: 40mg


