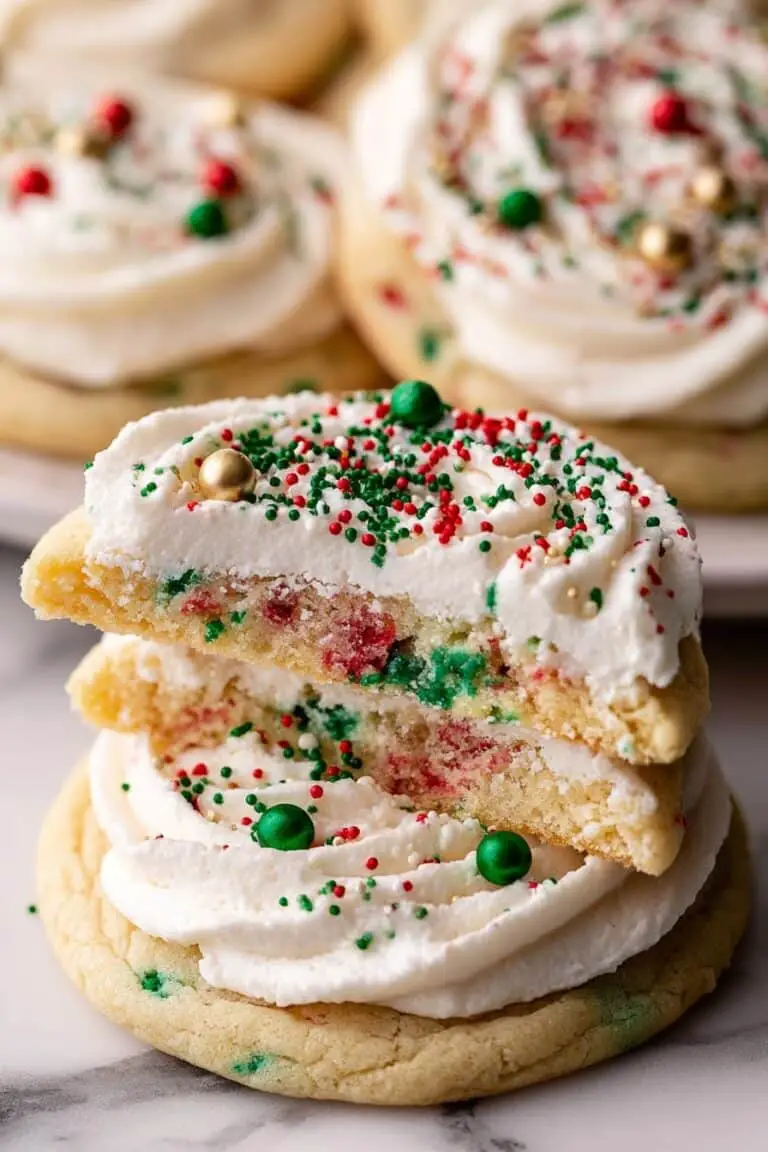
Hey friend! I’m so excited to share my all-time favorite Christmas Tree Cookie Recipe with you. These festive little treats are chocolatey, soft, and decorated with the most charming vanilla icing that feels just like a holiday hug. When I first tried this recipe, I was amazed at how simple it was yet so delicious and eye-catching—perfect for gifting or your own holiday cookie platter. Stick around, and I’ll walk you through every step so you can bake up a batch that’ll have everyone asking for the recipe!
Why You’ll Love This Recipe
- Deliciously chocolatey: The cocoa powder mixed with brown sugar gives the cookies a rich, deep flavor that’s just irresistible.
- Festive and fun to decorate: The colored vanilla icing lets you get creative with your Christmas trees, making baking a playful activity for all ages.
- Easy to follow: I’ve broken down each step with tips from my own kitchen successes and slip-ups to make sure you nail it on your first try.
- Perfect for gifting or parties: These cookies not only taste great, but they look adorable on any holiday cookie tray or gift box.

Ingredients You’ll Need
Each ingredient in this Christmas Tree Cookie Recipe plays a key role in texture and flavor. I recommend using high-quality cocoa powder and fresh vanilla extract for the best results. Trust me, these details make a noticeable difference!

- All-purpose flour: Use properly measured or weighed flour to avoid dry or tough cookies—spoon and level it or use a kitchen scale for accuracy.
- Unsweetened cocoa powder: This gives the cookies their signature chocolate taste; opt for Dutch-processed if you prefer a milder flavor.
- Salt: Balances the sweetness and enhances the chocolate flavor.
- Baking soda: Helps the cookies rise and spread just right.
- Cornstarch: Adds tenderness to keep the cookies soft and perfectly textured.
- Unsalted butter: Melted and cooled to give the dough richness without greasiness; don’t substitute with margarine.
- Regenerative Organic Certified® Cane Sugar (white): Adds sweetness and crunch when rolling the dough balls before baking.
- Wholesome Organic Fair Trade Light Brown Sugar: Adds moisture and a hint of caramel flavor for depth.
- Pure vanilla extract: A flavor must-have that lifts all the other ingredients.
- Egg yolk: Adds richness and helps bind the dough.
- Wholesome Organic Fair Trade Powdered Confectioners Sugar: For the smooth vanilla icing that decorates your Christmas trees beautifully.
- Milk: Just a touch to thin the icing to the perfect consistency for piping.
- Green, brown, and yellow food dye: For festive colors to bring your Christmas tree cookies to life.
Variations
I love that you can personalize this Christmas Tree Cookie Recipe in so many ways—it keeps it exciting year after year. Whether you’re adapting for dietary needs or just trying fun flavor combos, there’s plenty of room to experiment.
- Gluten-Free Version: I’ve swapped all-purpose flour with a 1:1 gluten-free baking blend, and the cookies still come out tender and delicious.
- Spiced Holiday Twist: Adding a pinch of cinnamon or nutmeg to the dry ingredients gives these cookies a warm, cozy flair that my family absolutely adores.
- Alternative Icing: Try cream cheese frosting with green food coloring for a tangier decoration if you want to mix things up.
- Non-Dairy Butter: When I used vegan butter once, the cookies were a bit softer, but still tasty—and great for dairy-free friends.
How to Make Christmas Tree Cookie Recipe
Step 1: Sift and Combine Your Dry Ingredients
Start by sifting the flour and cocoa powder together in a medium bowl. This step helps avoid lumps and creates a smooth, even dough. Then add the baking soda, cornstarch, and salt, mixing them well. I learned this trick early on because skipping sifting meant uneven cocoa blobs in my cookies, which isn’t what you want!
Step 2: Beat Butter and Sugars Until Fluffy
Using a mixer, beat the melted and cooled butter with both the white and brown sugars on high speed for 2 minutes. This step is crucial because it helps dissolve the sugar and creates a nice base for tender cookies. I like to cool the melted butter properly to avoid cooking the egg yolk in the next step.
Step 3: Add Egg Yolk and Vanilla, Then Mix Dry Ingredients
Mix in the vanilla extract and room temperature egg yolk on medium speed until everything is combined. Then add the dry ingredients gradually on low speed—overmixing can make the cookies tough, so mix just until you see the dough come together. This was a game-changer for me; patience here really pays off.
Step 4: Chill and Prepare for Baking
Preheat your oven to 350℉ (175℃). Line two cookie sheets with parchment paper. Let the dough rest for about 10 minutes—this little pause makes it easier to scoop. I usually scoop balls with a small cookie scoop, then roll each in the extra white sugar for a subtle crunch and pretty sparkle.
Step 5: Bake and Cool
Bake one sheet of cookies at a time for 8-10 minutes, or until the edges are just set but the centers still look soft. Here’s a tip I discovered: if any cookies puff up too much, gently press them flat with your hand while still warm—it makes decorating easier and keeps your cookie trees nice and even. Let them cool on the pan for 5 minutes before transferring to a wire rack.
Step 6: Mix and Color Your Vanilla Icing
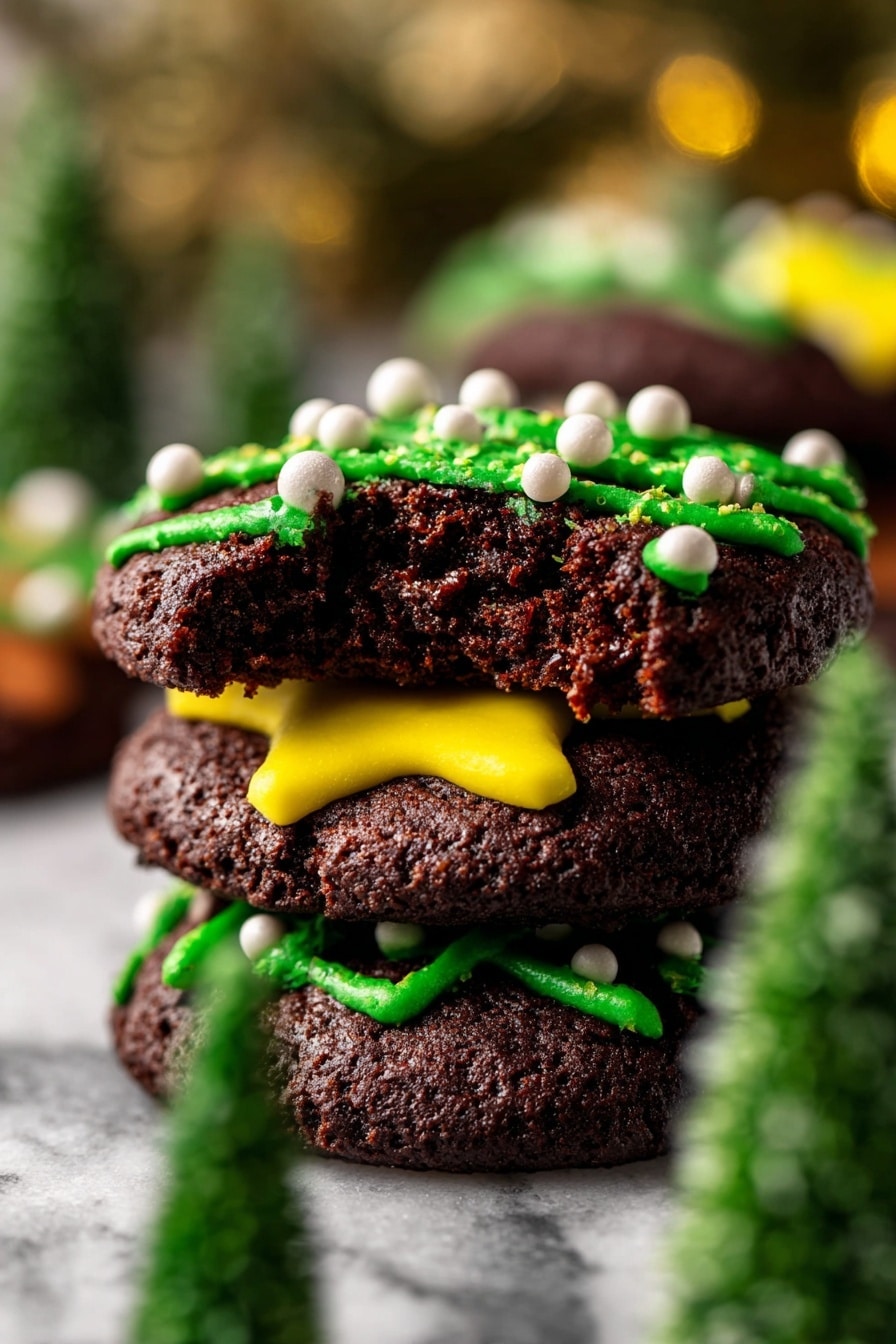
Sift the powdered sugar into a bowl, then whisk in vanilla extract and 1 tablespoon of milk. You want the icing thick enough to hold its shape but pipe easily. Divide into three bowls and tint each with green, brown, and yellow food coloring for the tree, trunk, and star. A small tip: cut the piping bag tips to control icing flow—use a larger hole for the green tree and much smaller ones for the trunks and stars.
Step 7: Decorate Your Christmas Trees!
Pipe the green icing back and forth in zig-zag motions to form the tree shape, use brown for the trunks, and yellow for the stars on top. If you want to add extra charm, sprinkle white nonpareils on top like snow. It’s so satisfying to see these come to life and always brings a smile to my face.
Pro Tips for Making Christmas Tree Cookie Recipe
- Butter Temperature: Always make sure the melted butter is cooled—too warm and it can scramble the egg yolk or make your dough too loose.
- Perfect Dough Consistency: If your dough feels too sticky, pop it in the fridge for 10-15 minutes before scooping. This makes it much easier to handle and keeps your cookies from spreading too much.
- Icing Thickness: Start with 1 tablespoon of milk and add more only if needed to reach piping consistency—too runny icing can be frustrating to work with!
- Cookie Cooling: Don’t rush cooling—decorating warm cookies causes icing to melt and colors to run. Patience always pays off.
How to Serve Christmas Tree Cookie Recipe
Garnishes
I always top my trees with white nonpareil sprinkles—that little “snow” touch adds festive texture and makes them look extra magical. You can also use edible glitter or tiny colored sugar pearls if you want to get fancy for a party.
Side Dishes
These cookies pair wonderfully with a hot cup of spiced tea, eggnog, or even a frothy mug of hot chocolate. For a holiday dessert plate, I like to include gingerbread men and peppermint bark alongside for a festive variety.
Creative Ways to Present
Once decorated, I’ve arranged these cookies in a wreath shape on a large platter for holiday parties—that presentation always wows guests. Another favorite is packing them in clear cellophane bags tied with festive ribbons, making perfect edible gifts for neighbors and coworkers.
Make Ahead and Storage
Storing Leftovers
After decorating, store your Christmas tree cookies in an airtight container at room temperature. They usually keep beautifully for up to 5 days without losing softness. I like to layer them with parchment paper to prevent sticking or breaking.
Freezing
You can freeze the baked cookies before decorating by wrapping them tightly in plastic wrap and placing them in a freezer bag. When you’re ready, thaw them overnight at room temp, then decorate as usual. I tried freezing both dough and baked cookies—baked freezes better for me because decorating fresh tastes best.
Reheating
I rarely reheat these cookies because I prefer them at room temperature, but if you want them warm, I pop one in the microwave for 10 seconds. Just be careful not to melt the icing. The softness returns nicely without making them chewy.
FAQs
-
Can I use regular granulated sugar instead of the regenerative organic sugar?
Absolutely! While regenerative organic sugar adds a subtle depth and supports sustainable farming, any white granulated sugar will work perfectly fine in this recipe without changing the outcome.
-
How do I prevent my cookies from spreading too much?
Make sure your butter isn’t too warm when mixing and chill the dough for at least 10 minutes before baking. Also, be careful not to overuse sugar when rolling the dough balls as extra sugar can cause spreading.
-
Can kids help with decorating?
Definitely! The colored icing and piping make this recipe really fun for kids. Just supervise the piping bags for smaller children and let them get creative with stars and sprinkles.
-
What if I don’t have colored food dye?
No problem at all. You can decorate with plain white icing or use natural alternatives like matcha powder for green or turmeric for yellow tones, though colors will be softer.
-
How long does the icing take to set?
The icing typically sets within 30 minutes to an hour at room temperature. To speed this up, place the decorated cookies in a cool, dry spot or pop them briefly in the fridge.
Final Thoughts
This Christmas Tree Cookie Recipe has become a beloved holiday tradition in my home—and I’m confident it will be in yours too. It’s approachable, delicious, and just plain fun to decorate, making it a perfect activity to share with family or friends. I hope you enjoy baking and eating these as much as I do. Happy baking and may your holidays be merry and bright!
Print
Christmas Tree Cookie Recipe
- Prep Time: 20 minutes
- Cook Time: 9 minutes
- Total Time: 44 minutes
- Yield: 18 cookies 1x
- Category: Dessert
- Method: Baking
- Cuisine: American
- Diet: Vegetarian
Description
These festive Christmas Tree Cookies are rich chocolate treats decorated with vibrant vanilla icing to resemble holiday trees. The chocolate cookie base is soft and slightly chewy, topped with colorful green, brown, and yellow icing to create a fun and delicious seasonal dessert perfect for holiday celebrations.
Ingredients
Chocolate Cookies:
- 1 1/4 cups All-purpose flour
- 1/4 cup Unsweetened cocoa powder
- 1/2 tsp Salt
- 1/2 tsp Baking soda
- 1 TBSP Cornstarch
- 1/2 cup Unsalted butter, melted and cooled
- 3/4 cup Regenerative Organic Certified® Cane Sugar from Wholesome
- 2 TBSP Wholesome Organic Fair Trade Light Brown Sugar
- 1 tsp Pure vanilla extract
- 1 Egg yolk, room temperature
- 1/2 cup Regenerative Organic Certified® Cane Sugar from Wholesome (for rolling)
Vanilla Icing:
- 1 cup Wholesome Organic Fair Trade Powdered Confectioners Sugar, sifted
- 1–2 TBSP Milk
- 1 tsp Pure vanilla extract
- Green food dye
- Brown food dye
- Yellow food dye
- Optional: white nonpareil sprinkles for decoration
Instructions
- Prepare Dry Ingredients: In a medium bowl, sift together the all-purpose flour and unsweetened cocoa powder. Add baking soda, cornstarch, and salt, and mix to combine thoroughly.
- Cream Butter and Sugars: Using a mixer, beat the melted unsalted butter, regenerative organic cane sugar, and light brown sugar on high speed for 2 minutes until well combined and creamy.
- Combine Wet and Dry Ingredients: Add pure vanilla extract and egg yolk to the butter and sugar mixture. Mix on medium speed until incorporated. Then, add the dry ingredients to the wet ingredients, mixing on low speed until just combined to form the cookie dough.
- Preheat Oven and Prepare Sheets: Preheat the oven to 350°F (177°C). Line two cookie sheets with parchment paper. Let the dough rest for 10 minutes before handling.
- Form Cookies: Using a small cookie scoop, scoop dough balls and roll each ball in regenerative organic cane sugar to coat. Place 12 cookie dough balls evenly spaced on each prepared cookie sheet.
- Bake Cookies: Bake one sheet at a time in the preheated oven for 8-10 minutes, or until the edges of the cookies are set but the centers are still soft.
- Cool Cookies: Let the cookies cool on the hot pan for 5 minutes before transferring them to a wire rack to cool completely. If any cookies puff up excessively, gently flatten them with your hand while still warm for easier decorating.
- Make Vanilla Icing: Sift powdered sugar into a medium bowl. Add pure vanilla extract and 1 tablespoon of milk, whisking until the icing is thick and smooth. Add more milk as needed to reach piping consistency.
- Color Icing: Divide the icing into three bowls. Add green, brown, and yellow food dye to each bowl, mixing well. Fill three piping bags with each colored icing. Cut the tips of the yellow and brown bags smaller for fine lines; keep the green tip larger for broader strokes.
- Decorate Cookies: Use green icing to pipe back-and-forth strokes to create the tree shape on each cookie. Use brown icing to pipe the tree trunk at the base and yellow icing to pipe a star at the top of each tree. Optionally, sprinkle white nonpareil sprinkles on top for a festive look.
Notes
- Flour: Be sure to spoon and level the flour or weigh it with a kitchen scale to avoid compacted flour which can dry out cookies and prevent proper spreading.
- High Altitude Baking: If baking at high altitudes, add an extra 1 tablespoon of flour to the dough for better texture.
- Dairy Ingredients: Remove butter from the refrigerator about 2 hours before baking to bring to room temperature for better mixing and texture.
Nutrition
- Serving Size: 1 cookie
- Calories: 130 kcal
- Sugar: 12 g
- Sodium: 75 mg
- Fat: 6 g
- Saturated Fat: 3.5 g
- Unsaturated Fat: 2.2 g
- Trans Fat: 0 g
- Carbohydrates: 18 g
- Fiber: 1.5 g
- Protein: 1.5 g
- Cholesterol: 25 mg


