
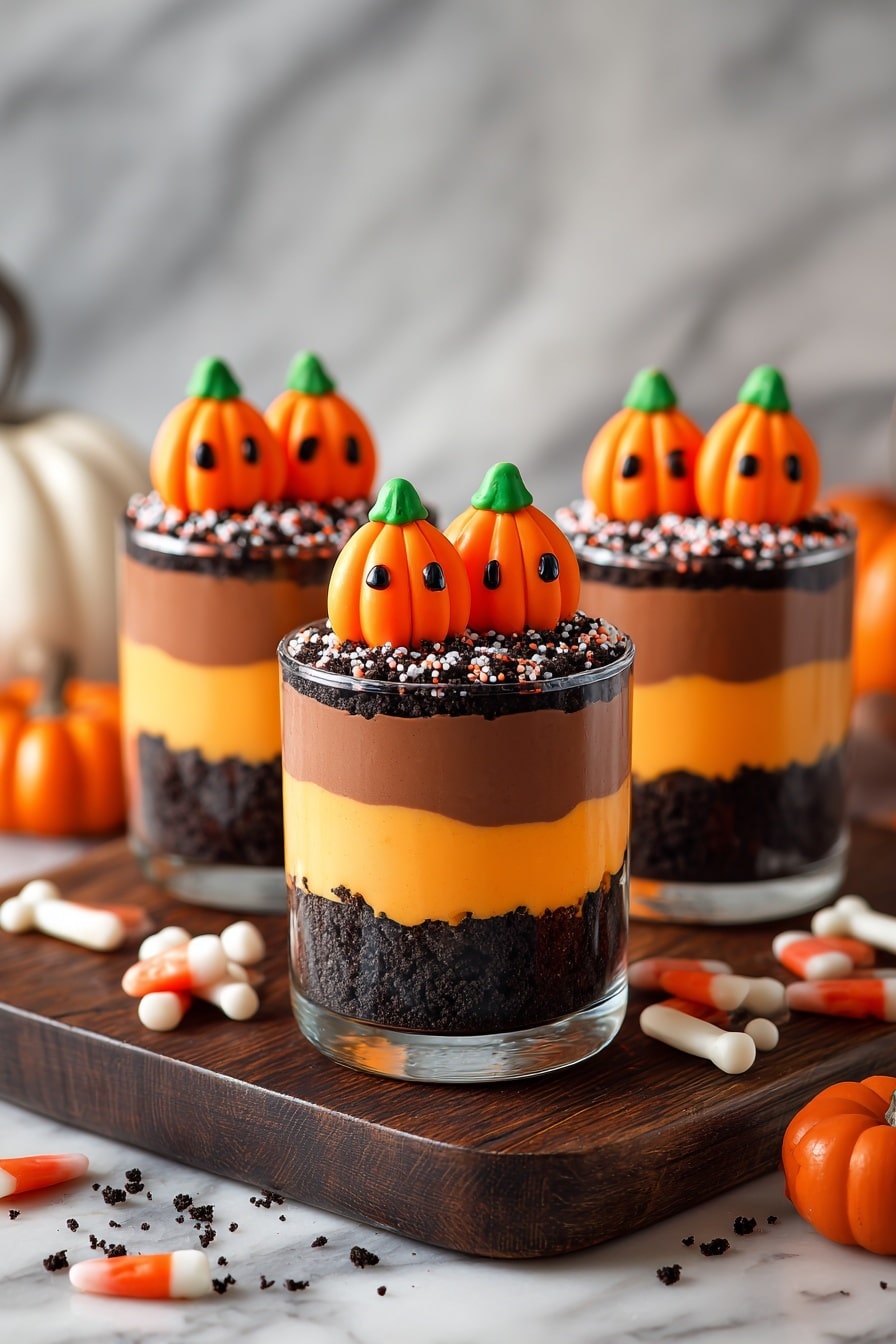
If you’re looking for a dessert that’s festive, fun, and downright delicious, then this Halloween Dirt Cake Cups Recipe is exactly what you need. It’s one of those treats that everyone, from kids to adults, can’t get enough of around spooky season. I absolutely love how it combines creamy pudding, crunchy Oreos, and playful gummy worms to create layers of texture and flavor — plus those cute little pumpkin candies on top? Pure magic! Stick with me, and I’ll walk you through making these creepy-cute cups that are sure to be the hit of your Halloween party.
Why You’ll Love This Recipe
- Easy to Make: You don’t need to be a pro baker to whip up these cups in under 30 minutes.
- Kid-Friendly: Little hands love assembling the layers, making it a great family activity.
- Festive Presentation: The orange pudding and pumpkin candies make these cups perfectly Halloween-themed.
- Make-Ahead Friendly: Chill in advance to save stress on party day without losing any flavor or fun.
Ingredients You’ll Need
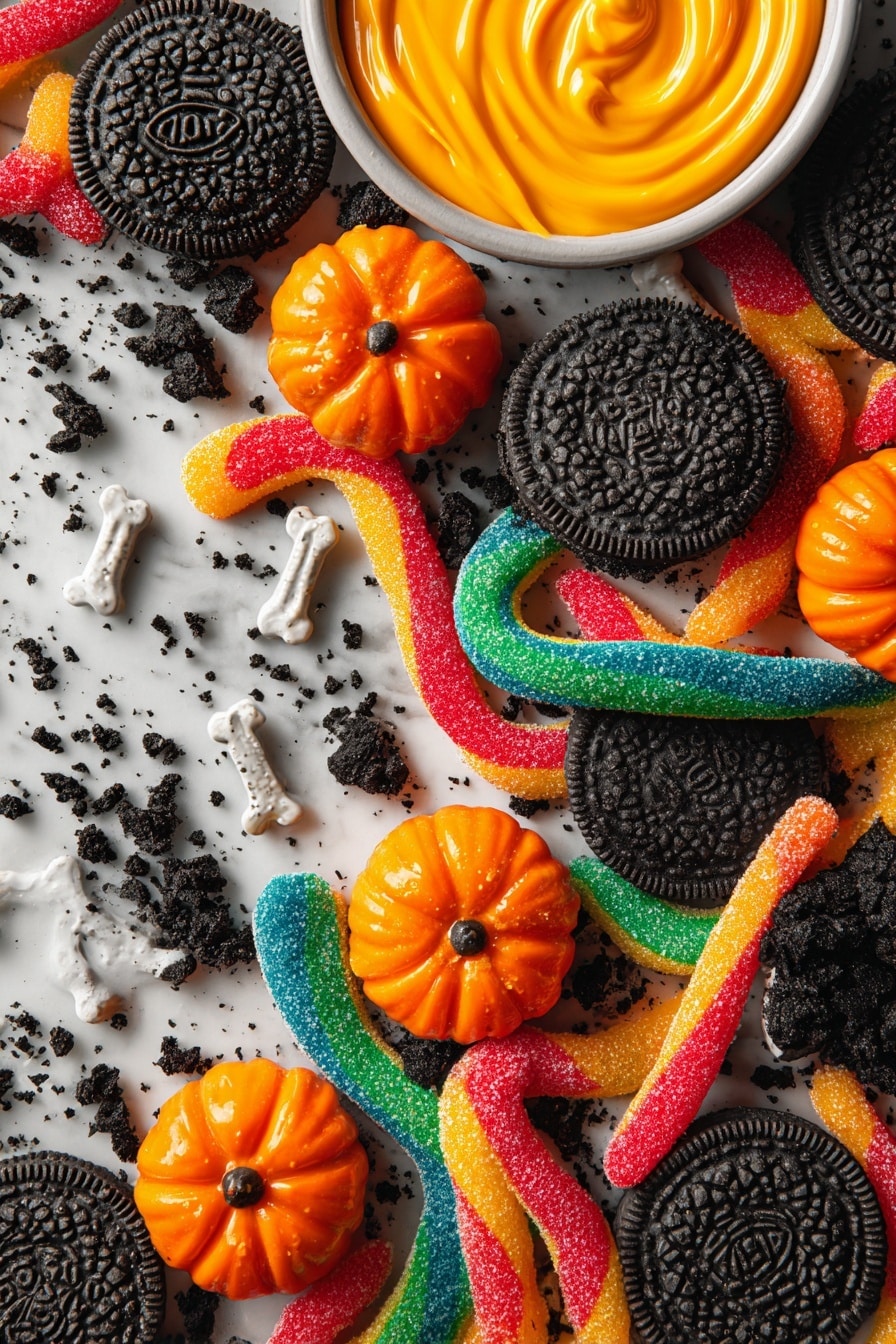
All these ingredients come together beautifully to create that signature dirt cake look and taste — creamy, chocolatey, with a little creepy-crawly surprise hidden inside. When shopping, grab the freshest pudding mixes you can find, and don’t hesitate to pick up some fun gummy worms that pop with color.
- Milk: Used to prepare the instant puddings; whole milk gives a richer taste, but 2% works fine too.
- Instant Chocolate Pudding Mix: The backbone of your dessert’s chocolate layer.
- Instant Vanilla Pudding Mix: This becomes your orange “dirt” layer once colored—super important for that Halloween vibe.
- Orange Food Coloring: To dye your vanilla pudding bright and festive.
- Gummy Worms: I like to use assorted colors for extra fun and contrast.
- Oreo Cookies: Crushed to create that authentic “dirt” texture.
- Pumpkin Candies: These little toppers add charm and sweetness—perfect finishing touch.
- Bone Sprinkles (Optional): For a spooky crunch and added fun, if you can find them.
Variations
I love experimenting with this Halloween Dirt Cake Cups Recipe to keep things interesting, especially when hosting different groups or trying to accommodate everyone’s tastes. Feel free to mix and match toppings or pudding flavors to make it your own!
- Flavor Swap: I once tried vanilla pudding instead of chocolate for the bottom layer, which gave a lighter bite my niece adored.
- Spice it Up: Adding a dash of cinnamon or pumpkin pie spice to the vanilla pudding brings a seasonal twist that’s subtle and cozy.
- Dairy-Free Option: You can use plant-based milk and pudding mixes to suit dairy-free diets—just check the packaging.
- Extra Creepy: Swap gummy worms for gummy spiders or eyeballs during the last Halloween party—I kid you not, it freaked out the little ones in the best way!
How to Make Halloween Dirt Cake Cups Recipe
Step 1: Prepare Your Puddings
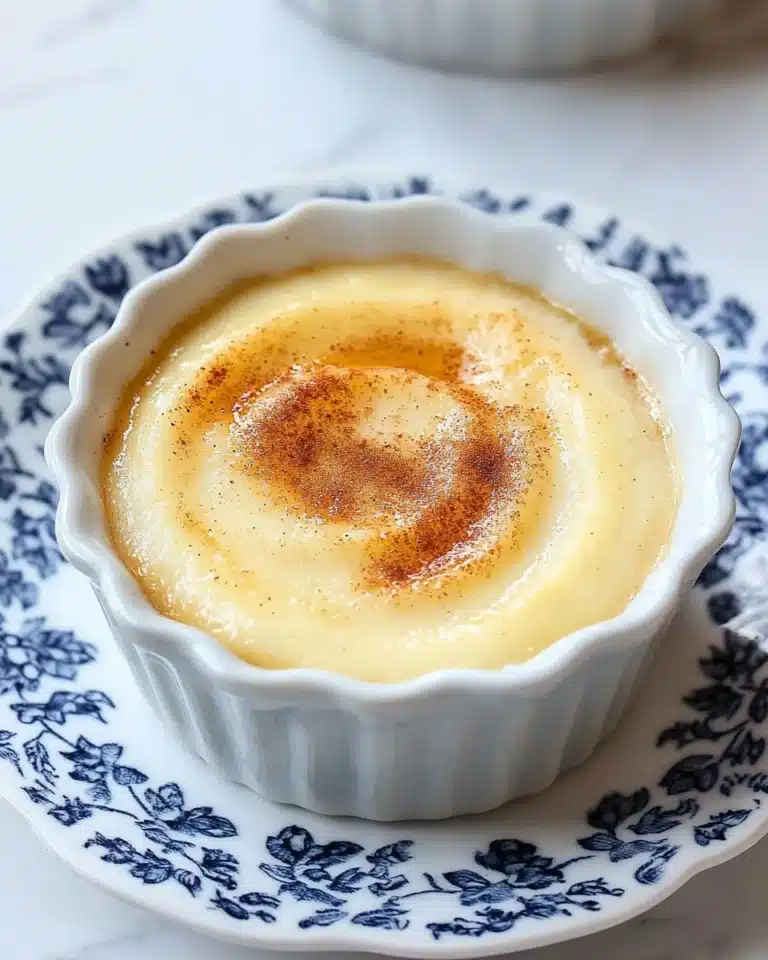
Begin by whisking together each pudding mix with half of the milk called for, in separate bowls. Make sure you follow the instructions on the box exactly for a silky, thick pudding — trust me, this sets the foundation. After mixing, pop both bowls into the fridge to chill. This sets the stage for those creamy layers that hold their shape.
Step 2: Color Your Vanilla Pudding
Once chilled, slowly add a few drops of orange food coloring to the vanilla pudding. Stir well and add more drops until you reach your perfect spooky orange shade. I’ve learned the secret to vibrant color is a little patience — start light, then add more. You don’t want it looking artificial, just festive!
Step 3: Layer Your Dirt Cups
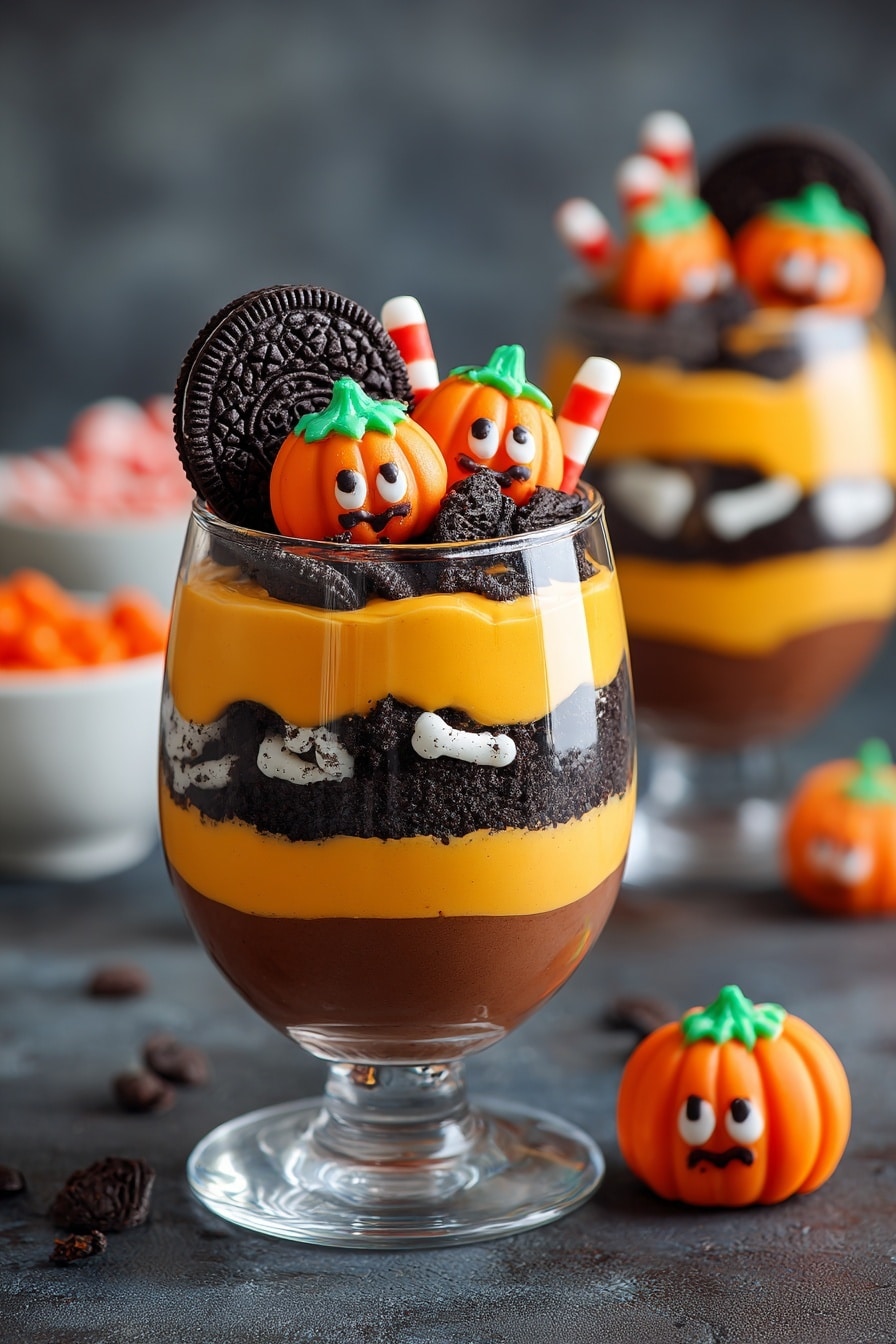
Grab your glass cups or jars — I prefer clear ones so the layers can shine through. Start by spooning half of the chocolate pudding evenly into the bottom. Then, scatter gummy worms on top of the chocolate layer, giving that fun surprise when you dig in. Sprinkle a third of the crushed Oreos over the gummy worms to mimic dirt.
Next, gently spoon half of your orange vanilla pudding over the Oreos, smoothing it out carefully. Sprinkle another third of the Oreos on top of that layer. Add the remaining chocolate pudding on top of the Oreos, spreading evenly. Finally, top everything with the rest of the crushed Oreos.
Step 4: Decorate and Chill
Add three pumpkin candies on top of each cup — it’s the perfect Halloween snapshot! If you have bone sprinkles, add those as well for a little extra spook-factor. Wrap your cups tightly with plastic wrap and transfer them to the fridge for at least two hours, or even better, overnight. This chilling step lets all the layers set and the flavors meld beautifully.
Pro Tips for Making Halloween Dirt Cake Cups Recipe
- Choose Clear Cups: Showing off the layered effect makes this dessert pop, plus it’s easier to portion control.
- Chill Time is Key: Allowing the pudding to fully set prevents mixing of layers and keeps that perfect dirt look.
- Crush Oreos Just Right: I like crushing mine not too finely to keep some texture — like real dirt!
- Gummy Worm Placement: Don’t forget to scatter worms in the middle layer for a fun surprise in every bite.
How to Serve Halloween Dirt Cake Cups Recipe
Garnishes
I’m a sucker for the classic pumpkin candies on top to keep the theme festive and sweet, but I’ve also used mini candy corn or edible glitter for some sparkle. Bone sprinkles add a fun texture crunch and boost the creepy factor. Play around with what your family enjoys most — that’s the best way to keep it special every year.
Side Dishes
Since these cups are pretty rich, I like pairing them with lighter treats like fresh fruit skewers or caramel apple slices. They balance out the sweetness nicely and keep your Halloween menu feeling fresh and varied.
Creative Ways to Present
For a party, I like to place these cups inside small planter pots lined with shredded paper to mimic flower pots of dirt — so cute and silly! Another fun idea is to use mason jars with little “Beware” tags or spooky labels for an extra festive touch. Kids find it hilarious and it makes a big impact with very little effort.
Make Ahead and Storage
Storing Leftovers
These dirt cake cups keep really well in the fridge for up to two days — just be sure to cover them tightly with plastic wrap or lids to avoid drying out. When you make them ahead, the flavors actually deepen overnight, so it’s a win-win.
Freezing
Freezing isn’t my first choice for this dessert since puddings can change texture when thawed, but if you must, freeze them uncovered first so the plastic wrap doesn’t stick to the pudding, then cover tightly once frozen. Thaw slowly in the fridge before serving, and be prepared for a slightly softer texture.
Reheating
Because this is a chilled dessert, it’s best served cold. If you have leftovers, just give them a gentle stir after refrigeration if the pudding separates a bit. No reheating needed here — it’s all about that creamy, cool texture!
FAQs
-
Can I make Halloween Dirt Cake Cups Recipe ahead of time?
Absolutely! In fact, I recommend making them at least two hours ahead or even the night before. Chilling helps the layers set perfectly and enhances the flavors.
-
What if I don’t have orange food coloring?
No worries! You can mix red and yellow food coloring to create orange or even swap for themed colors like green for a zombie twist. The taste remains just as delicious.
-
Can I substitute the gummy worms?
Yes! You could use gummy spiders, sour belts cut into strips, or even small candies for a different spooky surprise. Just make sure they hold up well in pudding.
-
How do I crush Oreos without a food processor?
I usually put the cookies in a zip-top bag and bash them gently with a rolling pin or the bottom of a heavy pan. Just be careful not to crush them into dust—some texture is better!
-
What cups work best for this dessert?
Clear plastic or glass cups that hold about 6 to 8 ounces work perfectly. They let those layers show off their spooky charm and are easy to portion for guests.
Final Thoughts
I used to struggle finding Halloween desserts that were both easy and wow-worthy until I found this Halloween Dirt Cake Cups Recipe. It’s become my go-to treat every year because it combines simplicity with that whimsical fun we all crave during the season. I hope you enjoy making and sharing these just as much as my family and I do — and trust me, once you try them, you’ll have a new Halloween tradition on your hands!
Print
Halloween Dirt Cake Cups Recipe
- Prep Time: 30 minutes
- Cook Time: 0 minutes
- Total Time: 2 hours 30 minutes
- Yield: 8 servings 1x
- Category: Dessert
- Method: No-Cook
- Cuisine: American
Description
These Halloween Dirt Cake Cups are a fun and festive dessert perfect for celebrating the spooky season. Layers of creamy chocolate and orange-colored vanilla pudding are combined with crushed Oreos, gummy worms, and pumpkin candies to create a delightfully creepy and delicious treat. Easy to assemble and chill, they make a great party dessert for kids and adults alike.
Ingredients
Pudding
- 4 cups milk, divided (for preparing puddings)
- 1 box instant chocolate pudding mix (3.4 ounces)
- 1 box instant vanilla pudding mix (3.4 ounces)
- Orange food coloring (as needed, see Notes)
Toppings and Mix-ins
- 1 cup gummy worms
- 22 Oreo cookies, crushed
- 24 pumpkin candies
- 2 tablespoons bone sprinkles (optional)
Instructions
- Prepare Puddings: Use the milk to prepare each box of pudding in separate bowls according to package instructions. Chill both puddings until set.
- Color Vanilla Pudding: Add a few drops of orange food coloring to the vanilla pudding and stir well. Add more drops gradually until the desired bright orange color is achieved.
- Layer Chocolate Pudding: Divide half of the chocolate pudding evenly among your serving glasses, spreading it carefully to form the bottom layer of each cup.
- Add Gummy Worms and Oreos: Distribute the gummy worms over the chocolate pudding layer, then sprinkle approximately one-third of the crushed Oreos over the worms.
- Layer Orange Vanilla Pudding: Spoon half of the orange-colored vanilla pudding over the Oreos and spread evenly. Reserve the remaining orange pudding for another use.
- Add More Oreos: Sprinkle another one-third of the crushed Oreos over the orange pudding layer.
- Top with Remaining Chocolate Pudding and Oreos: Spread the remaining chocolate pudding over the Oreos, then sprinkle the rest of the crushed Oreos on top.
- Decorate: Place 3 pumpkin candies on top of each cup and optionally add bone sprinkles for a spooky effect.
- Chill Before Serving: Wrap the cups tightly and refrigerate for at least 2 hours or up to 2 days to let flavors meld and pudding set fully before serving.
Notes
- You can adjust the orange food coloring to achieve a vibrant pumpkin color for the vanilla pudding.
- Bone sprinkles are optional but add a fun Halloween touch.
- Crushing Oreos can be done by placing them in a plastic bag and gently crushing with a rolling pin or by pulsing in a food processor for a finer crumb.
- Chilling time is important to let the puddings set properly and the flavors to marry.
Nutrition
- Serving Size: 1 cup (1 dirt cake cup)
- Calories: 280
- Sugar: 30g
- Sodium: 150mg
- Fat: 12g
- Saturated Fat: 5g
- Unsaturated Fat: 6g
- Trans Fat: 0g
- Carbohydrates: 40g
- Fiber: 2g
- Protein: 3g
- Cholesterol: 10mg

