
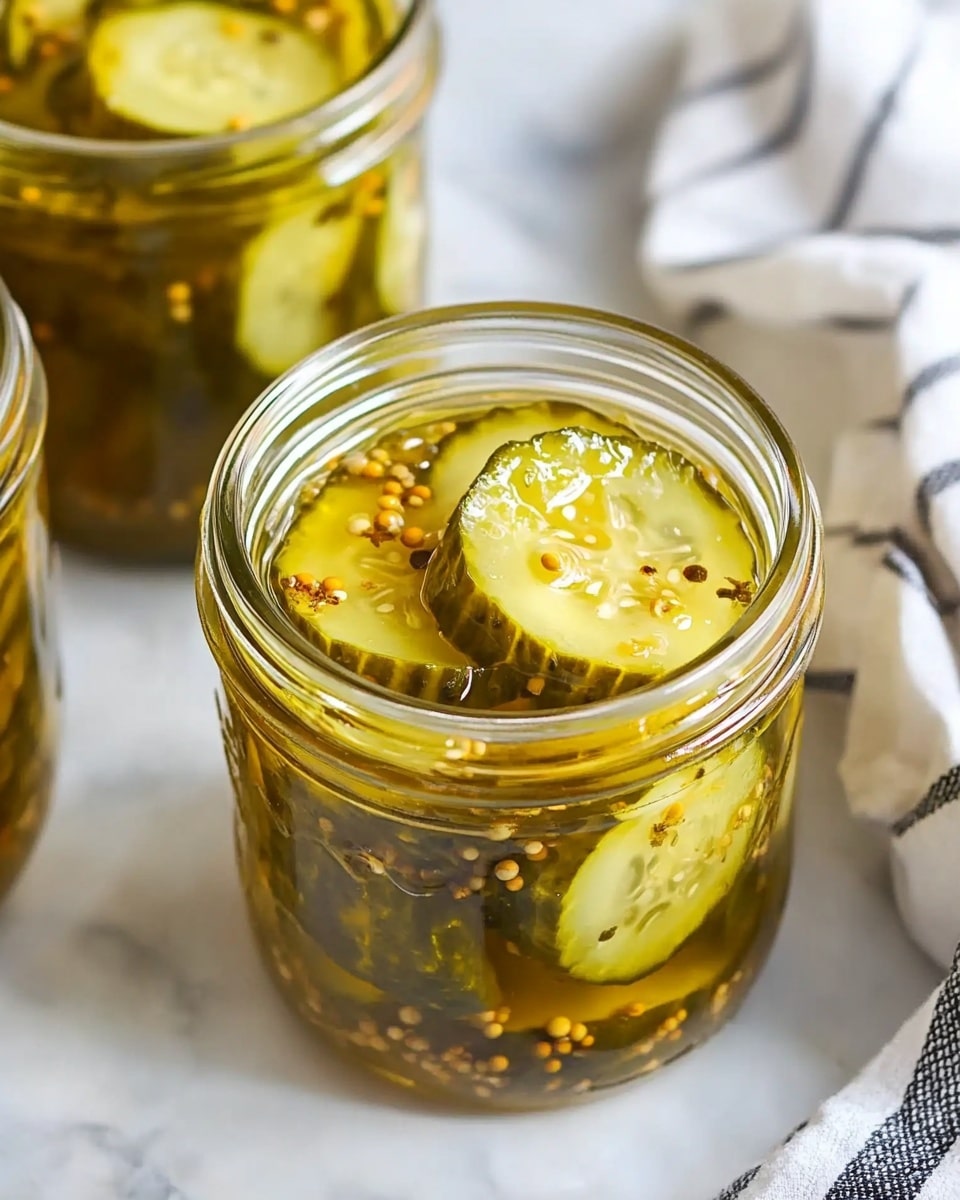
I’m so excited to share this Bread and Butter Pickles Recipe with you because it’s one of those classic homemade treats that just never disappoints. I love how these pickles hit that perfect balance of sweet and tangy with a little warm spice, making them an irresistible addition to sandwiches, burgers, or even just on their own as a snack. Whenever I make a batch, my whole family goes crazy for them—there’s just something about that crunchy texture paired with the syrupy, flavorful brine that keeps everyone coming back for more.
You’ll find that this Bread and Butter Pickles Recipe is incredibly versatile and well worth your time. It works beautifully as a fridge snack for a quick bite or as a canned pantry staple you can enjoy all year round. Plus, once you get the hang of the steps, it’s really satisfying to see those jars lined up on your shelf, ready to brighten up any meal with that homemade goodness.
Why You’ll Love This Recipe
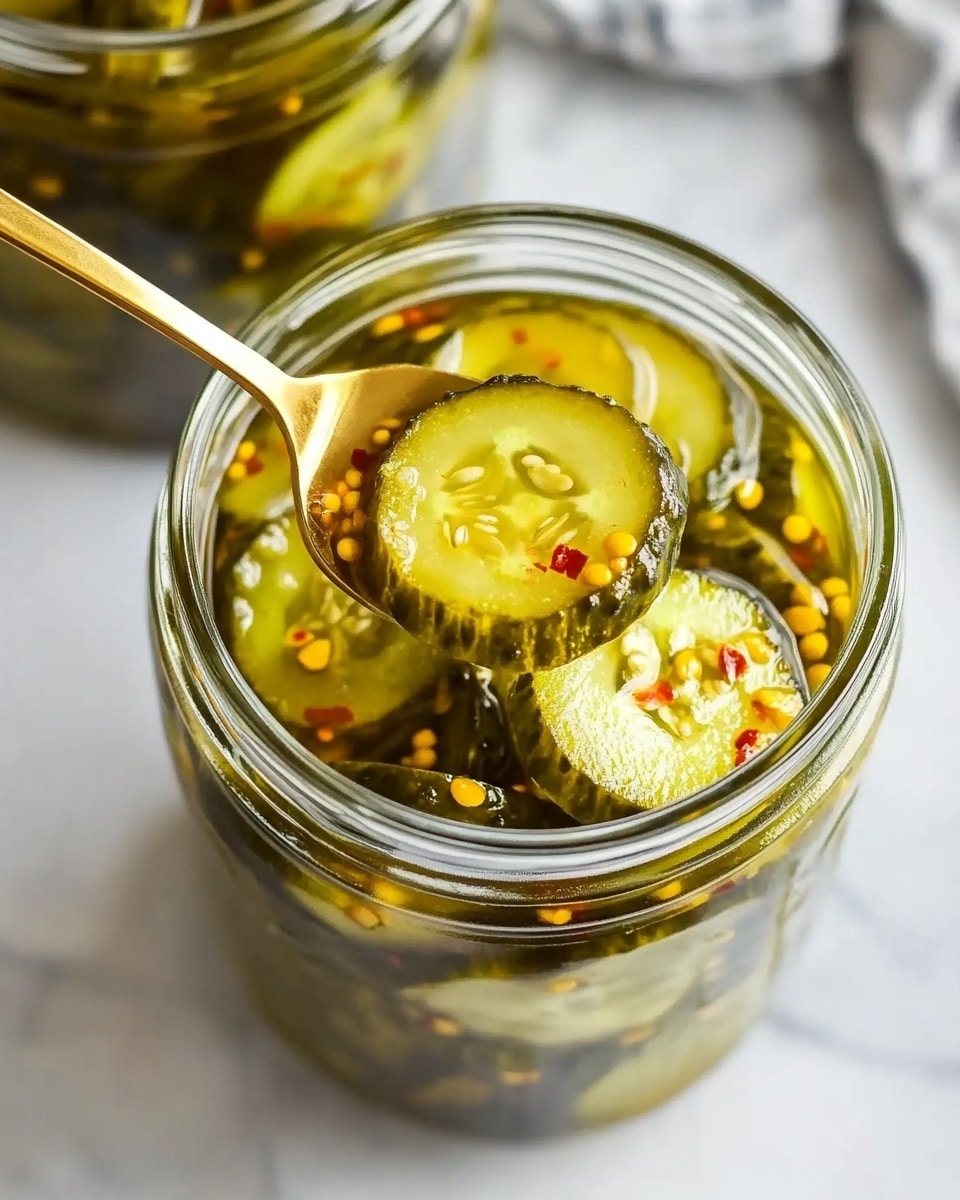
- Perfect Balance: The sweet and tangy mix with warm spices creates a crave-worthy flavor.
- Crunchy Texture: Using fresh cucumbers and salt-brining ensures they stay crisp and refreshing.
- Flexible Storage: You can either refrigerate for quick use or water-bath can to preserve long-term.
- Family Favorite: This recipe has always been a hit at gatherings and perfect for gifting in pretty jars.
Ingredients You’ll Need
All the ingredients here are straightforward but play crucial roles in that classic bread and butter pickle flavor and texture. Pickling cucumbers are best fresh and firm, while the combination of white and apple cider vinegar gives the brine a nice complexity. And don’t skip the pickling spices—they add that subtle warmth that makes these pickles unforgettable.
- Pickling cucumbers: Choose small, firm cukes with minimal seeds for the crunchiest pickles.
- Pickling salt: Use this over regular table salt to avoid cloudiness and keep the flavor clean.
- White or yellow onions: Thinly sliced to balance the cucumbers’ crispness with a little bite.
- White distilled vinegar: Provides that sharp tang classic to bread and butter pickles.
- Apple cider vinegar: Adds a gentle fruitiness, making the flavor well-rounded.
- Sugar: Sweetens the brine perfectly—don’t skimp, it’s essential for the signature taste.
- Mustard seeds: Give a mild pungent note that complements the sweetness.
- Crushed red pepper flakes: Just a touch for a subtle kick—feel free to adjust based on spice preference.
- Celery seeds: Adds a nice herby depth.
- Cinnamon stick: Provides warming spice that mellows the sharp vinegar.
- Allspice berries and ground allspice: Bring complexity with their subtle clove-like aroma.
- Whole cloves and ground cloves: Intensify the aromatic spices in the brine.
- Ground turmeric: Gives those pickles their classic golden-yellow hue without overpowering flavor.
Variations
I like to keep this Bread and Butter Pickles Recipe pretty classic, but you can definitely make it your own depending on what you love or have on hand. Sometimes I add a few sliced jalapeños for heat or swap the cinnamon stick for star anise to shake things up. Feel free to experiment – pickling is such a forgiving and flexible technique once you get the basics down.
- Spicy twist: Adding sliced jalapeños or extra crushed red pepper flakes gives the pickles a fun kick that my spice-loving friends adore.
- Herb infusion: Toss in some dill sprigs or fresh thyme for a slightly different flavor profile.
- Vinegar swap: Use all apple cider vinegar if you want a fruitier note, or all white vinegar for a more straightforward tang.
- Sweetness level: Adjust the sugar quantity slightly to make your pickles sweeter or more tart based on your taste buds.
How to Make Bread and Butter Pickles Recipe
Step 1: Prep and Salt the Cucumbers
Start by rinsing your cucumbers really well, making sure to scrub the bumpy ribs where dirt hides. Slice off the ends—just a thin 1/8 inch or so—and then cut the cucumbers into quarter-inch thick slices. Toss them into a big bowl, add your thinly sliced onions and pickling salt, then stir everything together so the salt is evenly distributed. Cover the bowl with a clean towel and layer ice on top, then pop it in the fridge for 4 hours. This salt soak is the secret to drawing out excess moisture and keeping the pickles crisp and crunchy—it’s a game changer, trust me!
Step 2: Rinse and Drain Thoroughly
After your cucumbers have chilled for 4 hours with the salt, drain off the ice and give them a thorough rinse to wash away the salt and any drawn-out moisture. I usually rinse and drain two times just to be sure. This step prevents the pickles from getting too salty and balances the flavors perfectly.
Step 3: Prepare Jars and Make the Pickling Syrup
If you plan to shelf-stabilize your pickles, warm up your canning jars by placing them in a hot water bath—this ensures safe sealing and longer storage. For quick fridge pickles, you can skip this step. While the jars heat, combine your white and apple cider vinegars, sugar, and all the pickling spices (mustard seeds, cinnamon, cloves, etc.) in a large pot. Bring it all to a boil, stirring until the sugar dissolves, then add the cucumber and onion slices back into the pot. Let the syrup come to a boil again—the aroma here always makes me smile.
Step 4: Pack Jars and Process
Using a slotted spoon, pack the hot cucumbers and onions into your heated jars, leaving about an inch of space from the rim. Pour the hot syrup over the top until it reaches about half an inch from the rim. Wipe the rims clean with a paper towel, seal with lids, and screw on the metal bands just until fingertip tight. If you’re water-bath canning, submerge the jars in boiling water for 15 minutes (make adjustments if you live at high altitude). Otherwise, just let the jars cool before popping them into the fridge.
Pro Tips for Making Bread and Butter Pickles Recipe
- Use Pickling Salt: It dissolves perfectly and won’t cloud your brine like table salt can.
- Don’t Skip the Salt Soak: This step is crucial for crispness and flavor balance—4 hours is the sweet spot.
- Pack Jars Tightly: This helps reduce air bubbles and ensures even pickling.
- Adjust Processing Time by Altitude: If you live above 1,000 feet elevation, check canning guidelines to keep things safe.
How to Serve Bread and Butter Pickles Recipe
Garnishes
I like to sprinkle a little fresh dill or chopped fresh parsley over a pile of these pickles when serving—they add a nice pop of color and a fresh herbal note. Sometimes a few thin rings of fresh red onion on top brighten the look and bring a little extra zing.
Side Dishes
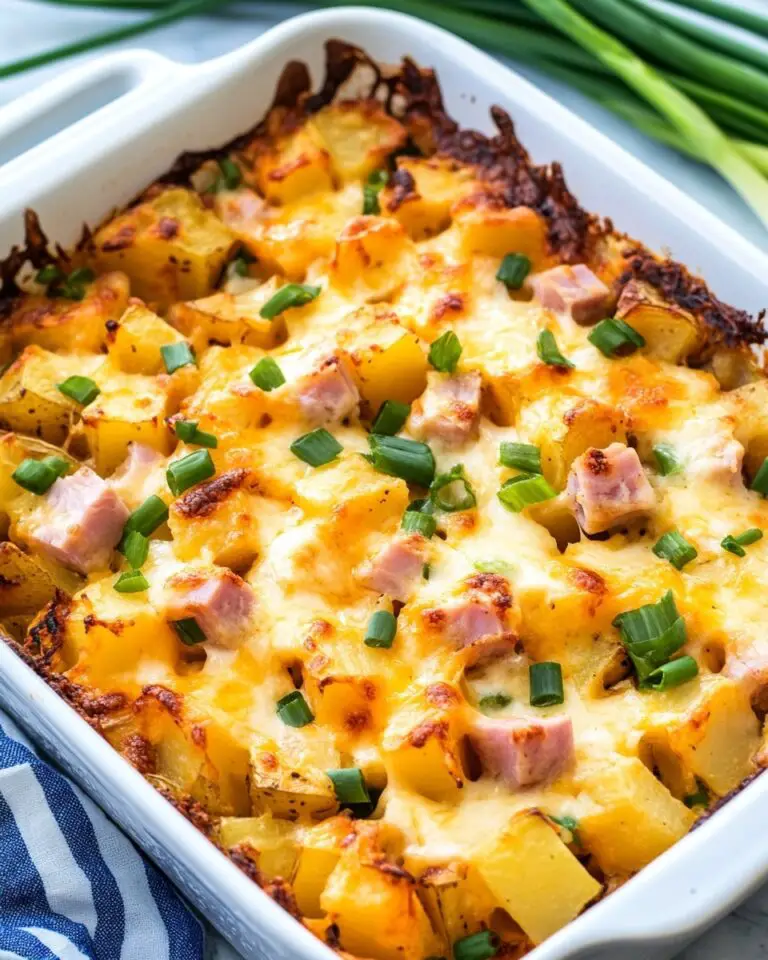
These pickles pair beautifully with classic deli sandwiches, BBQ plates, and even a charcuterie board. My go-to is serving them alongside pulled pork or smoked brisket, but you can’t go wrong adding them to a homemade burger or just having them as a tangy snack with crackers and cheese.
Creative Ways to Present
For special occasions, I love putting these pickles in little mason jars tied with rustic twine and a handwritten label—it makes a charming and tasty gift. You can also use the pickles as a vibrant topping on sliders or in a pickled vegetable platter to impress guests with bright colors and layers of flavor.
Make Ahead and Storage
Storing Leftovers
I always keep my opened jars in the fridge, tightly sealed, and they stay delicious for up to three months. The pickles tend to get even better after a few days in the fridge as the flavors meld, so patience definitely pays off here.
Freezing
Freezing pickles isn’t something I personally do because the texture gets mushy, but if you’re short on fridge space, it’s better to share or gift them than freeze. Fresh pickles shine brightest when stored cool and crisp!
Reheating
Since these pickles are best served cold or at room temperature, I usually don’t reheat them. If you want a warm condiment option, try adding some pickled slices to hot dishes at the end of cooking just for a quick flavor boost.
FAQs
-
How long do homemade bread and butter pickles last?
Properly canned bread and butter pickles can last up to a year when stored in a cool, dark place. Once opened, store them in the fridge and enjoy within 3 months for best quality.
-
Can I skip the water bath canning process?
Yes! If you plan to eat your Bread and Butter Pickles Recipe within a few months and keep them refrigerated, you can skip the canning step. Just store the pickles in the fridge and consume within three months.
-
Why should I use pickling salt instead of table salt?
Pickling salt doesn’t contain additives like iodine or anti-caking agents, which can cloud your brine or affect flavor. It dissolves cleanly, resulting in clearer, better-tasting pickles.
-
How do I keep my bread and butter pickles crispy?
Salting the cucumbers and onions to draw out moisture before pickling and processing them properly in a hot water bath helps maintain crispness. Also, store pickles in the fridge if not canned, and avoid freezing to keep texture intact.
Final Thoughts
This Bread and Butter Pickles Recipe is close to my heart because it’s one of those nostalgic flavors that just makes any meal better. I love that it’s approachable for beginners but delivers such professional results. Whether you’re canning for the long haul or whipping up a quick batch for your family, these pickles bring that perfect sweet-tart crunch that you’ll want to keep making again and again. Give it a try—you’ll be amazed at how easy and rewarding homemade pickling can be!
Print
Bread and Butter Pickles Recipe
- Prep Time: 20 mins
- Cook Time: 30 mins
- Total Time: 4 hrs 50 mins
- Yield: 24 servings 1x
- Category: Pickling
- Method: Stovetop
- Cuisine: American
- Diet: Halal
Description
Delicious homemade Bread and Butter Pickles featuring crisp cucumbers and onions pickled in a tangy, sweet vinegar and sugar syrup infused with warm spices. These classic pickles are perfect for sandwiches, burgers, or as a flavorful snack, with options for both refrigerated quick pickles and longer shelf-stable canned versions.
Ingredients
Vegetables
- 2 1/2 pounds pickling cucumbers, fresh from the market
- 1 pound white or yellow onions, thinly sliced
Pickling Brine & Seasoning
- 1/4 cup pickling salt
- 1 1/4 cups white distilled vinegar (5% acidity)
- 1 cup apple cider vinegar (5% acidity)
- 2 1/4 cups sugar
- 1 tablespoon mustard seeds
- 1 teaspoon crushed red pepper flakes
- 3/4 teaspoon celery seeds
- 1 inch cinnamon stick
- 6 allspice berries plus a pinch of ground allspice
- 6 whole cloves plus a pinch of ground cloves
- 1/2 teaspoon ground turmeric
Instructions
- Rinse and slice the cucumbers: Carefully rinse the cucumbers, scrubbing away any dirt on the ribs. Trim 1/8 inch from the ends and discard. Slice cucumbers into 1/4-inch thick slices and place into a large bowl.
- Salt, chill, and drain the cucumber slices: Add the thinly sliced onions and all of the pickling salt to the bowl. Stir well to evenly distribute the salt among the cucumber and onion slices. Cover the mixture with a clean, thin tea towel and a couple of inches of ice. Refrigerate for 4 hours to allow the vegetables to draw out moisture.
- Rinse and drain: Discard the ice, thoroughly rinse and drain the salted cucumber and onion slices. Rinse and drain a second time to remove excess salt.
- Heat the jars: If storing pickles outside the fridge, place clean jars on a metal rack in a large canning pot and fill with warm water at least 1 inch above jars. Bring to a boil, then reduce heat to keep jars hot. Wash lids in hot, soapy water. If pickles will be refrigerated and eaten soon, this step can be skipped.
- Make the pickling syrup: In a 4 to 6-quart pot, combine both vinegars, sugar, and all pickling spices except salt. Bring to a boil, stirring until sugar dissolves. Add drained sliced cucumbers and onions to the syrup and bring back to a boil.
- Pack the jars and add syrup: Using a slotted spoon, pack hot cucumber and onion slices into heated jars, leaving 1 inch of headspace. Pour hot vinegar syrup over the packed vegetables to 1/2 inch from the rim. Wipe jar rims clean, place dry lids on top, and secure with screw bands.
- Process in a hot water bath (optional for shelf stability): Return filled jars to hot water bath with water covering jars by at least 1 inch. Boil hard for 15 minutes (adjust time if over 1,000 feet elevation). Remove jars carefully and allow to cool. If skipping this step, store jars immediately in the refrigerator.
- Cool and store: Let jars cool to room temperature; lids should seal with a popping sound. Store properly canned pickles in a cool, dark place for up to 1 year. Unsealed or refrigerated pickles should be consumed within 3 months.
Notes
- Using pickling salt is important as it dissolves well and doesn’t contain additives that cloud the brine.
- If you do not plan to can the pickles for shelf storage, you can skip the water bath canning step and simply store the pickles in the refrigerator.
- Adjust hot water bath processing time if you live more than 1,000 feet above sea level according to USDA canning guidelines.
- Ensure jars rest on a rack and not directly on the bottom of the canning pot to prevent breakage during processing.
- Proper pickling vinegar acidity (5%) is essential for safe preservation and quality flavor.
Nutrition
- Serving Size: 1/4 cup
- Calories: 60
- Sugar: 14g
- Sodium: 480mg
- Fat: 0g
- Saturated Fat: 0g
- Unsaturated Fat: 0g
- Trans Fat: 0g
- Carbohydrates: 15g
- Fiber: 1g
- Protein: 0.5g
- Cholesterol: 0mg


