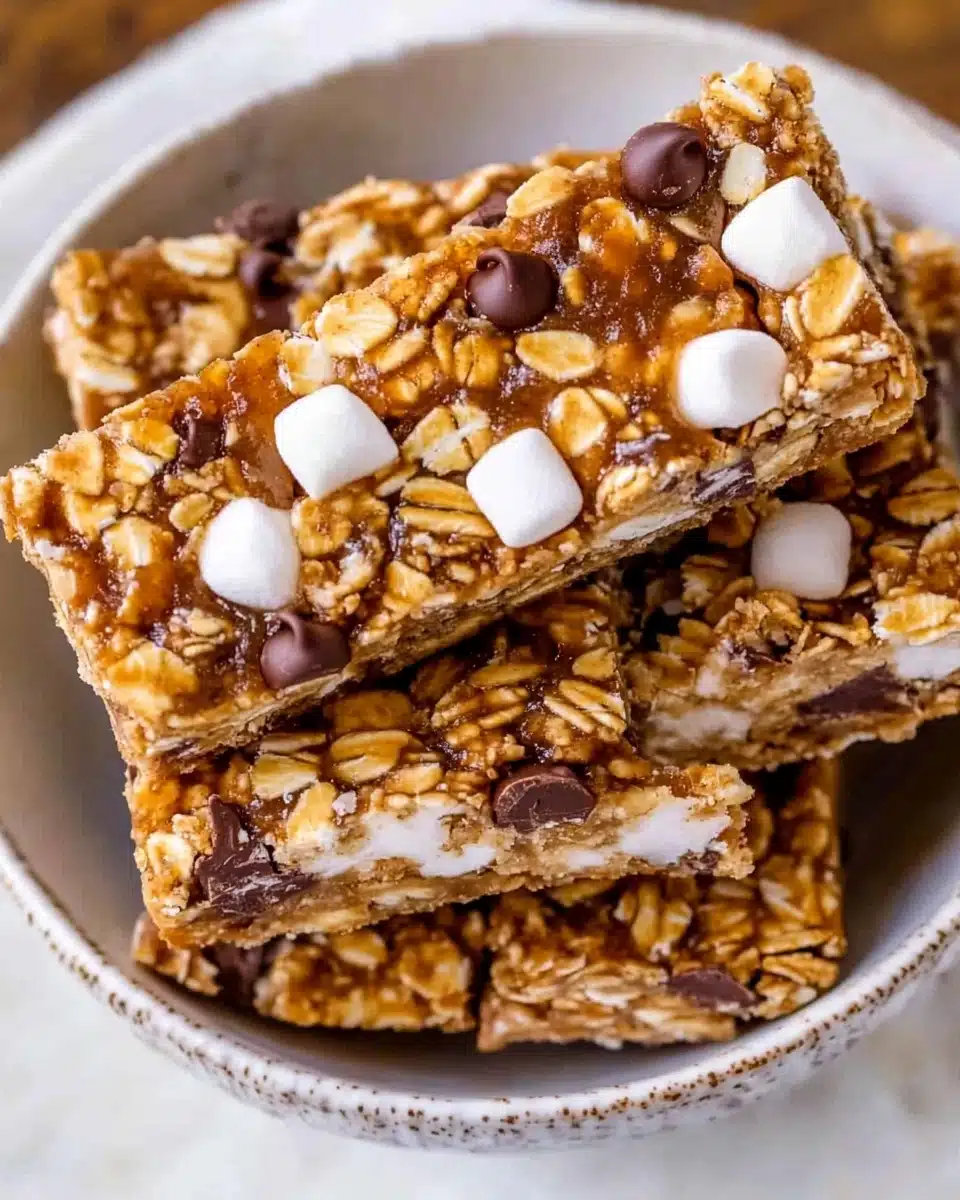
These Granola Bars are everything you crave in a snack: chewy, sweet, wonderfully crunchy, and studded with gooey marshmallows and melty chocolate chips. With a nostalgic flavor combo reminiscent of a childhood treat, these homemade bars come together with ease but taste like something truly special. Get ready—Granola Bars will become your new favorite go-to recipe for snack time, lunchboxes, or a quick afternoon pick-me-up!
Why You’ll Love This Recipe
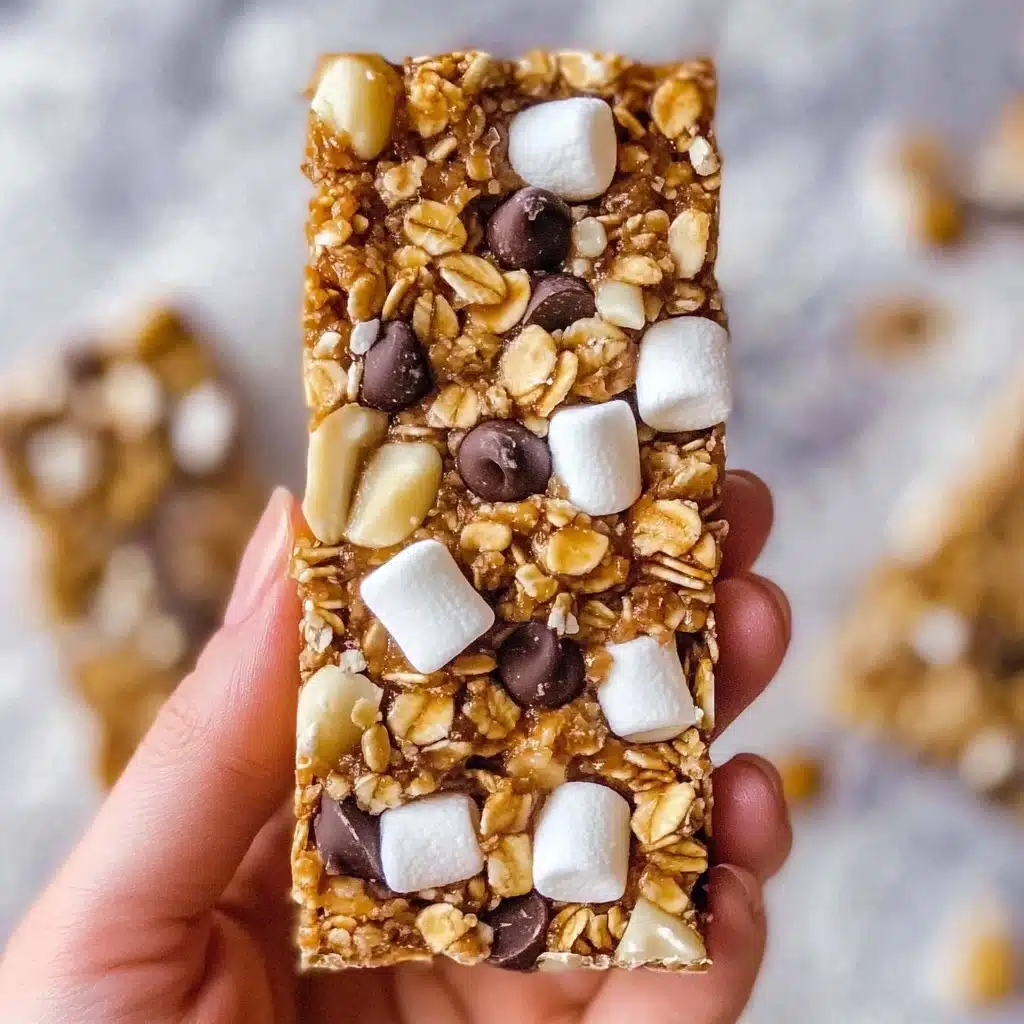
- Ultimate Chewy Crunch: Each Granola Bar combines tender rolled oats with crispy rice cereal and graham cracker crumbs for a melt-in-your-mouth bite that’s also satisfyingly crunchy.
- Ridiculously Easy: With no fancy equipment and just a handful of pantry staples, you’ll have Granola Bars ready with hardly any mess—or effort!
- Nostalgic S’mores Vibes: Mini chocolate chips and colorful cereal marshmallows turn every bar into a sweetly familiar and highly snackable treat.
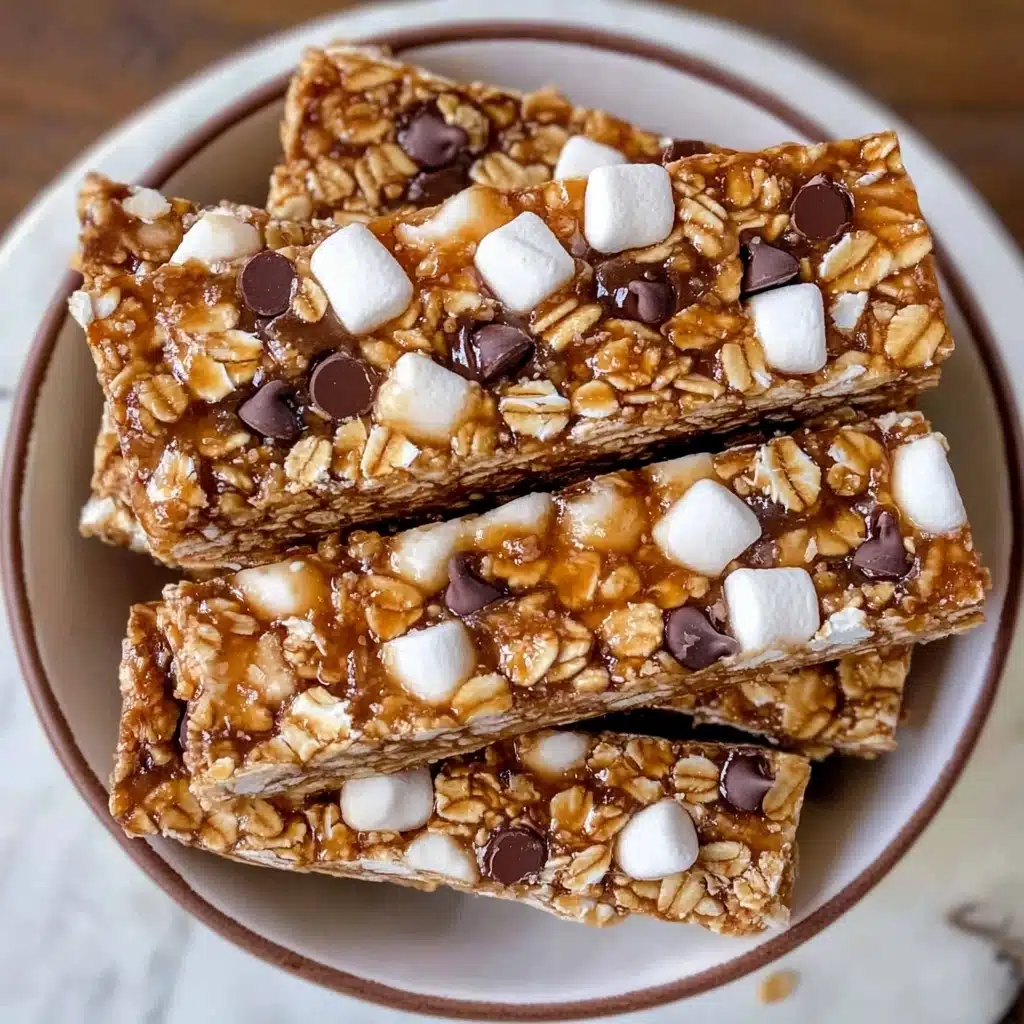
- Perfect for On-the-Go: These Granola Bars firm up beautifully in the fridge and stay intact, making them the ideal companion for lunchboxes, hikes, or road trips.
Ingredients You’ll Need
What makes these Granola Bars so magical is just how simple each ingredient is—and how they work together to create a truly irresistible treat. Each element has a special role to play, from crunch to chew to that unforgettable sweetness!
- Unsalted Butter: Gives the bars a rich, buttery flavor and helps bind everything together.
- Brown Sugar: Adds caramel notes and a touch of chewiness thanks to its molasses content.
- Honey: Naturally sweet and slightly floral, honey creates that classic granola bar texture—and ultra-sticky goodness.
- Rolled Oats: The hearty, wholesome base for these bars; they provide structure and satisfying chew.
- Rice Krispies Cereal: Adds a delicate crispiness and lightness, preventing the bars from feeling dense.
- Graham Crackers: Crushed into pieces and crumbs for a throwback s’mores flavor and just the right amount of crunch.
- Salt: Essential for balancing all the sweet goodness and making every ingredient pop.
- Mini Chocolate Chips: A little chocolate goes a long way to make every bite extra special (and slightly melty, if your bars are a bit warm!).
- Cereal Marshmallows: Pops of color and a nostalgic twist; they add pockets of soft, marshmallowy sweetness throughout.
Variations
The beauty of homemade Granola Bars is how endlessly customizable they are. Whether you’re looking to switch up flavors, add nutrition, or accommodate allergies, there’s a tweak—or two—just waiting for you.
- Nutty Boost: Swap in a half cup of chopped walnuts, almonds, or pecans for even more crunch and a boost of healthy fats.
- Dried Fruit Fun: Toss in some dried cranberries, raisins, or chopped apricots for bursts of tartness and chew.
- Peanut Butter Lovers: Melt two tablespoons of peanut butter into the warm butter mixture for a richer, nutty twist on classic Granola Bars.
- Gluten-Free Swap: Replace the graham crackers with gluten-free grahams and double-check your oats to keep these bars gluten-free.
How to Make Granola Bars
Step 1: Prepare Your Pan
Start by spraying an 8×8 inch pan with oil or baking spray, then line the bottom with parchment paper. This ensures your Granola Bars won’t stick, and makes them easy to lift out and slice once they’ve set.
Step 2: Cook the Syrup
In a small pot, gently melt the butter, brown sugar, and honey over medium heat. Once the mix is bubbling, whisk and let it cook for a precise 2 minutes—this step thickens the syrup for those chewy, never-crumbly bars.
Step 3: Combine the Dry Ingredients
In a large mixing bowl, add the oats, Rice Krispies, crushed graham crackers, and salt together. Pour the hot syrup over the dry ingredients and use a sturdy spatula or whisk to mix until everything’s evenly coated, then let it cool for 20 minutes so your chocolate and marshmallows won’t melt completely.
Step 4: Stir in the Mix-Ins
Once the mixture has cooled, gently fold in the mini chocolate chips and cereal marshmallows. Be careful not to overmix—just enough to evenly distribute those little bursts of sweetness.
Step 5: Press and Chill
Transfer the mix to your prepared pan. Press it in gently but firmly—you want the bars snug, but not packed so tight they become hard. Slide the pan into your fridge and let the bars set for at least 2 hours before slicing them into perfect squares.
Pro Tips for Making Granola Bars
- Don’t Skip the Chill: For truly neat slices and bars that hold together, be patient and let them set in the fridge for the full time—or even overnight for extra-firm bars.
- Even Mixing Matters: Make sure all the cereal and oats are evenly coated in the syrup so every Granola Bar is chewy and cohesive, not crumbly!
- Fold Gently for Perfect Mix-Ins: Let the base cool before adding chips and marshmallows, or they’ll dissolve—timing is everything for those signature pops of flavor.
- Line the Pan for Easy Lift: That parchment paper on the bottom makes removing and slicing your Granola Bars a breeze—no stuck bits, just picture-perfect squares.
How to Serve Granola Bars
Garnishes
Once cut, you can drizzle your Granola Bars with a little melted chocolate or dust them with a pinch of powdered sugar for a bakery-style look. If you want a true s’mores vibe, pop a few extra marshmallows or mini chips on top just before serving!
Side Dishes
Pair your Granola Bars with a creamy Greek yogurt for a balanced breakfast, or set them alongside a fresh berry salad for a bright and colorful snack plate. They also go perfectly with a cup of coffee or hot cocoa for those cozy afternoon moments.
Creative Ways to Present
For a fun twist, wrap individual bars in parchment paper and tie with kitchen twine—ideal for lunchboxes, party favors, or picnic baskets. You can also slice them into petite squares for a snack board centerpiece that everyone will love to nibble!
Make Ahead and Storage
Storing Leftovers
Keep leftover Granola Bars in an airtight container at room temperature for up to 3 days, or extend their freshness by storing them in the fridge for up to a week. This keeps them chewy—and prevents the chocolate from getting too gooey on warmer days!
Freezing
For long-term storage, individually wrap the bars in plastic wrap and place them in a freezer-safe bag. Granola Bars freeze beautifully for up to 2 months; just thaw on the counter when a snack craving hits.
Reheating
If you love your Granola Bars a little warm and gooey, pop one in the microwave for just 5-8 seconds. It will be perfectly soft, luscious, and extra comforting—especially on a chilly day!
FAQs
-
Can I use instant oats instead of rolled oats?
While instant oats will technically work, rolled oats deliver a much better texture and a heartier chew, which are key to homemade Granola Bars. Instant oats might make the bars a bit denser or mushier—so stick with rolled oats whenever possible!
-
Can I leave out the marshmallows or chocolate chips?
Absolutely! The marshmallows and chocolate chips are what give these Granola Bars their playful character, but you can swap or omit them for dried fruits, nuts, or even extra cereal if you prefer a simpler bar.
-
Why did my Granola Bars fall apart?
If your bars are falling apart, they may not have been pressed firmly enough into the pan, or they haven’t chilled long enough to fully set. Next time, use a spatula to gently but firmly press the mixture down and ensure a full chill in the refrigerator for the best results.
-
Do these Granola Bars work for school lunchboxes?
They sure do! These bars hold together well and can be wrapped individually for easy packing. Double-check the ingredient list if your school is nut-free; otherwise, these are destined to be a lunchbox favorite.
Final Thoughts
If you’re on the hunt for a snack that’s as fun to make as it is to eat, give these Granola Bars a try. Sharing them is a joy, but don’t be surprised if you want to keep a secret stash all for yourself—they’re truly that hard to resist!
Print
Granola Bar Recipe
- Prep Time: 10 minutes
- Cook Time: 10 minutes
- Total Time: 20 minutes
- Yield: 16 servings 1x
- Category: No-Cook
- Method: No-Cook
Description
These homemade granola bars are a delightful blend of oats, crispy rice cereal, graham crackers, and sweet marshmallows, held together with honey and butter. Perfect for a quick energy boost or a tasty snack.
Ingredients
Main Ingredients:
- 6 tablespoons unsalted butter
- 6 tablespoons brown sugar, packed
- 2/3 cup honey
Additional Ingredients:
- 3 cups rolled oats
- 1 1/2 cups Rice Krispies cereal
- 1/2 cup graham crackers, crushed
- 1/2 teaspoon salt
- 1/2 cup mini chocolate chips
- 1/2 cup cereal marshmallows
Instructions
- Prepare Pan: Spray an 8×8 inch pan with vegetable oil and line the bottom with parchment paper.
- Melt Ingredients: In a pot, melt butter, brown sugar, and honey until bubbling. Cook for 2 minutes.
- Mix Dry Ingredients: Combine oats, cereal, graham crackers, and salt in a bowl. Pour in the melted mixture and mix well. Let cool for 20 minutes.
- Add Mix-Ins: Gently stir in marshmallows and chocolate chips. Press mixture into the pan and refrigerate for 2 hours before slicing.
Nutrition
- Serving Size: 1 bar
- Calories: 220
- Sugar: 15g
- Sodium: 100mg
- Fat: 8g
- Saturated Fat: 4g
- Unsaturated Fat: 3g
- Trans Fat: 0g
- Carbohydrates: 35g
- Fiber: 2g
- Protein: 3g
- Cholesterol: 10mg


